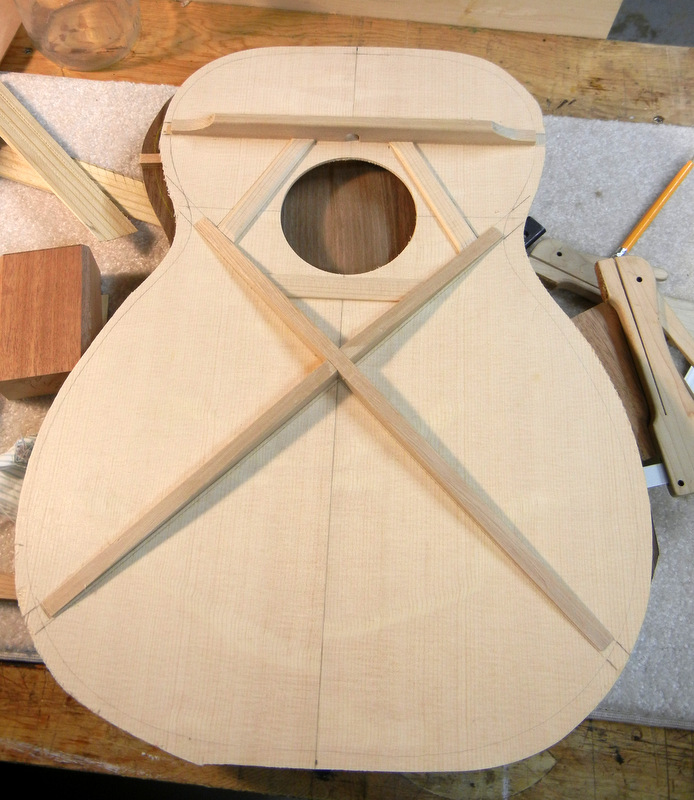

unfinished guitar body and neck
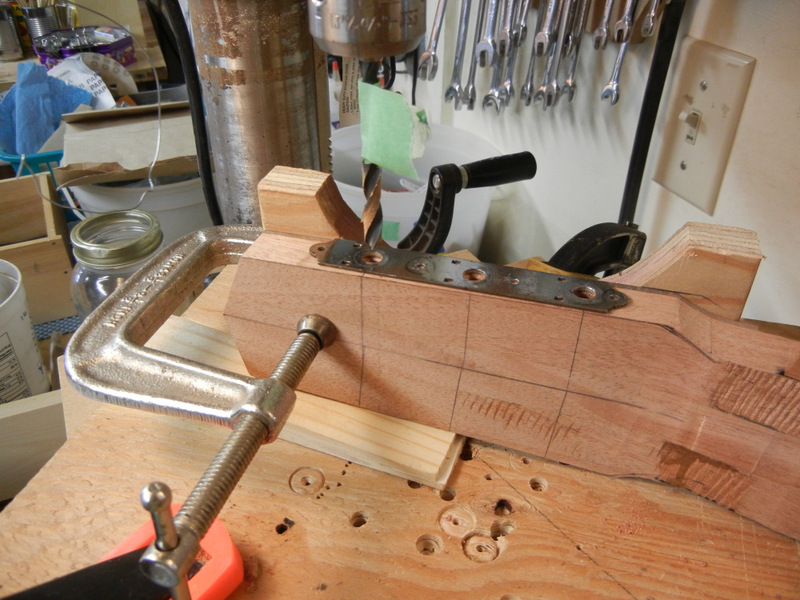
Above you have the carved neck, with dovetail joint, stained ready for finishing. I won’t go into the carving process – suffice to say that it involves removing just right wood. It also should be symmetrical, of course. At the speed I carve it took most of a day to go from a flat blank to what you see. Before that I cut the neck joints, then glued the completed fingerboard to the neck blank. Not quite a miracle but it feels close – the neck joint was an almost perfect fit after cutting. Trial and error – many errors, too. But this time lucky! I stained the neck with ‘dark walnut’ so it would be closer in colour to the body. Then I decided to remove some of the stain in the mid section, leaving the ends dark. This looks good, a bit like a violin.

heel of neck with french polish

head with french polish
Once again I used shellac to finish the guitar. After many years of practice I’ve got it down fairly well. Basically it just gets rubbed onto the guitar with a pad soaked in shellac, with extra dabs of pure alcohol and a few drops of light oil. Add shellac, alcohol, oil by dribbling onto pad – then rub. There is a technique and lots of instruction on the web. Best tip: use clear sealer shellac, unwaxed.

top showing reflection
I don’t like filling pores, it’s messy and hardly seems worth the effort. Some pros can fill the pores using fine pumice but I never got far with that. Once I have a decent amount of finish built up I call it a day. French polish is very thin but it doesn’t have to be thick to protect the guitar. More can always be added at any time, too.

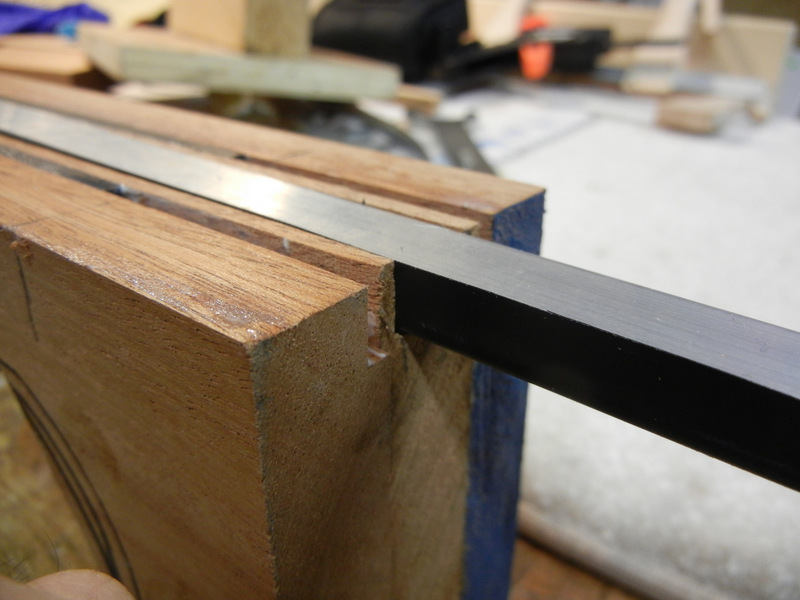
a nice tight neck joint
It didn’t require much work to fit the neck, several thin shims to fill up the oversized cavity, and one strip of blue shop cloth soaked in white glue. I pressed the neck into the body cavity and with a little pressure from a quick clamp it set in snug and tight. To ensure it was drawn down tight to the body however I put a screw into it from inside the guitar. This works better than a clamp and can be removed easily.
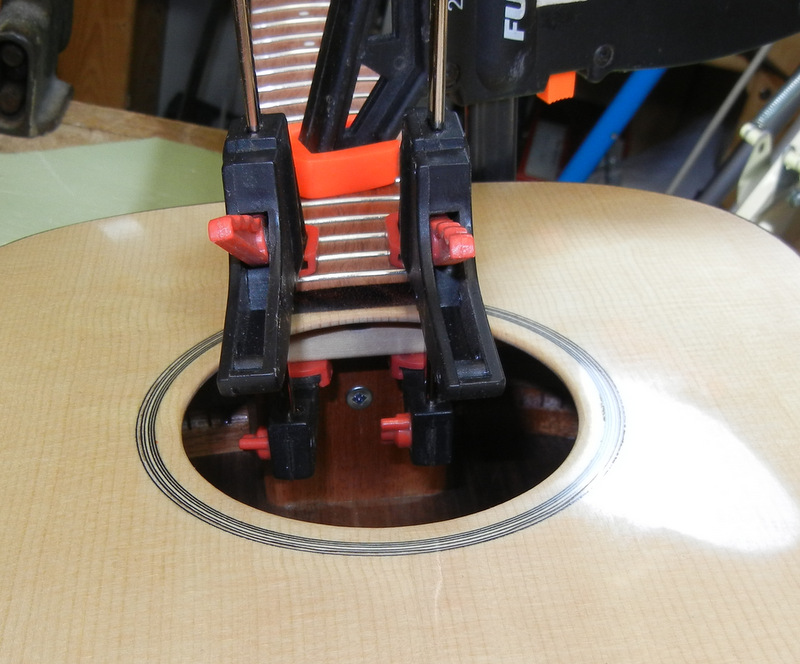
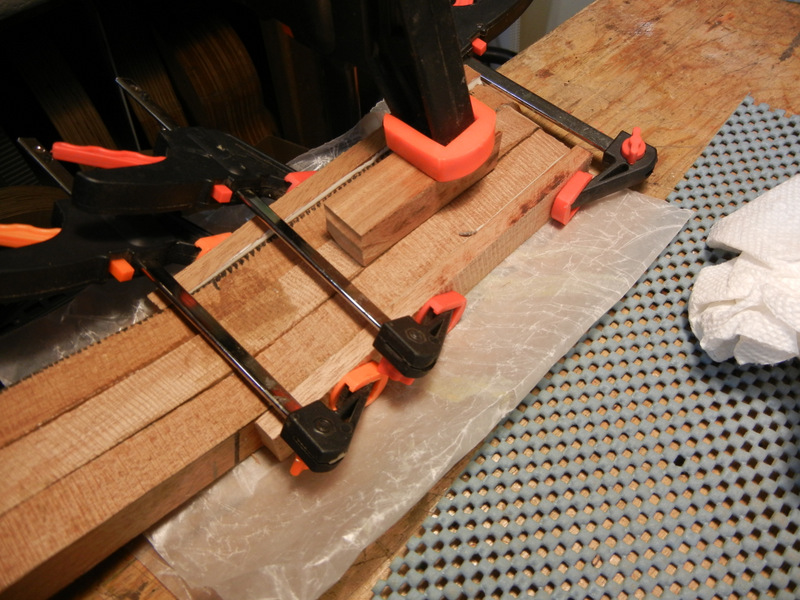
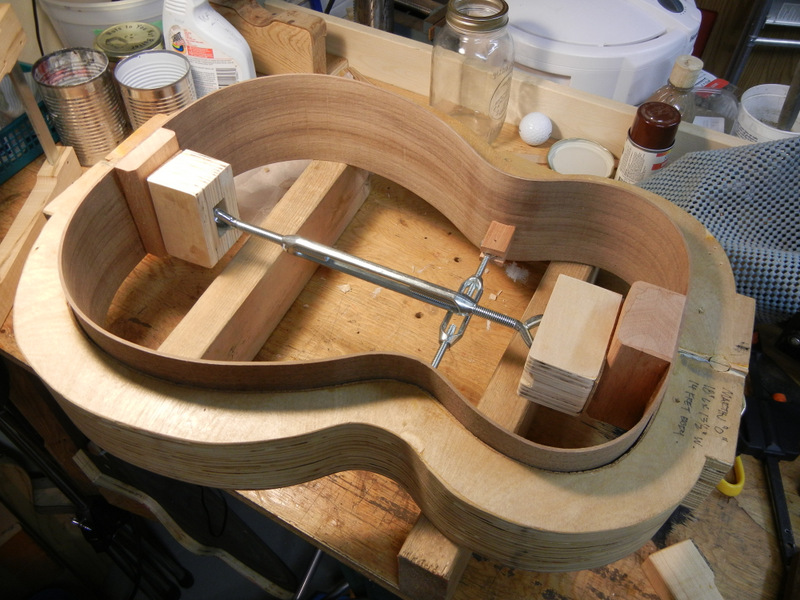
clamping the fingerboard – the screw in the neck block pulls the neck tight to the body
I let this dry overnight. Then I put it all together, which took me most of the day. I previously made the nut from unbleached bone, and cut the slots with string gauged files.
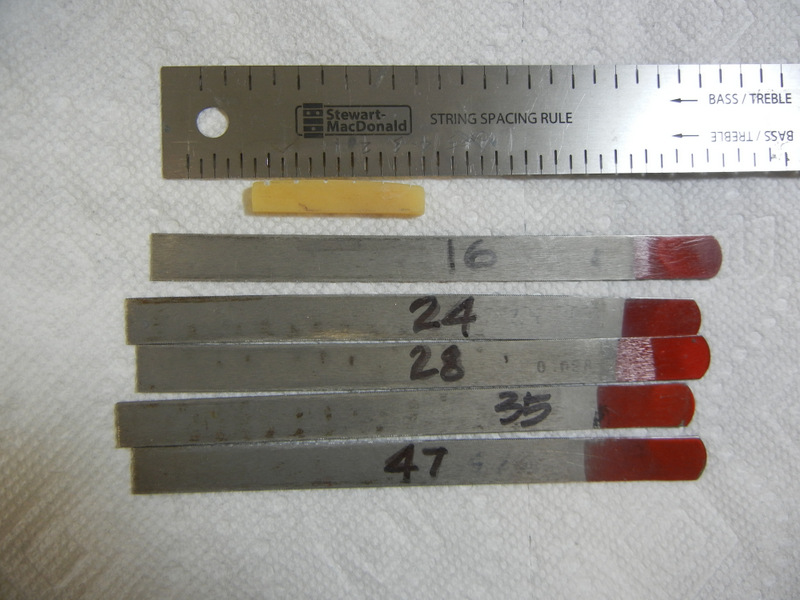
bone nut, string gauge ruler, and string files
I reused an old tailpiece made of thick brass plate. I polished it up first with Nevr Dull, a product I remember my Dad had around for ever in the basement. Works great on dull old brass.
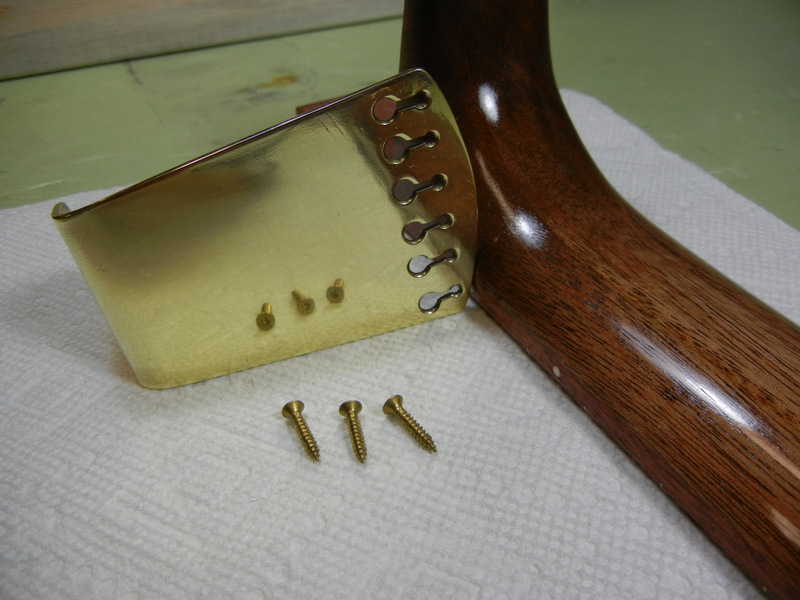
brass tailpiece all shined up
Next came the bridge. I was a bit surprised to find that the bridge is taller than expected. Not much, but these things happen, as I have said before. I made a bridge blank then used a pencil on a stick to mark the line for the top of the bridge.
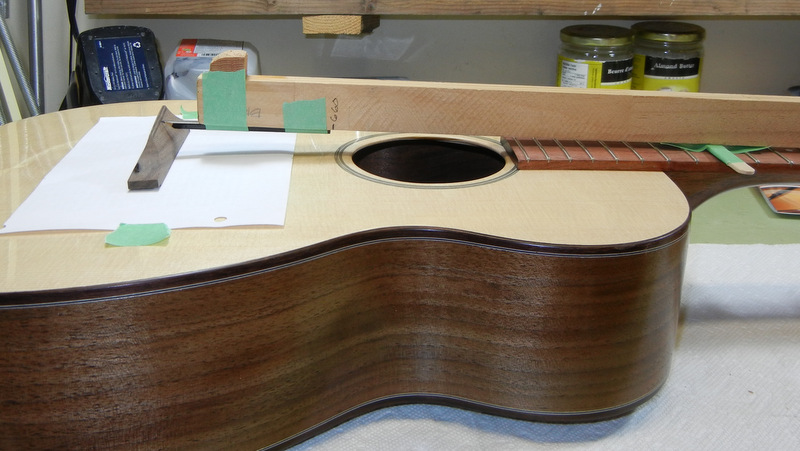
bridge height marking tool
Then I installed the tuners, the nut, the tailpiece and strings. More fiddling with the bridge, including finishing it, and making shallow slots for the strings. This is an iterative process in which the bridge goes on and off numerous times, involving much laborious turning of the tuning heads, and often broken strings. But this time none broke. However I did find numerous buzzes, which required replacement of several frets. There are still some very minor buzzes but for now I will wait and see how it settles down before attempting more adjustments. I used the adjustable truss rod to flatten the neck a tiny bit.

the finished guitar #30
Conclusion: it’s very loud, like the previous one. I strung it with D’Addario EJ83M strings, which they now call ‘Silverplated Wound’. They used to call them ‘Gypsy Jazz’, which was a dumb idea, implying that they were no good for anything else. They’re soft and warm toned, and excellent for any sort of musical style. But these are the heavier gauge, and I find them too stiff for my likes. I’ll probably go back to the same string in the lighter gauge: EJ83L, which I’ve been playing for years on most of my guitars.
I hope you enjoyed this repeat guitar build for the second time in a row. I thought it would be interesting to do it again, if only to compare with the first model “O” process. If anyone is inspired to try building a guitar then I will be very pleased. But remember that it’s probably a bit harder than it looks here.