
Assembling the box
After days spent reorganizing the shop, which had become next to impossible to move in, I am back at it. Yesterday I bent the sides ( also called ribs) and assembled them to the end blocks. The end blocks had been made some time ago. These determine the rib depths and the correct angles at the four intersections where the ribs join the top and back (neck and tail). The first step was to trim the blanks to just a bit wider than the maximum finished width (depth of the body). I trimmed these to 104mm – the maximum depth being 100mm. That left me room to trim after assembling the ribs and blocks before attaching the plates. The next step was to mark each rib with yellow pencil at 25mm intervals. This is a great aid in checking progress against the pattern, which is also marked at 25mm along the outline. While I did this I had the bending iron heating up.

one rib trimmed and marked, and soaked down for bending

body half pattern with 25mm markings
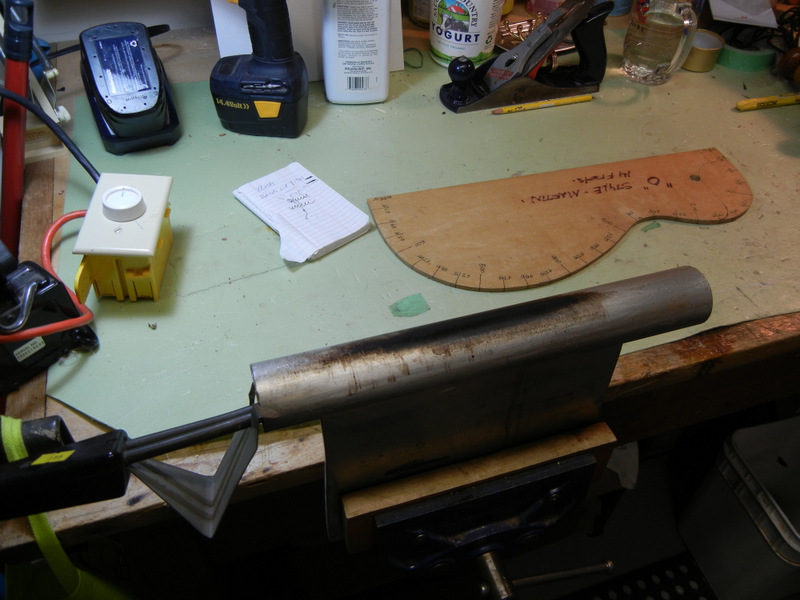
bending iron hot and ready to go
Bending walnut is not very difficult. You keep it wet and hold in one place for a few seconds, pressing gently, then move a centimeter and press some more. The hot metal pipe dries the wood in seconds and it sizzles when it contacts wet wood. No sizzle means the wood is dry and has to be wet again. I start at the waist, then do the upper bout, then the lower. It takes constant small adjustments but with patience it can be made to follow the pattern shape quite closely. Once it is close enough it gets clamped into the mold, where it then dries and takes the shape in which it is clamped.
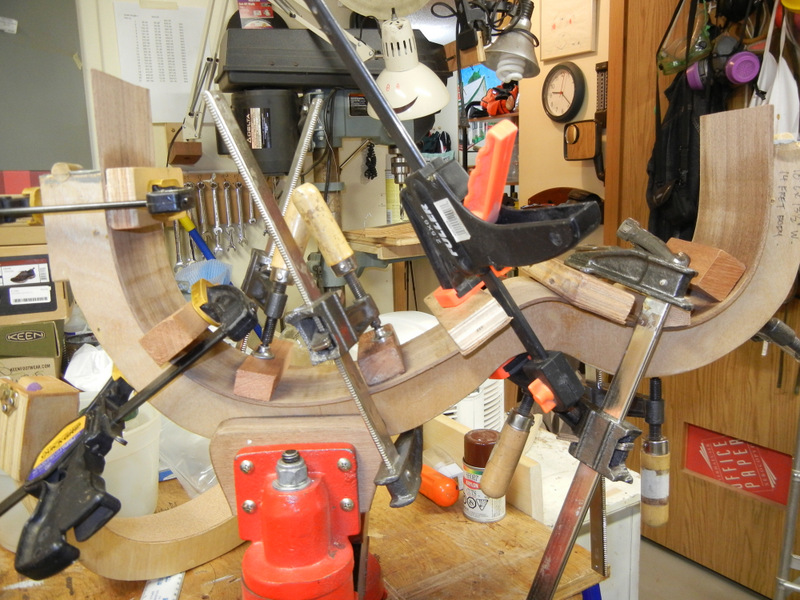
rib clamped to mold
Once both ribs were bent and dried in their final shape I trimmed the ends and assembled the pair of ribs into the mold, checking that the joints met tightly and along the centre line of the guitar. Then I glued in the end blocks. The easiest way to do this is without the mold, just one end at a time, clamping the ribs onto the block. Once both blocks are done then the assembly goes back into the mold and is clamped with spreaders.
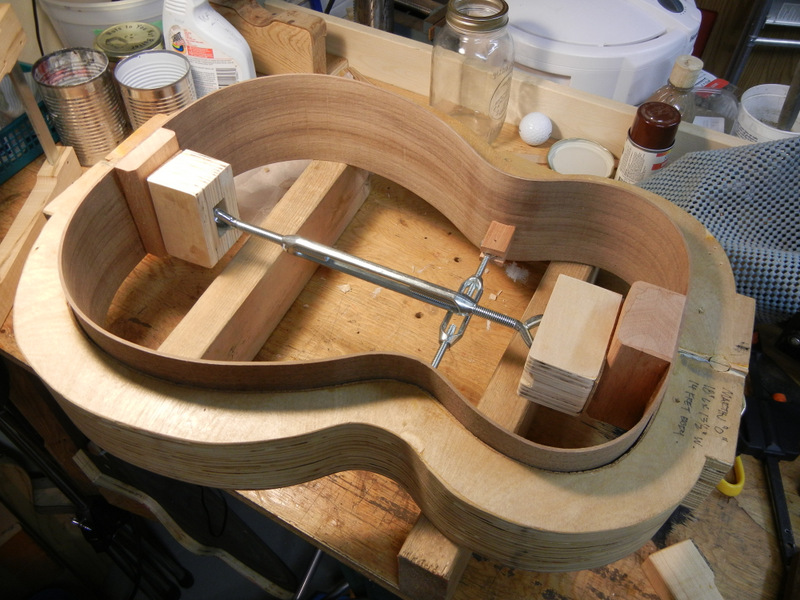
ribs in mold with spreaders
The spreaders ensure that the ribs are in the right position for attaching the plates. Just a bit of pressure is enough to keep the ribs pressed to the sides and ends. I assembled the back plate first this time. I wanted to try a different method of gluing in the linings. First I glued the back to the blocks, neck and tail. Then I put the whole thing on its back and clamped the back plate here and there to the ribs, so it was tight. I then glued in the kerfed lining strips, rubbing them to increase the initial tack, and holding them pressed into place for a short time. In a few places I resorted to putting pressure with a re-purposed chopstick and a clamp. This saved me doing two steps, where the linings are first glued to the rib, after which the plate is then glued down onto the linings. This way I was also able to avoid having to cut pockets in the linings for the ends of the braces. Instead I simply glued several teeth from the kerfed strip at each brace. This will be sufficient to hold the brace end tight. Note here that I first trimmed and fitted the back plate to the ribs before this procedure.

gluing the linings to attach the back plate
After the back plate was done and the glue set, I then fit the top plate to the ribs. Then I glued the linings for the top in place. Since my main top x-braces are tapered to zero they require no pockets in the linings, except for two which hold the upper face brace. These will be cut before the top is glued on.
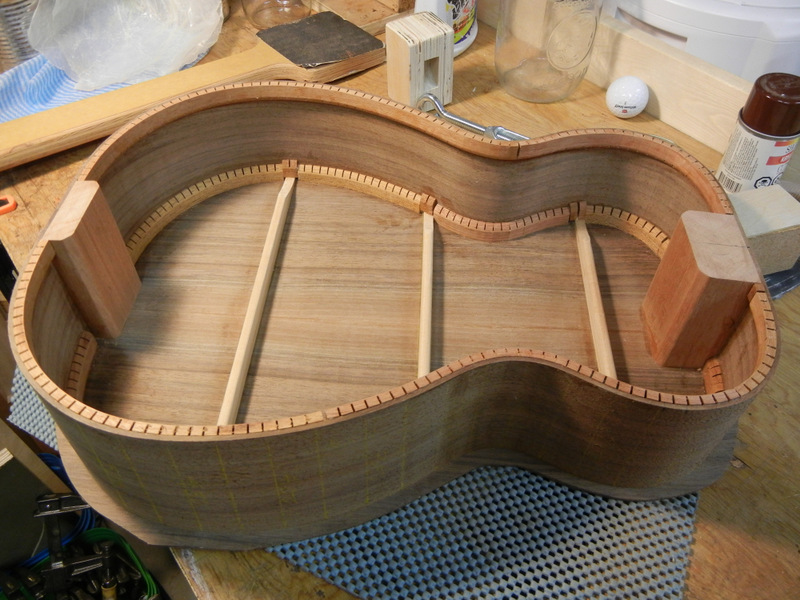
box ready for the top plate final fitting