Category Archives: Guitars

A Classic Conversion II

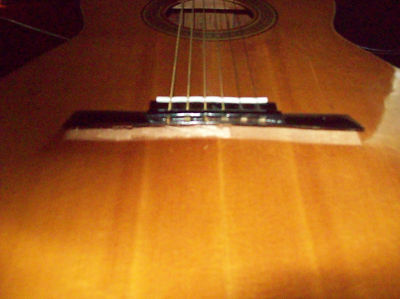
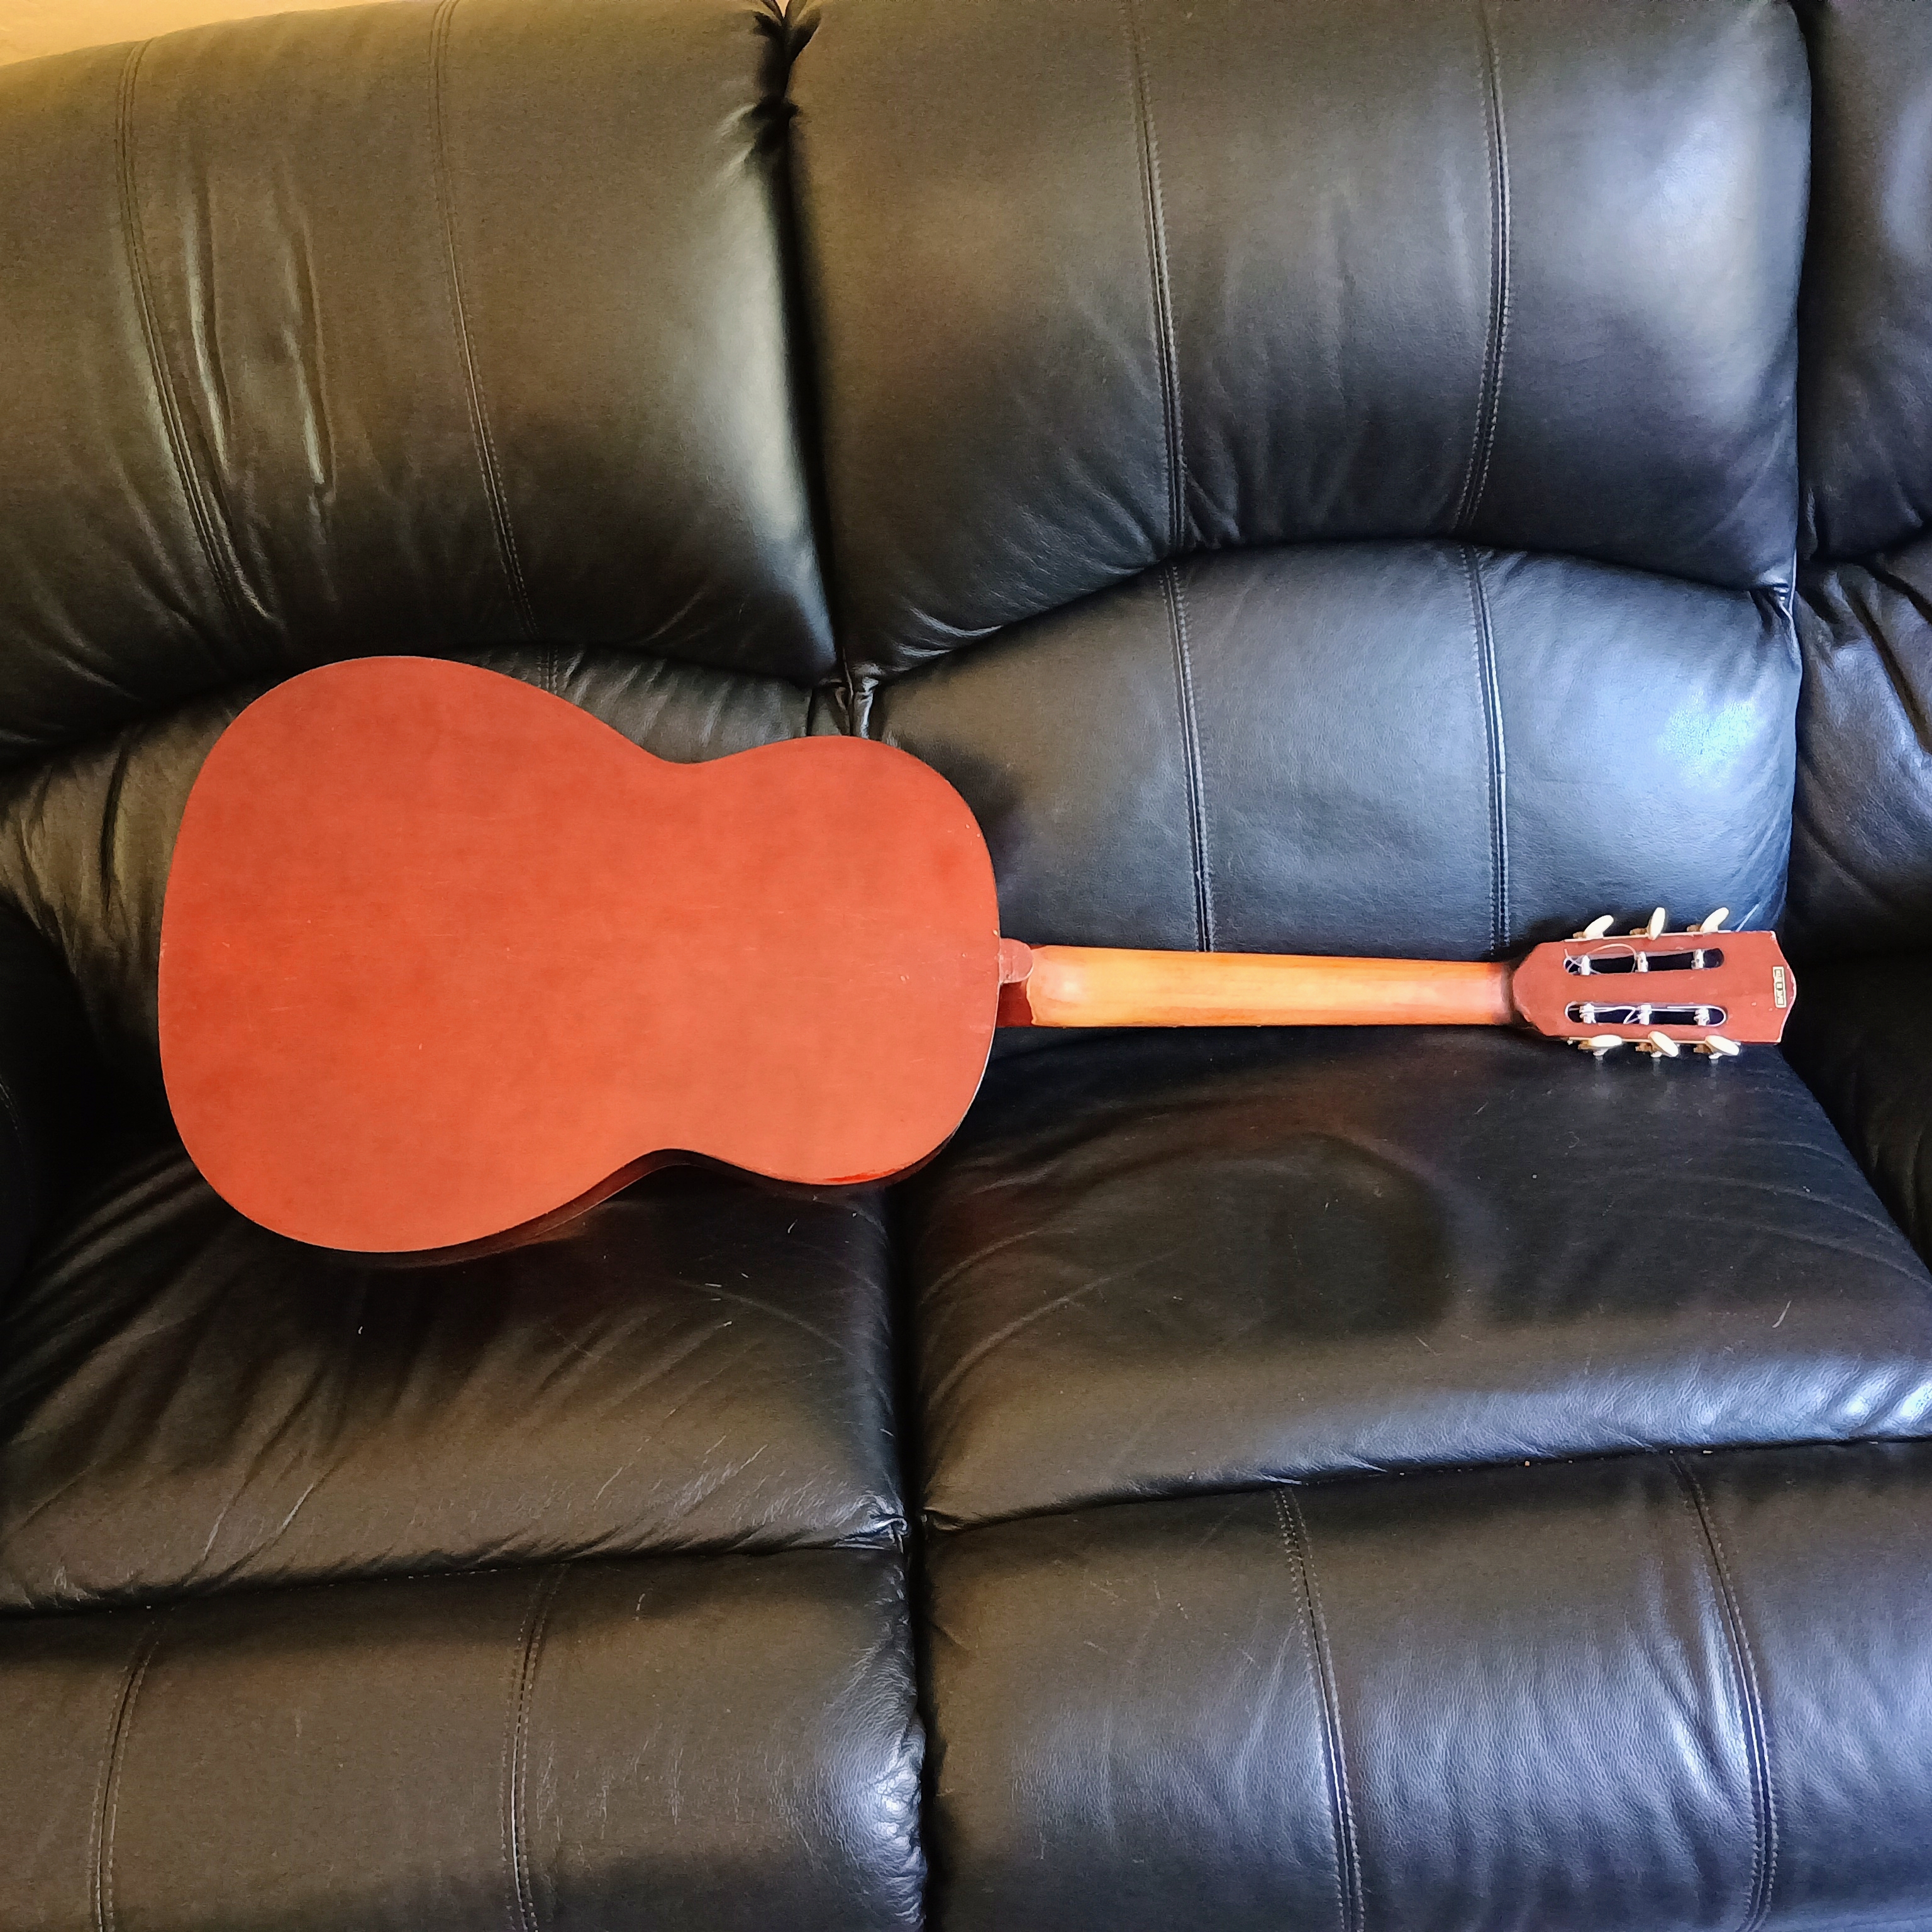
Taking up where I left off: I glued the top on and installed a simple cream coloured plastic binding. The ribs had suffered a fair amount of cosmetic damage, which I patched up with glue and filler – then stained and varnished the sides and back.
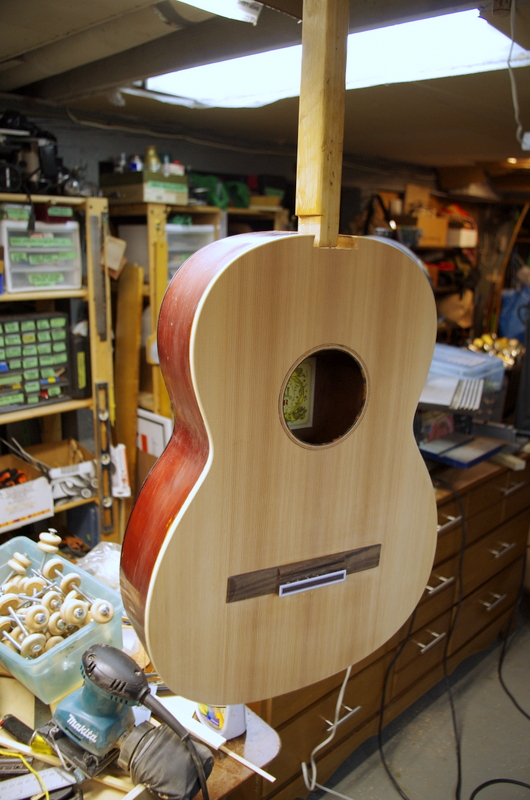
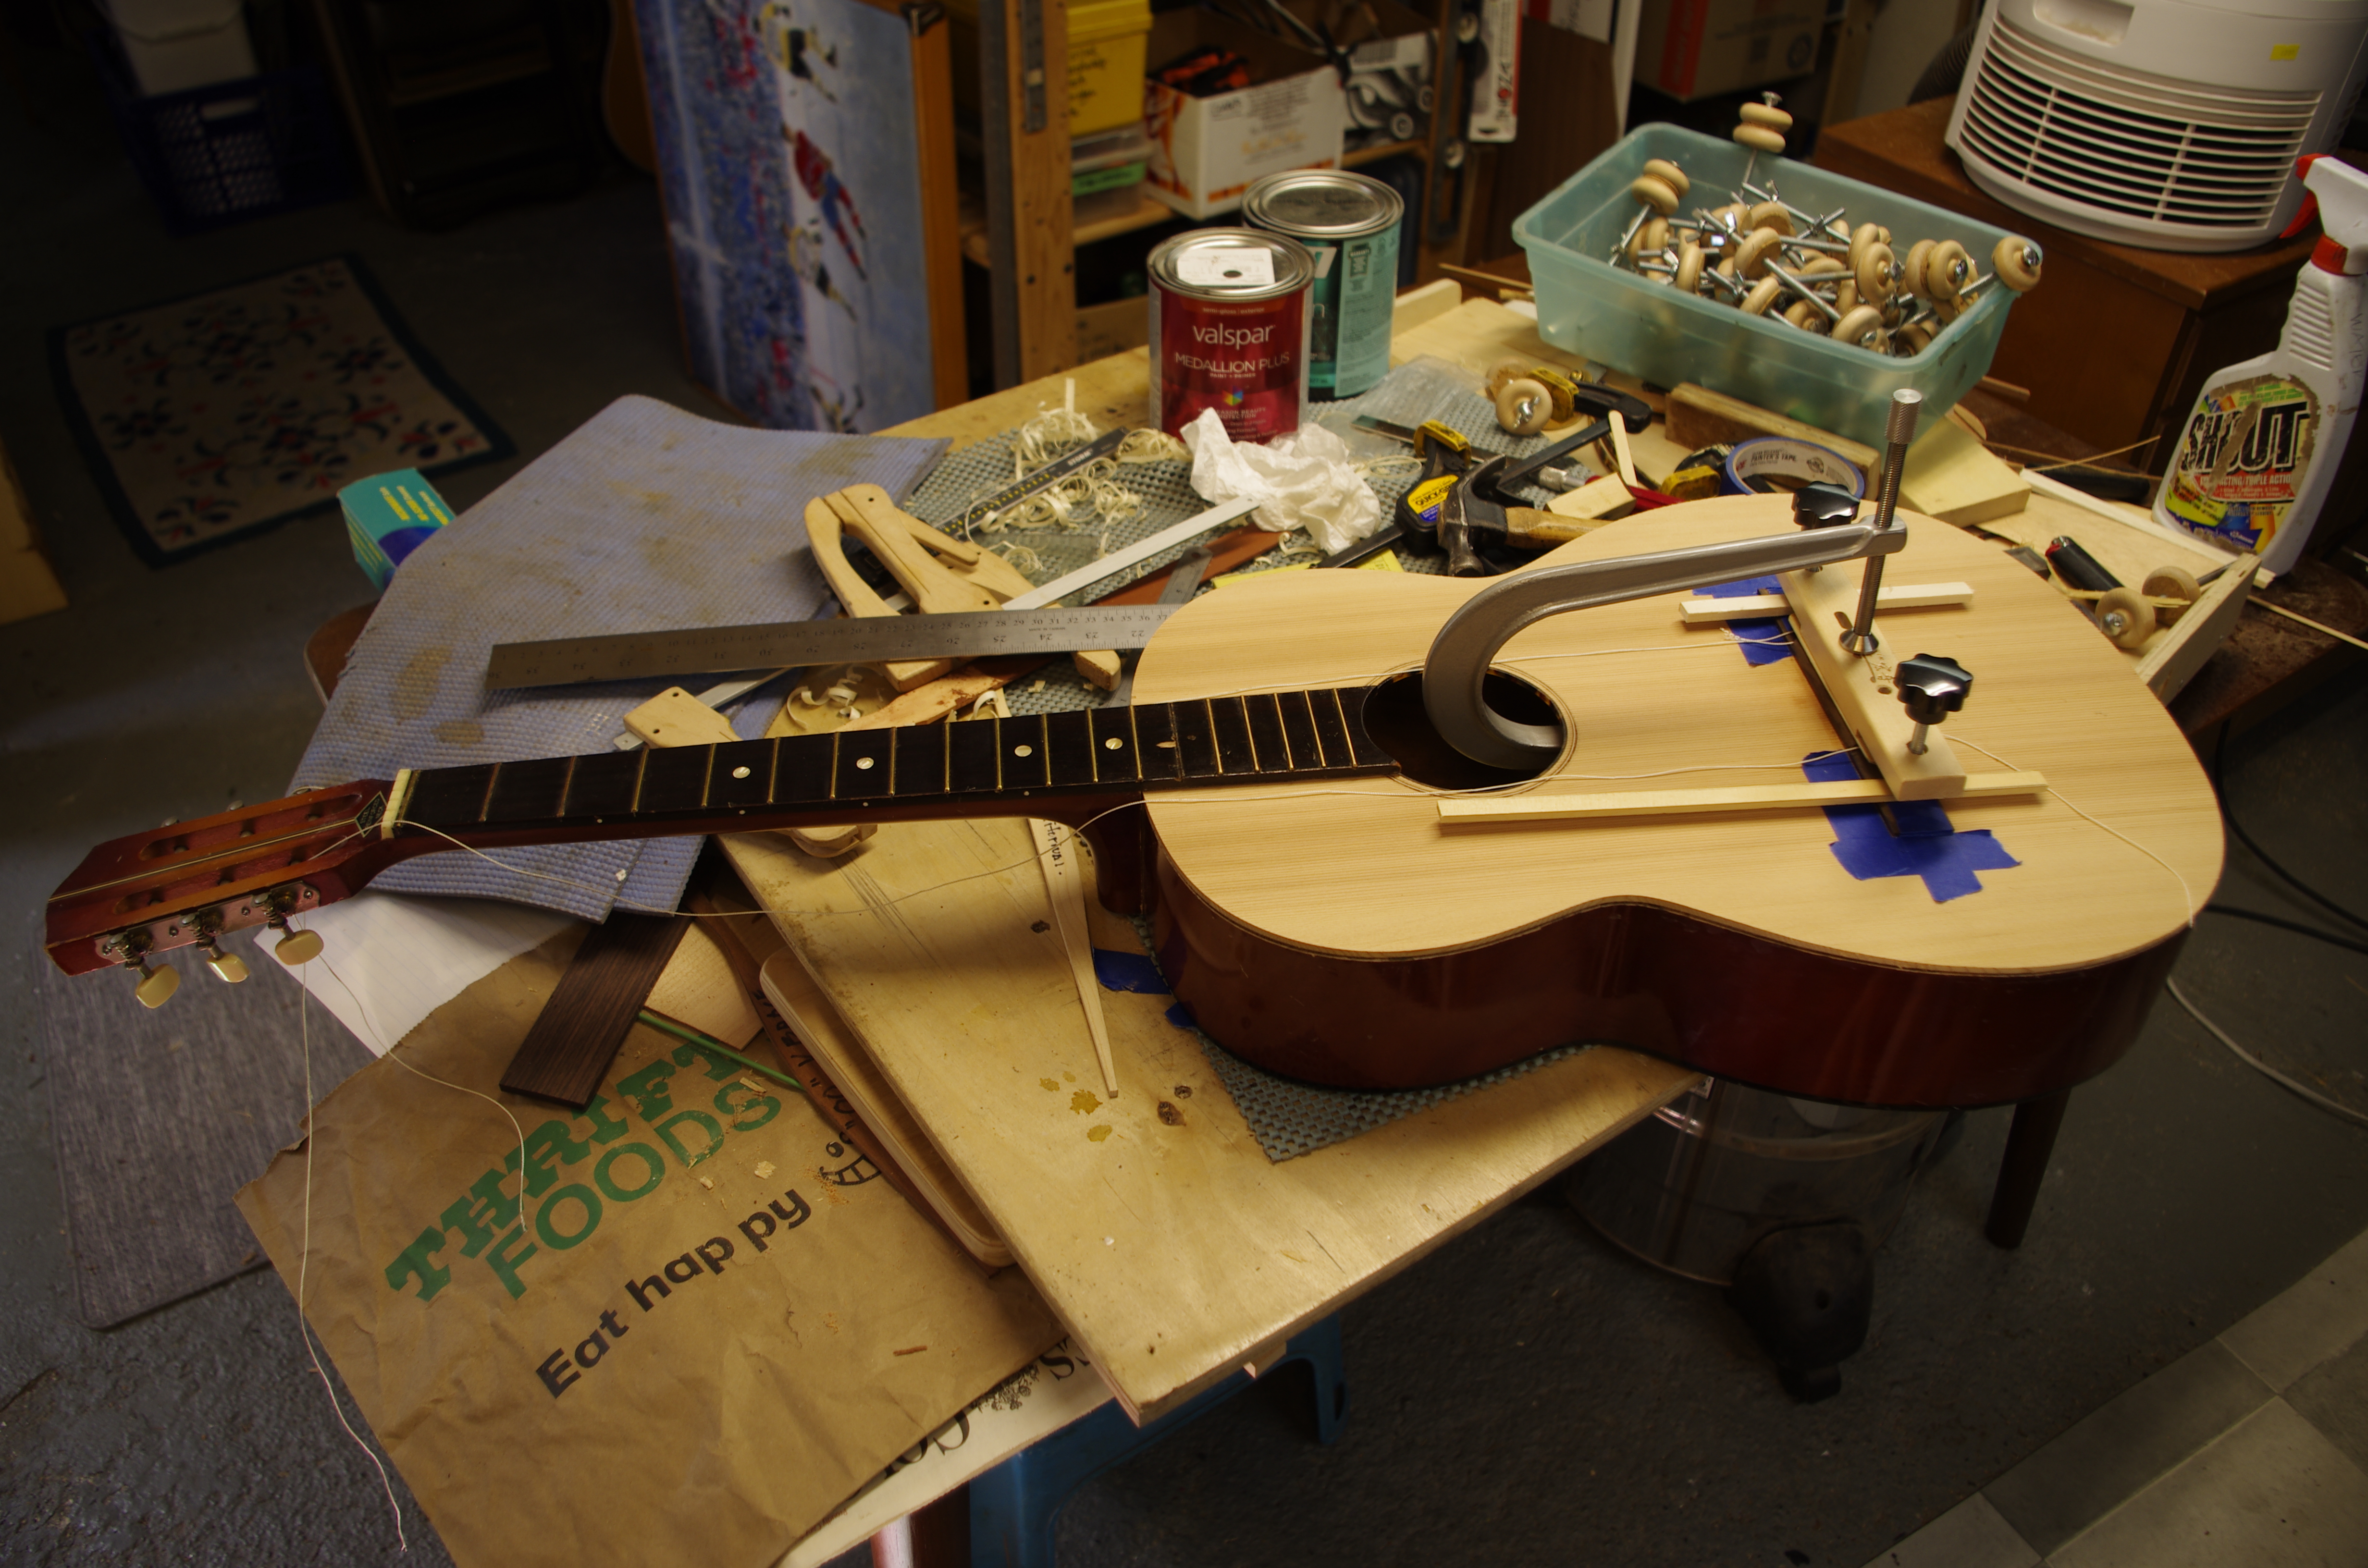
New top and bridge installed
Gluing the bridge

After getting the neck back on and the bridge installed, I found that the string spacing was just a bit too wide for the neck, so I filled the holes in the bridge and drilled new ones. This I should have done before installing the bridge, but I took a chance that it would be ok, and it wasn’t!
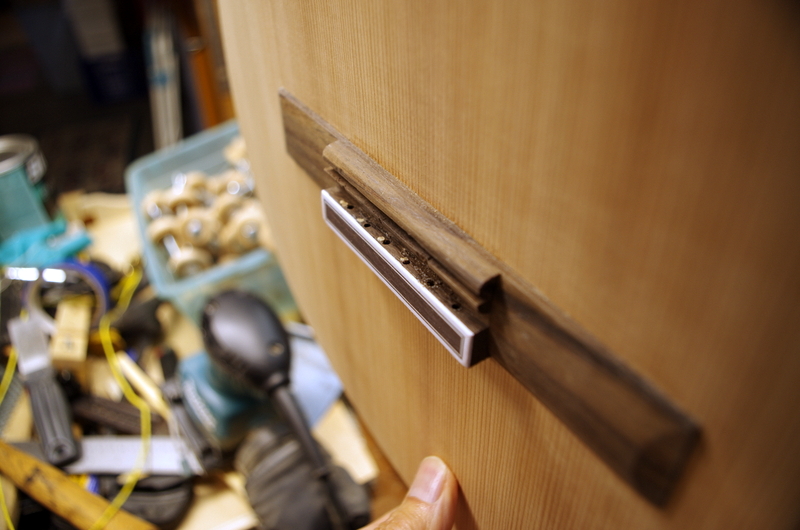
Bridge redrilled for 55mm string spacing, from 60mm

I strung it with Savarez high tension Yellow Card strings, and then measured the bridge rotation. It rotated 1 degree, which was less than desired, so I shaved the braces down several times and got the rotation to 2 degrees. That was the target, so no further shaving was done.
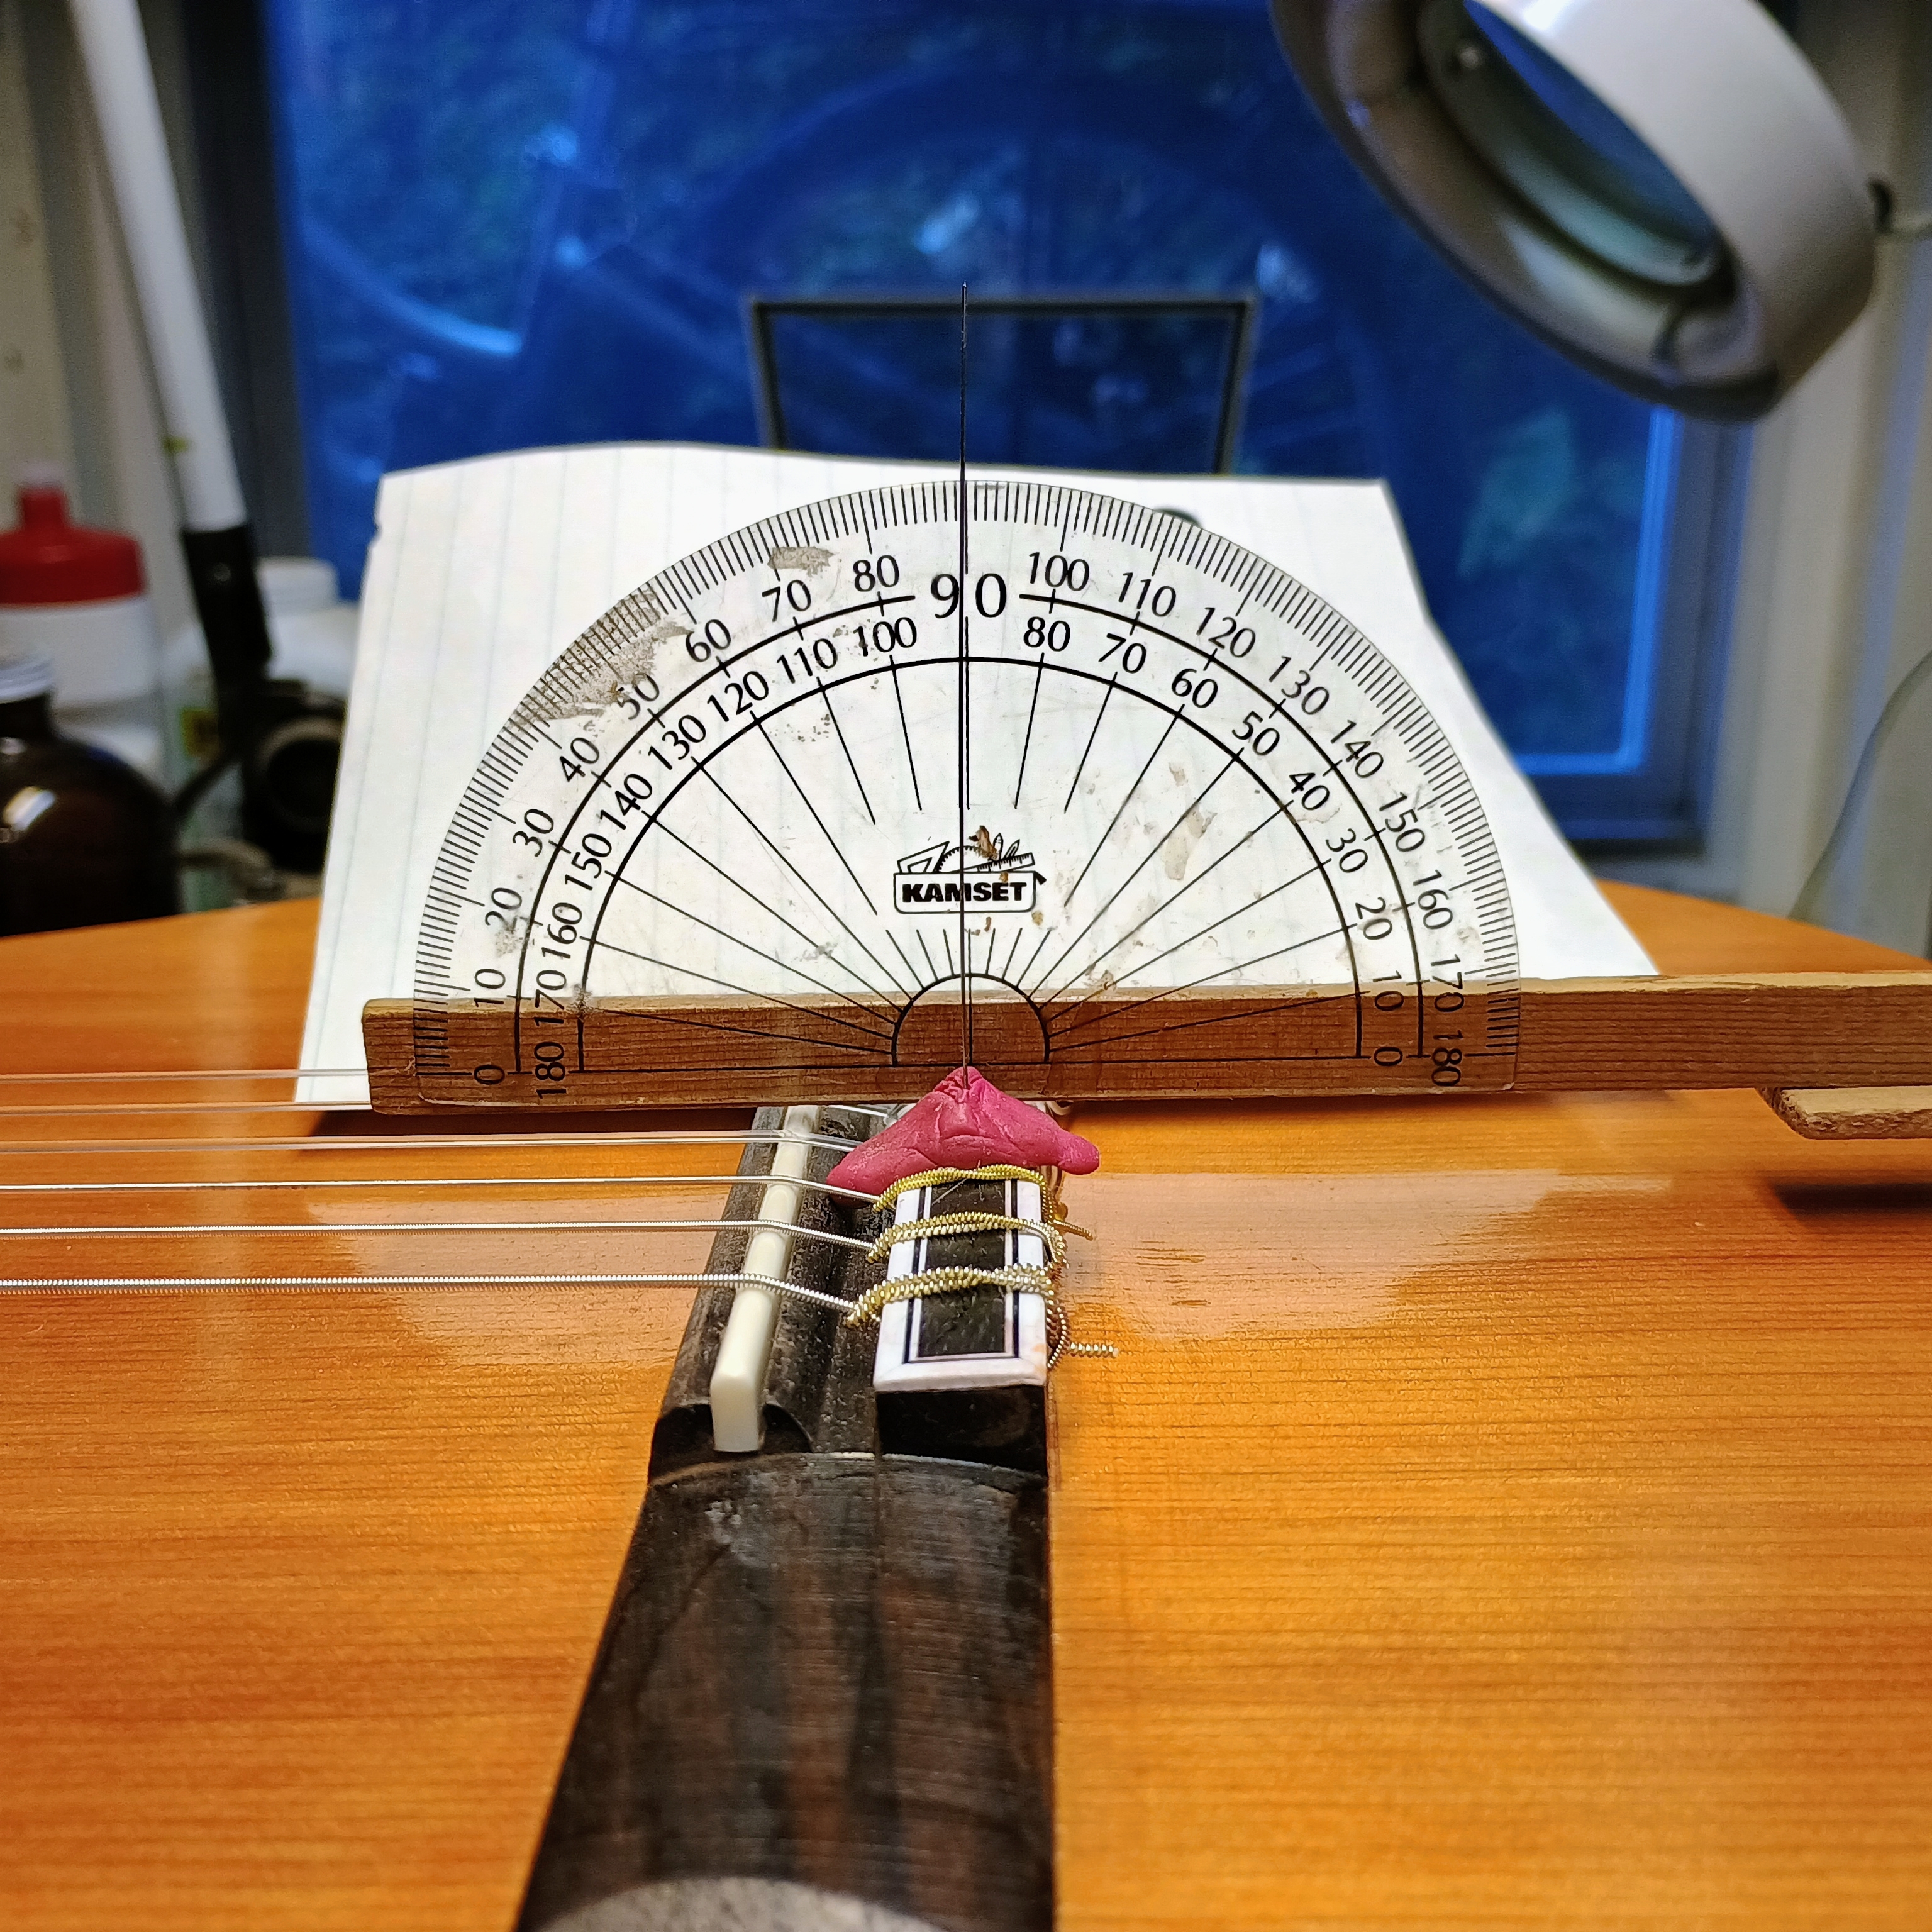
Testing the bridge rotation angle

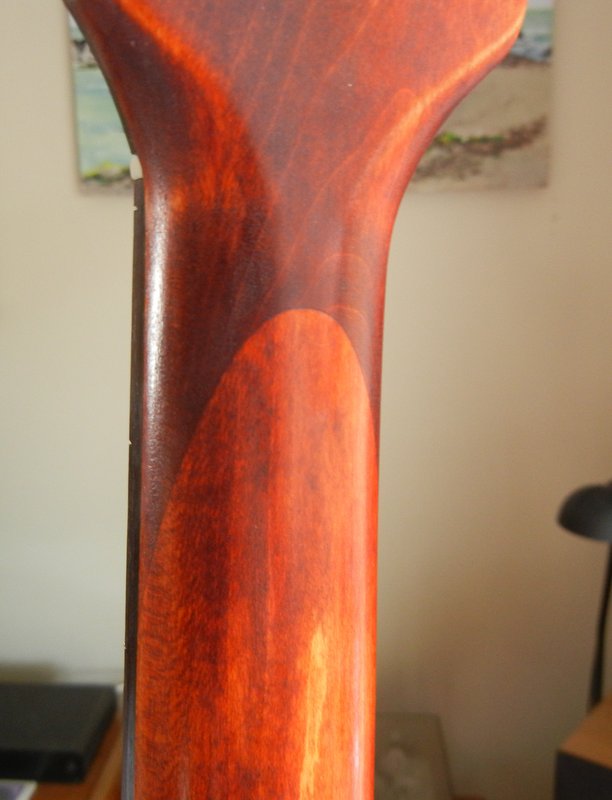
Once I had the bracing carved, I decided to reduce the depth of the neck, which was much too deep. How they came up with such a neck profile beats me, as almost no guitar player likes the depth of such a neck. I reduced it by about 3mm, which was not as much as I could do, but it was enough to make the neck feel much better. Then I gave it a light rub with a thin brown stain and finished it with a few rubbed on coats of shellac and oil.
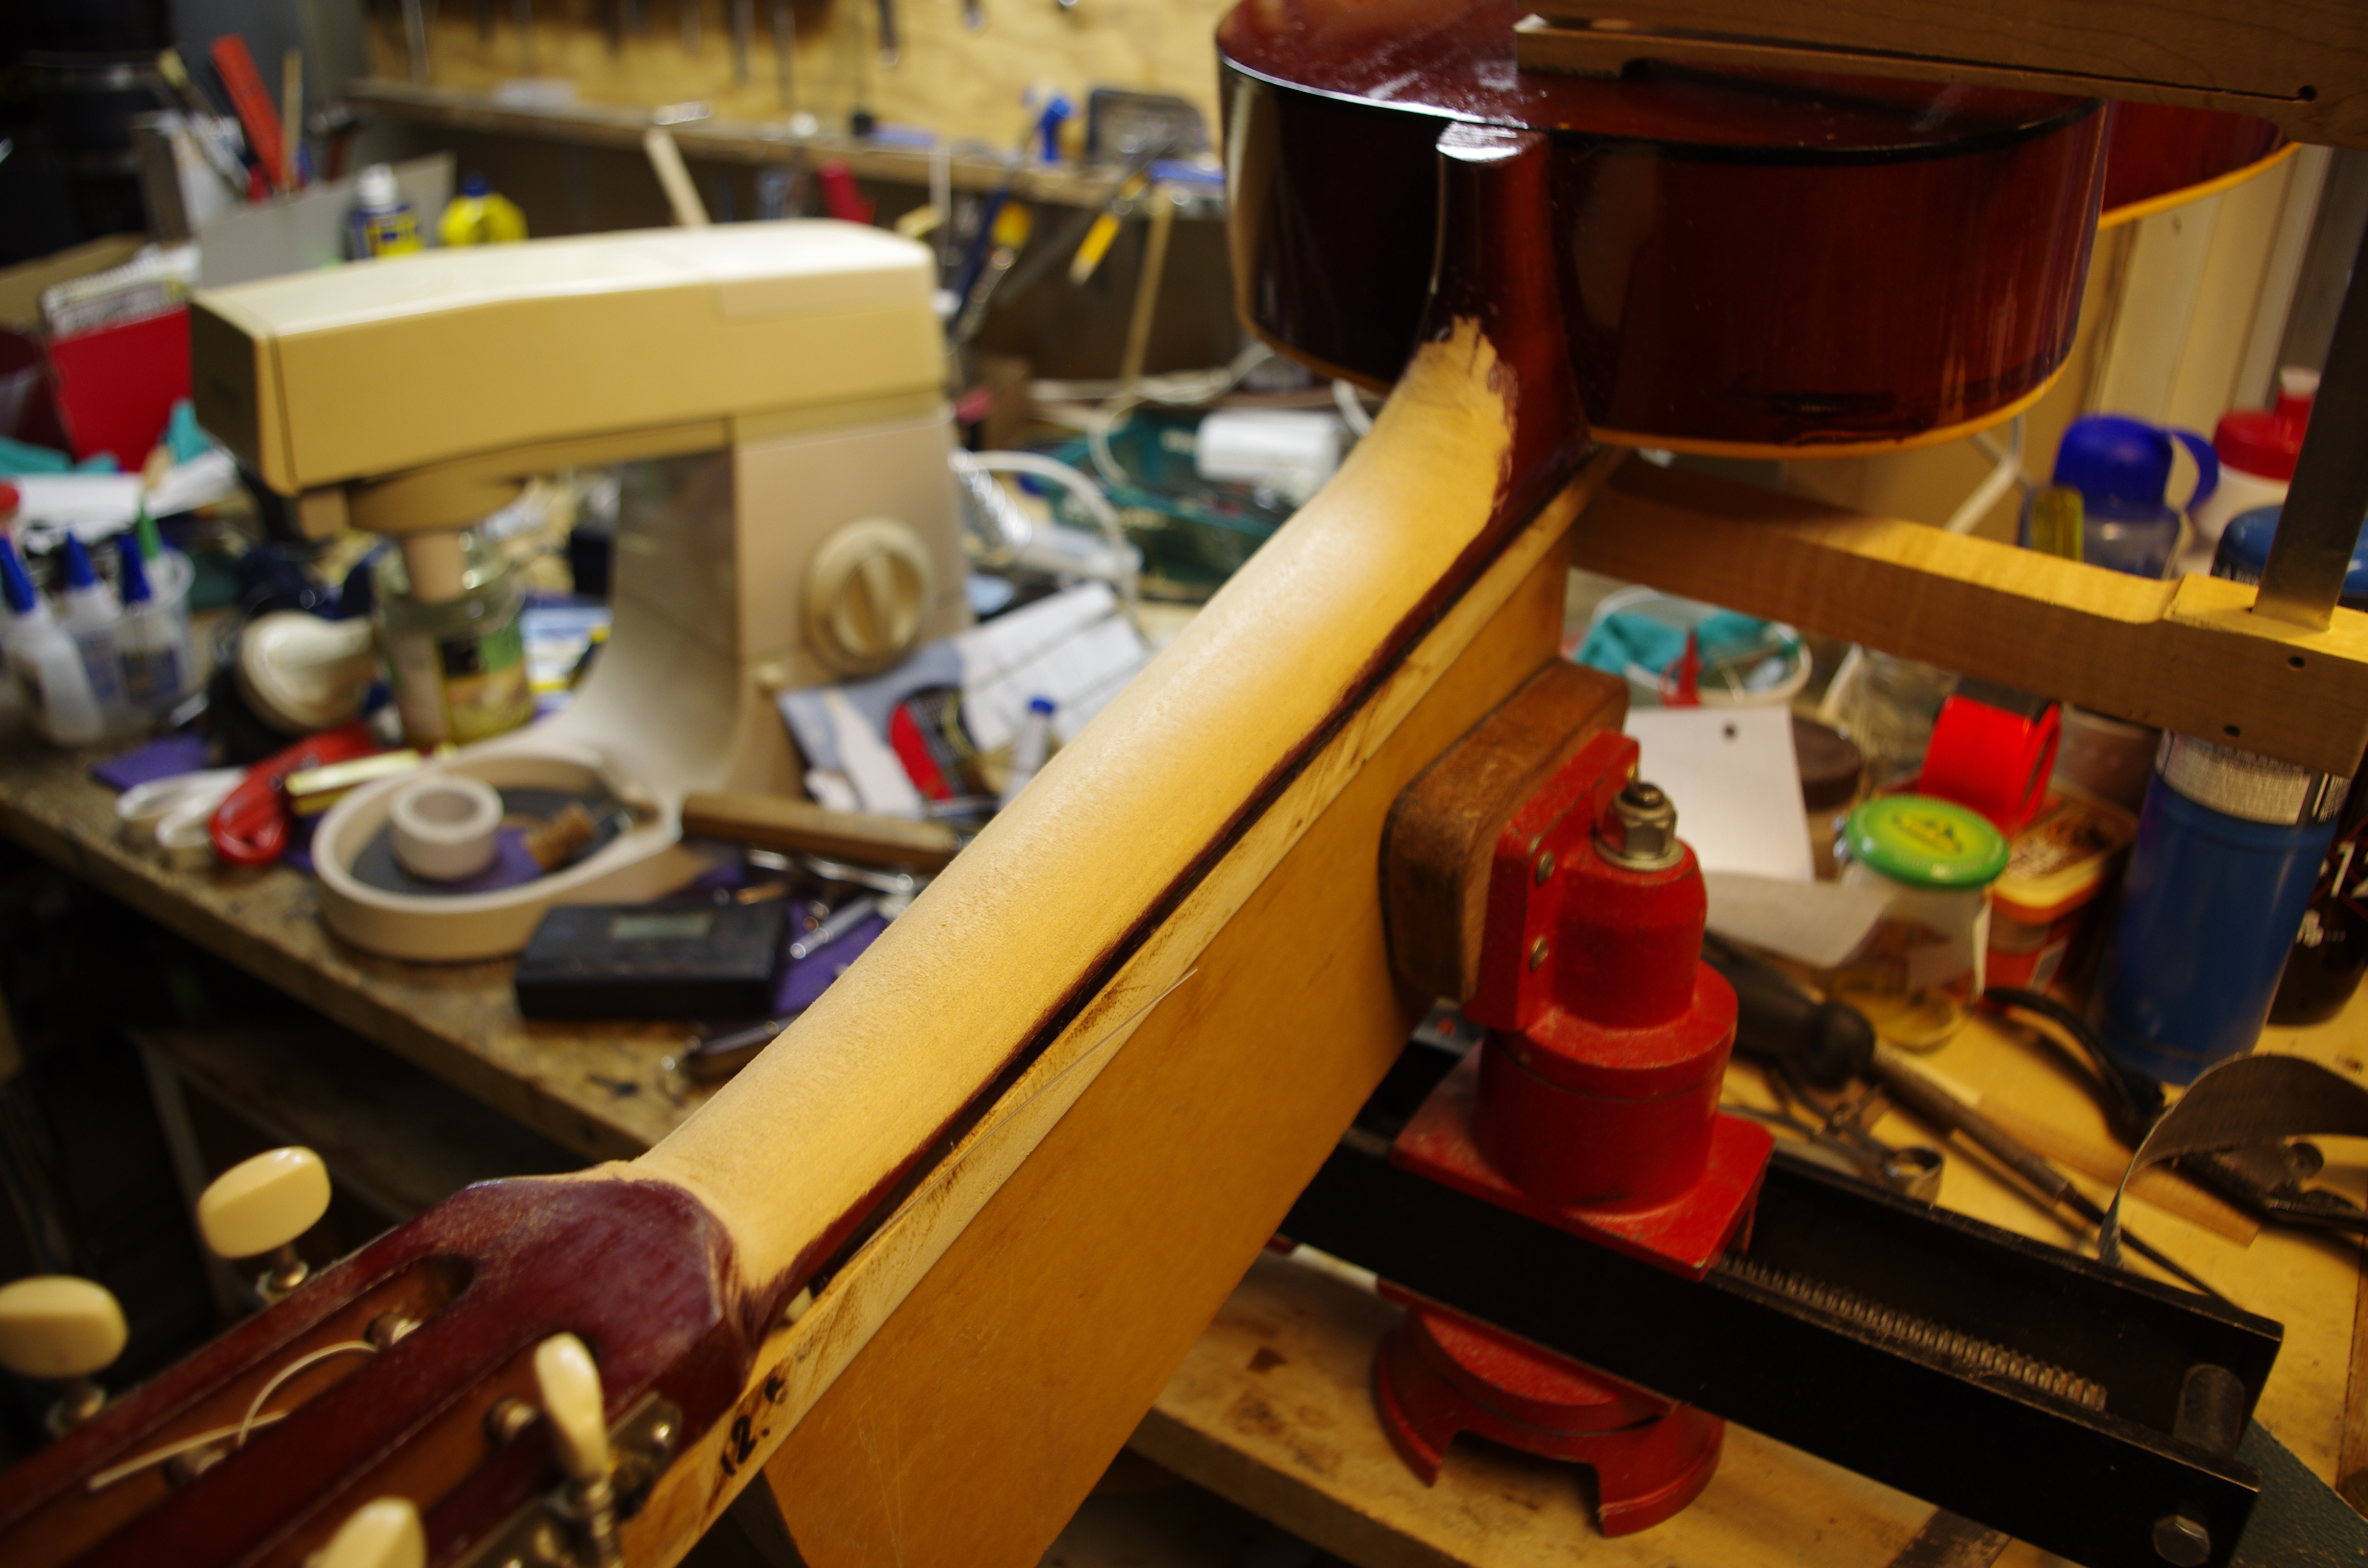
Re-carving the neck
Neck carved and refinished

The result is a decent guitar, with a very narrow neck – for a classical. The neck is actually smaller than I would build from scratch, at 1-1/2″ wide at the nut, but it’s still better to be a bit narrow than too wide and uncomfortable. The bracing worked well enough, and the guitar has a lot of bass response for a small body size. The trebles are not great, but that seems to be the typical tone of nylon strings, so I didn’t expect great things there. The response when using a pick is very bright and loud across the spectrum. So for my purpose, it works well.

An oft-quoted statement from Torres (the greatest luthier of his day) on his deathbed was that the sonority of a guitar was entirely dependent on the top. The making of the top, a skill that took years of practice to master, was what created the superb tone of his guitars. Torres built a guitar body from papier-mâché to prove his point. This guitar had a laminated top, back and sides, which is the reason it ended up in a thrift shop on sale for $20. Laminated guitars vary from decent to the cheapest of cheap, and there are some that are among the best guitars, but it still depends on how well the soundboard is made. The latest thing in classical guitars is the “double top,” basically a laminated soundboard. I have a guitar that features the traditionally highly prized features that truly do matter – the right dimensions and a solid cedar top that resonates well. But the marketplace is another thing! I doubt that anyone would pay me enough for it to cover the cost of the strings and the materials used to reconstruct it. But so what? I made it for my own pleasure and use and with a nice narrow neck, so I think I will enjoy this one.

A last word on the varnish I used – an old tin of Brown-Omega from the defunct International Luthiers Supply of Tulsa Okalahoma. This is great stuff, oil varnish, which dries fast and has little odour. It was popular in its day, but alas is no more.
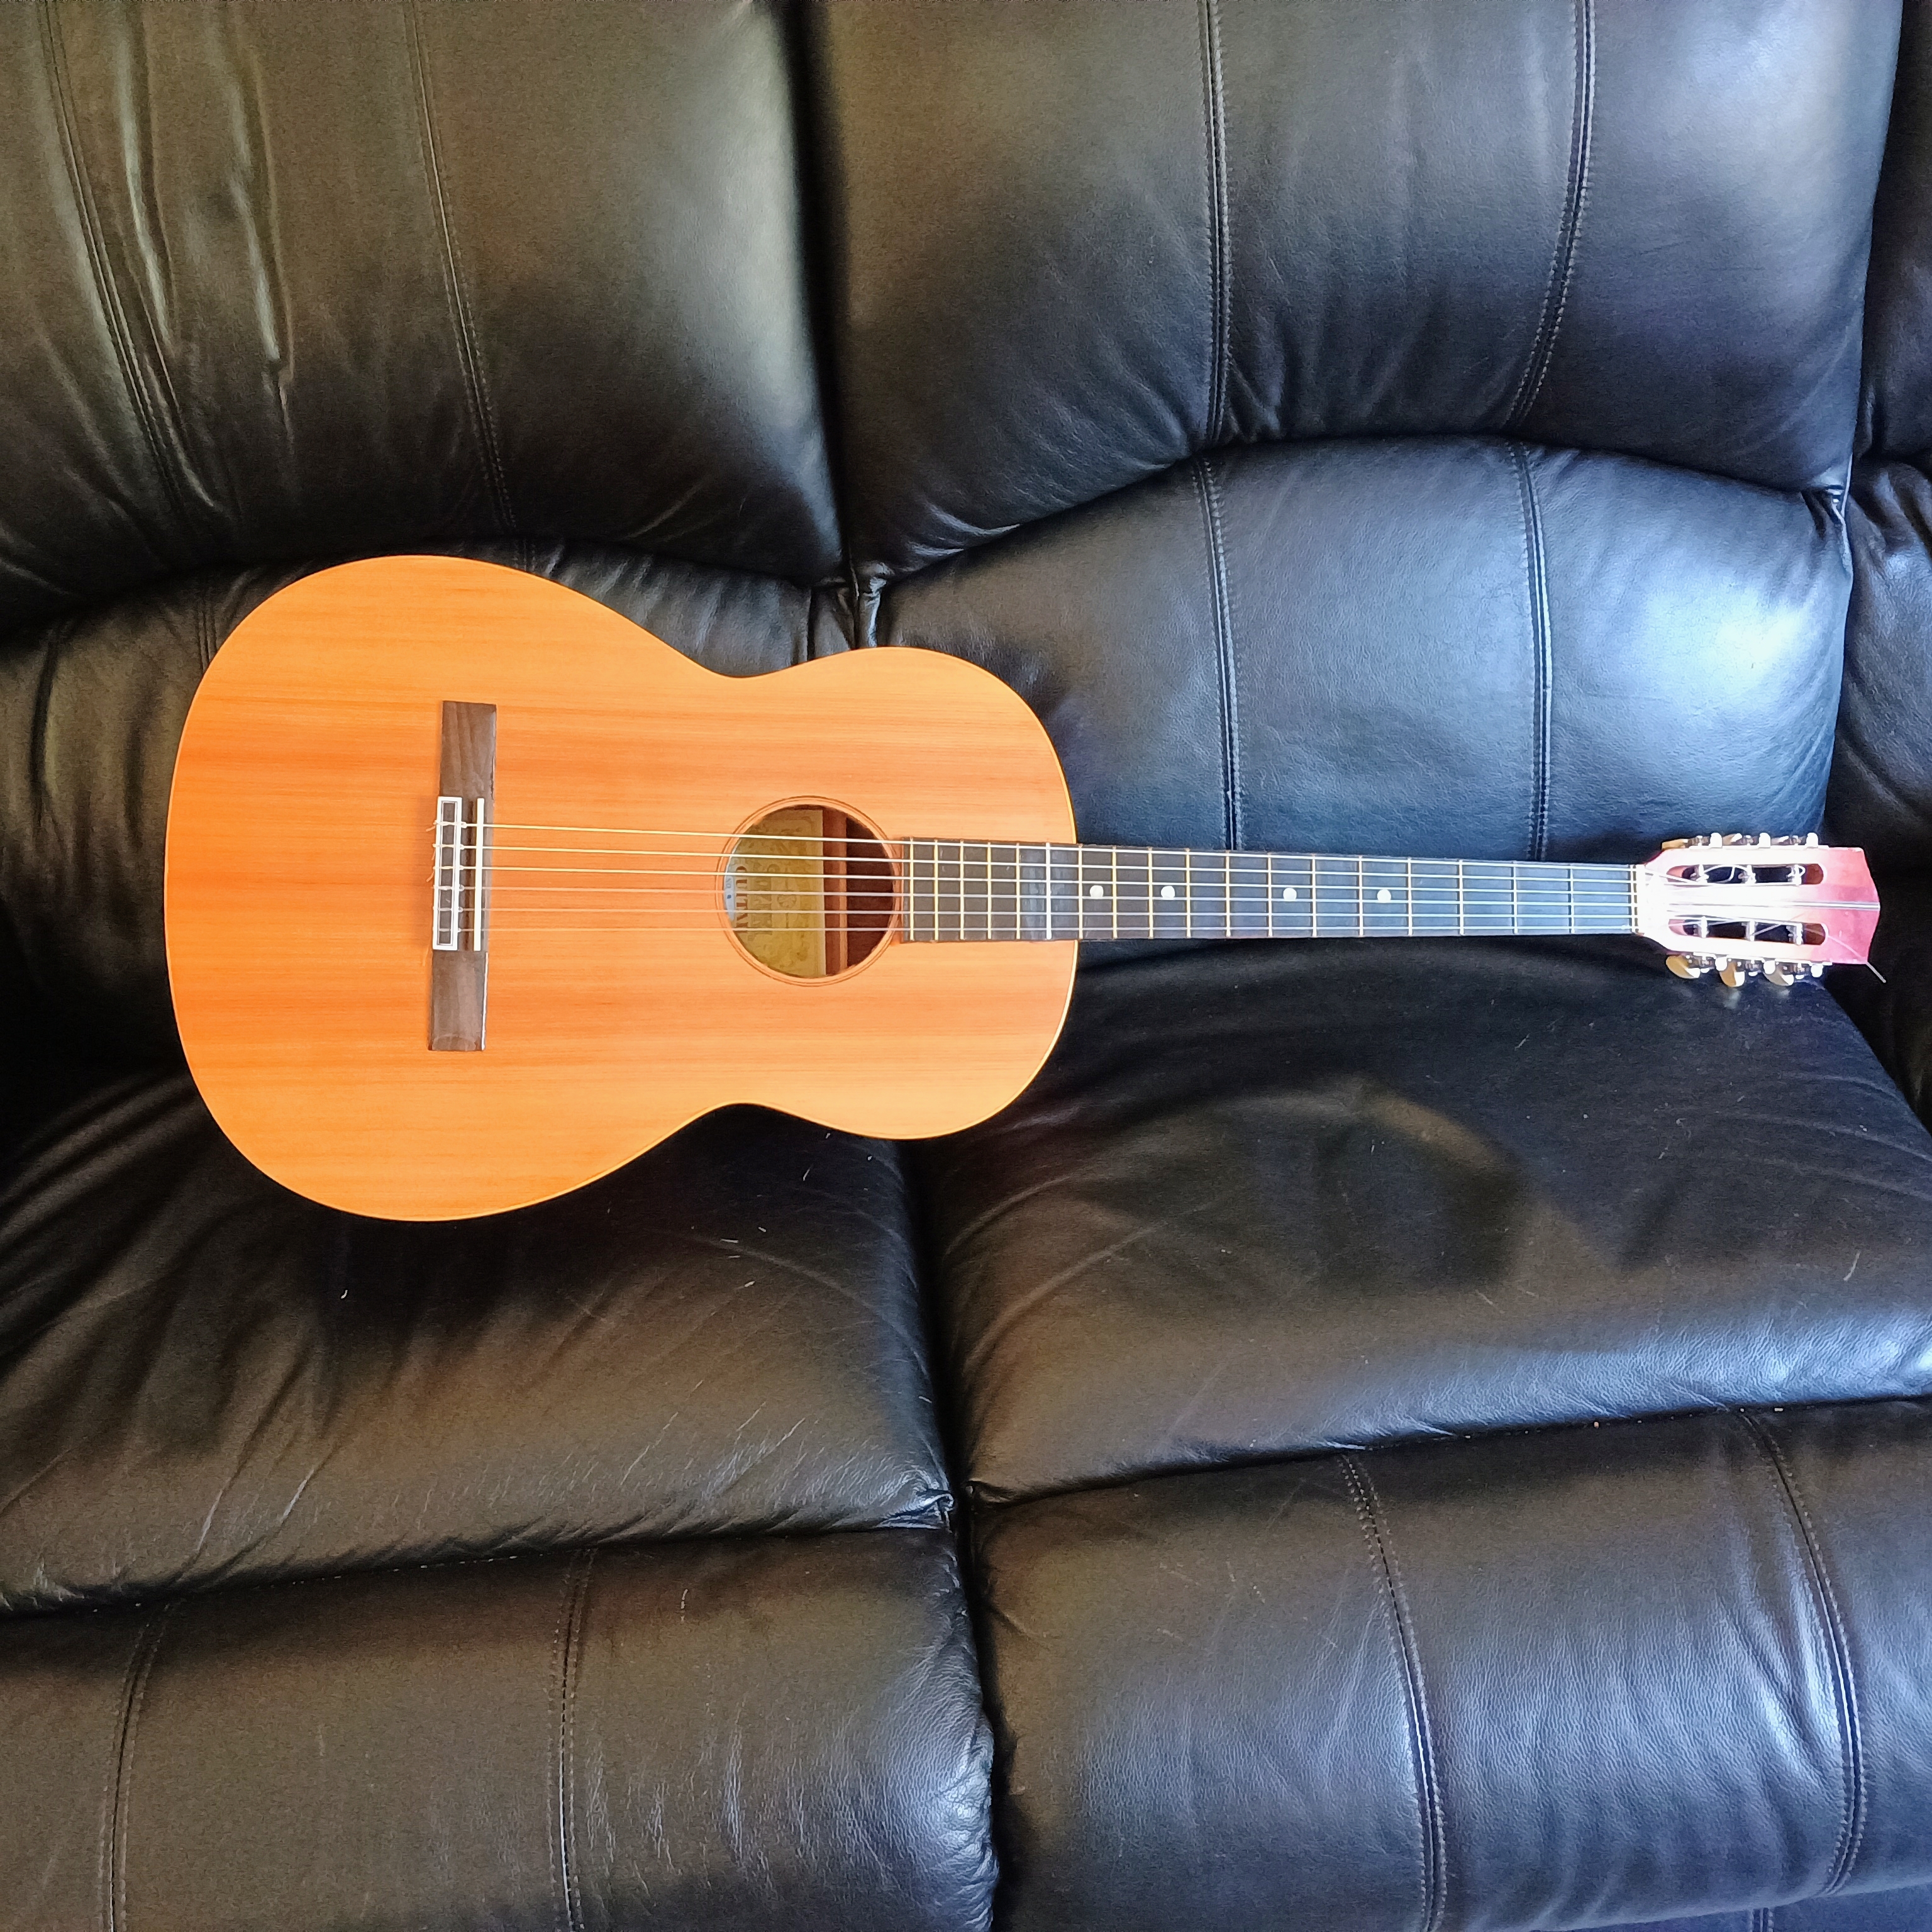
The completed project

1 Comment

Filed under Guitars, Uncategorized

A Classic Conversion

I have often failed to convert anyone to my opinion, but I can convert a guitar from steel strings to nylon! And it’s all perfectly legal, too. Some years past I picked up a busted Suzuki 9 guitar that had a failed bridge.

A Suzuki 9 like mine (not mine however)

I only bought it because it was cheap and I enjoy fixing things. I removed the bridge and reglued it, and then put it away for years. Recently I took it out from storage and the bridge had failed once and for all.

They all fail like this due to the weakness in the glue bond of the veneered top.

Because the top was made of thin laminated veneer, there was no way to repair it again, so I decided to see what I could do with it. I heard that Suzuki guitars were made with dovetail jointed necks, and hide glue. On that assumption I got out my neck removal jig, and attempted to drill a hole at the 15th fret. I hit a steel rod that reinforced the neck, so I had to drill in from the back to inject steam. I steamed and steamed for a long time with no results, and despite putting enormous pressure on the heel nothing moved. I was losing hope, when all of a sudden the neck just popped right out of the pocket.

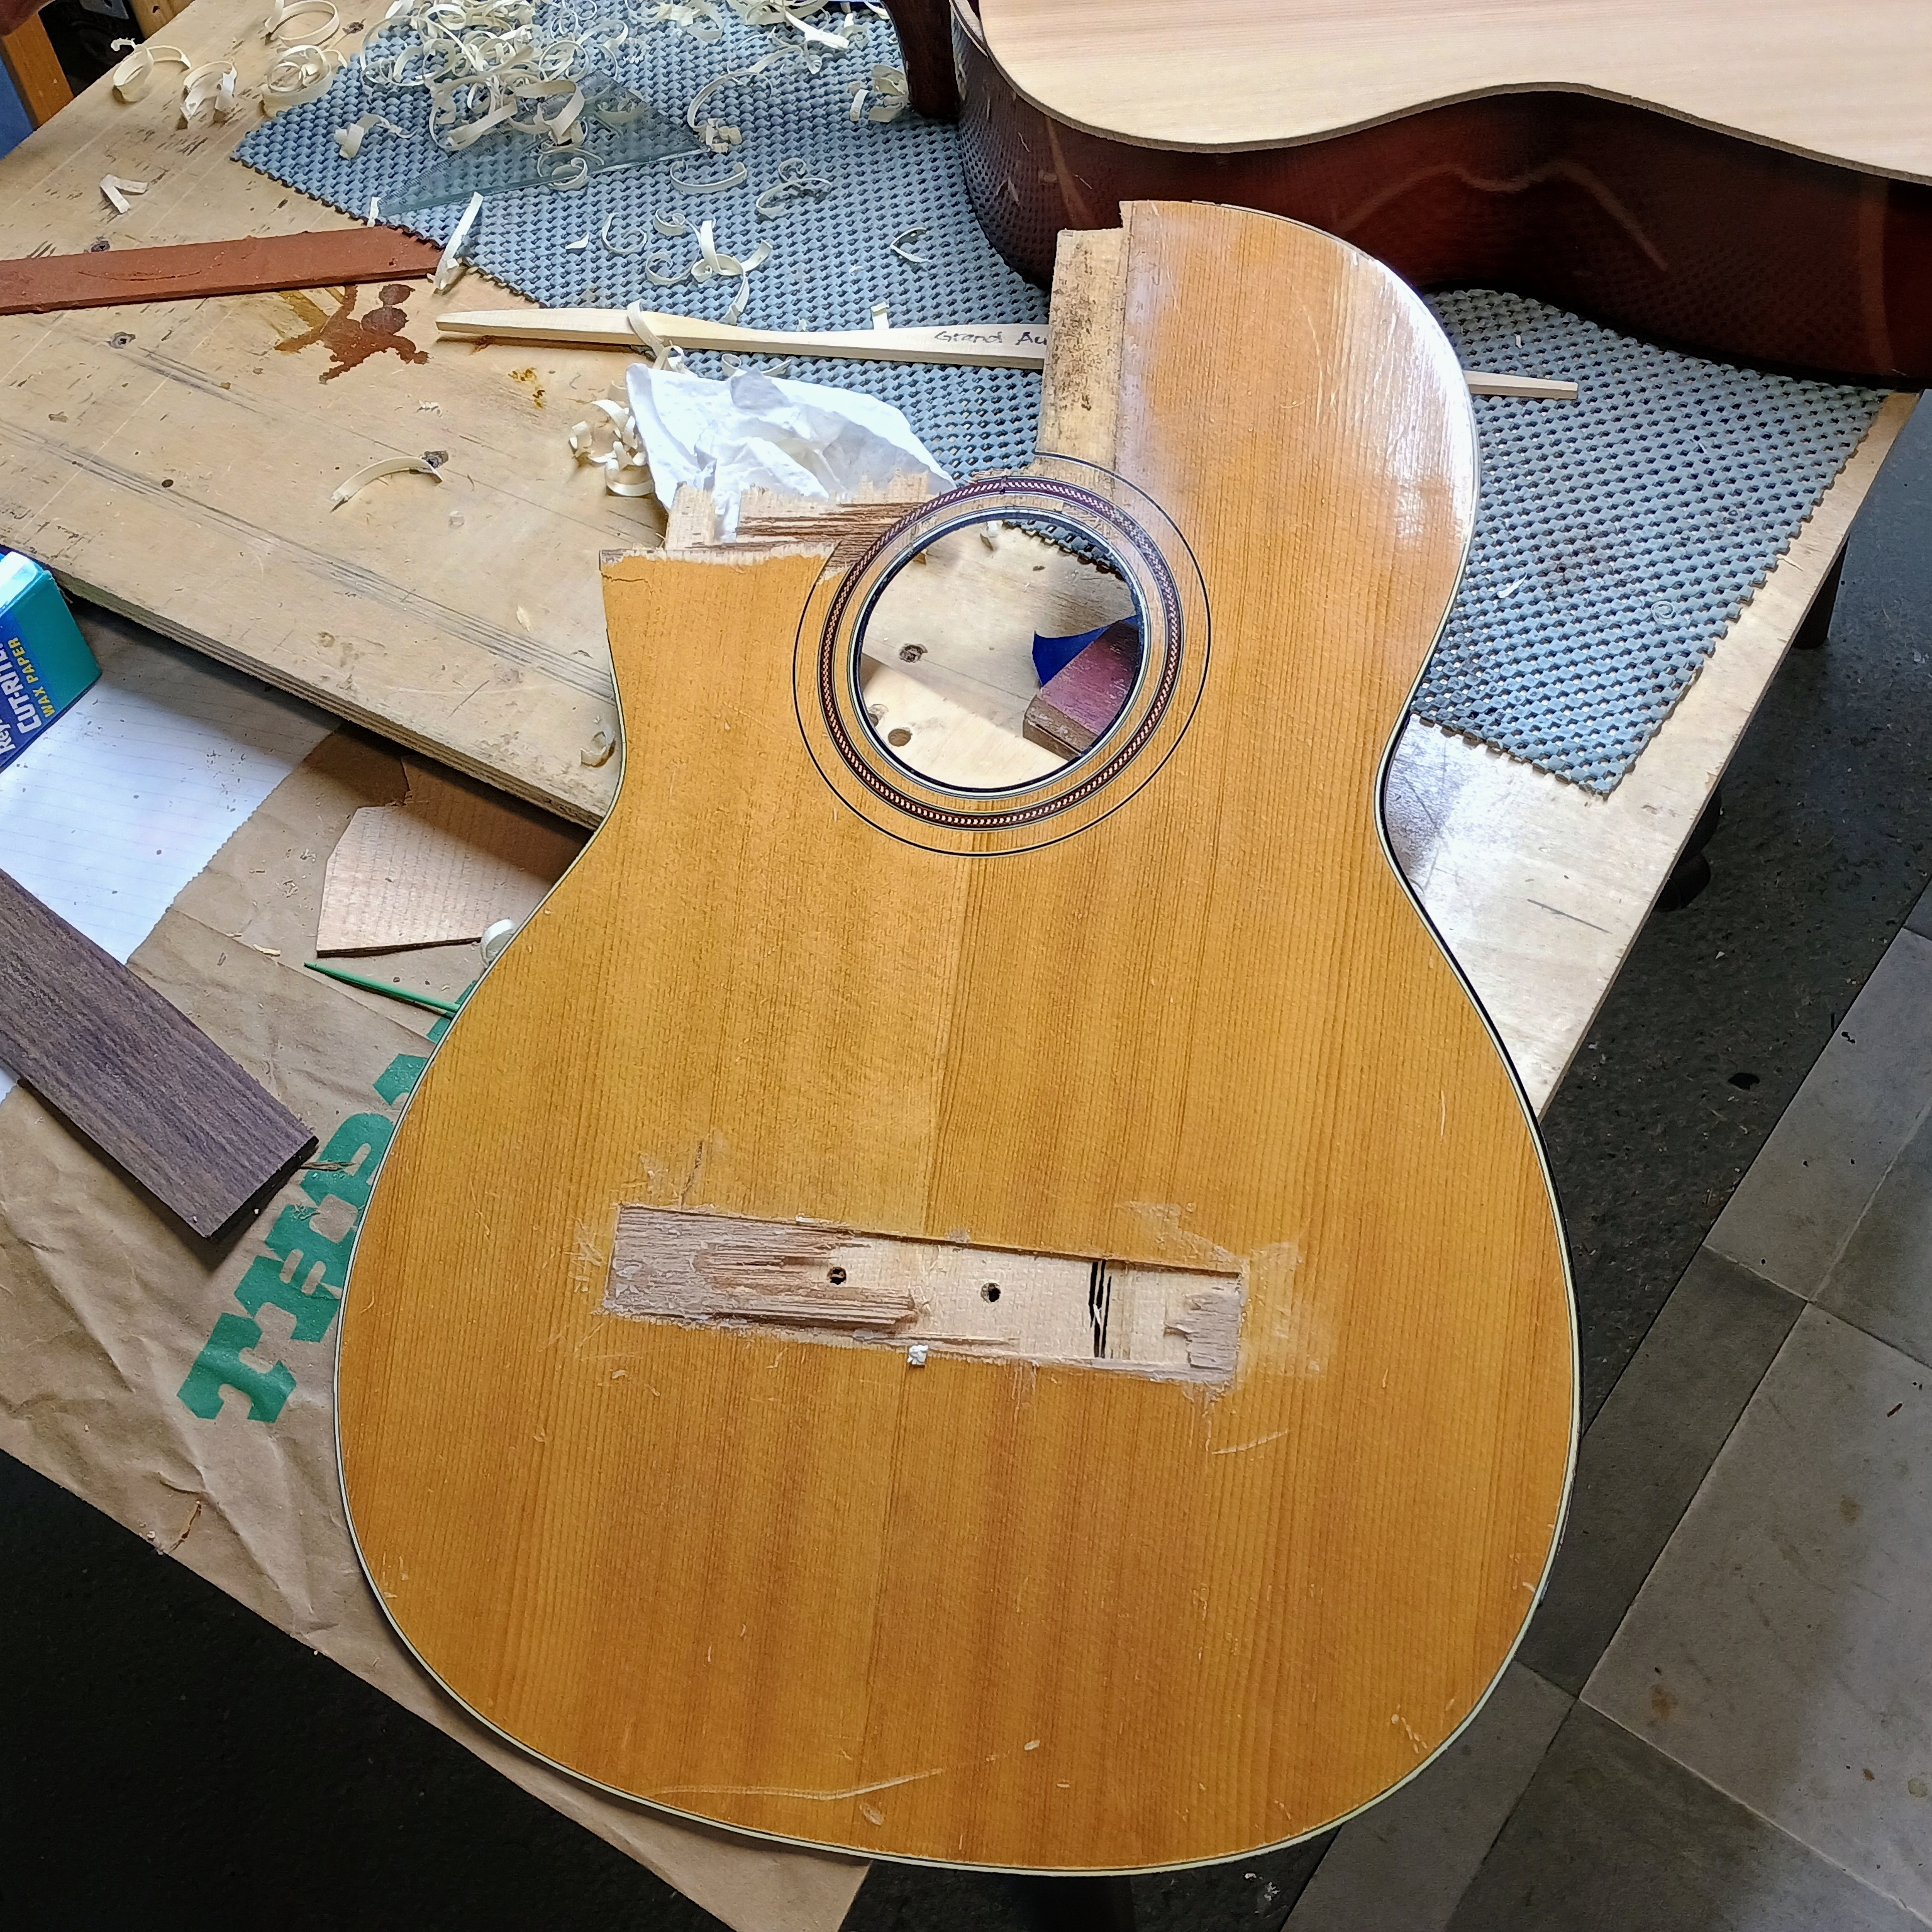
Next up was to remove the broken soundboard. This I did with a sharp blade, and the whole thing came off quick easily. Hide glue is brittle and will often fracture with a little help from a sharp blade. That is what allows violins to be taken apart without breaking them. Then came some thinking about the repairs.

Busted soundboard with delaminated veneers under the bridge.

What to do? I had long been considering building a classical guitar along the lines of a modern hybrid model with a narrower neck of similar shape and size as a steel string guitar, so I decided to convert this Suzuki into one of those. The body is the size of a classical guitar already. The neck is narrow, the fingerboard is flat, and the head-stock has slot head tuners, albeit for steel strings. But no problem, because it is possible to wind nylon strings on 1/4″ steel string shafts. My Mexican classical guitar is like that and it works fine.

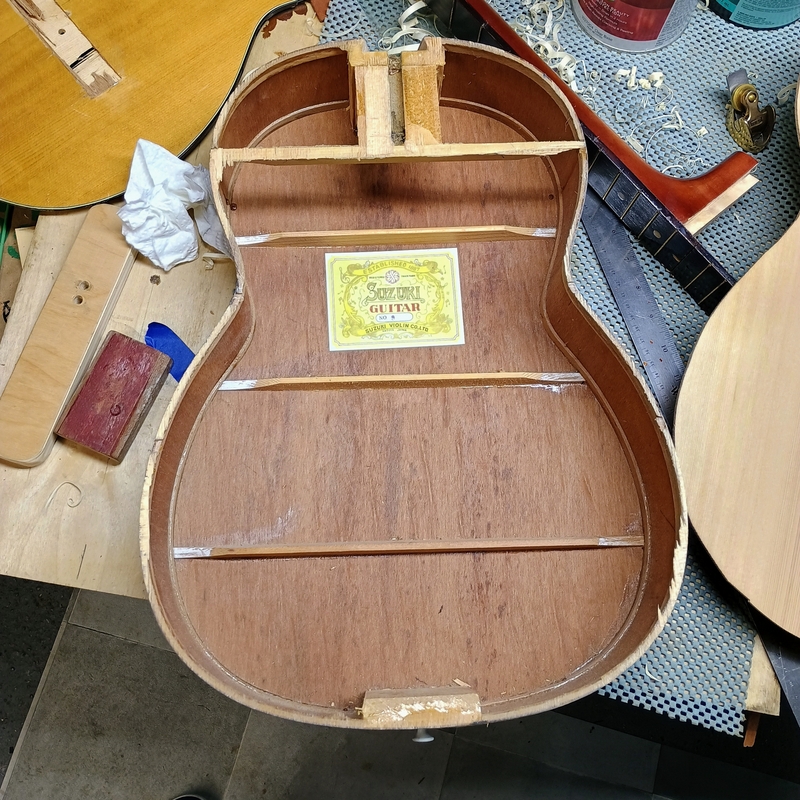
Suzuki 9 with no top and no neck.

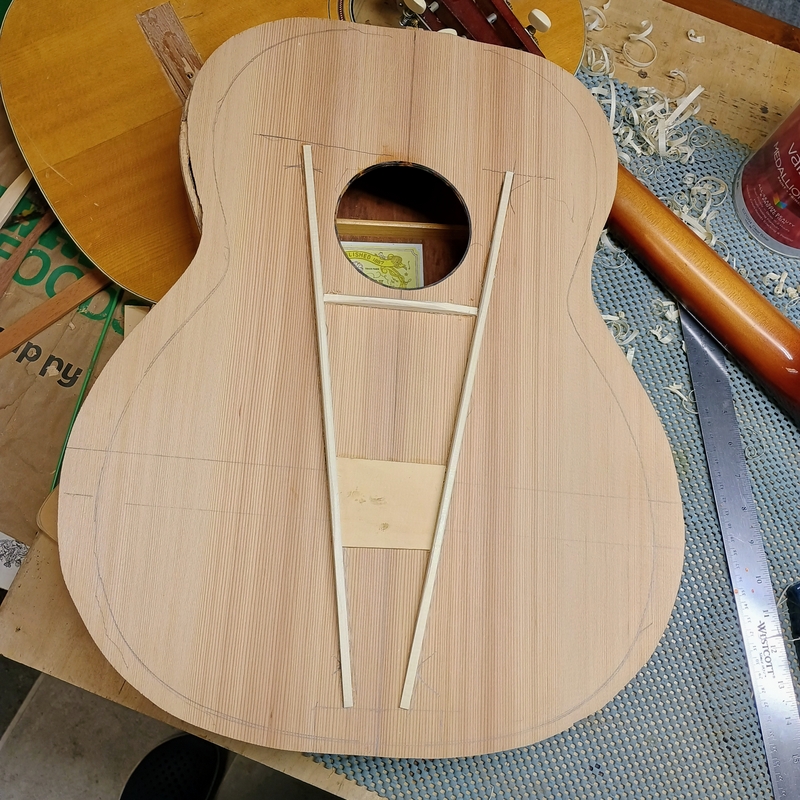
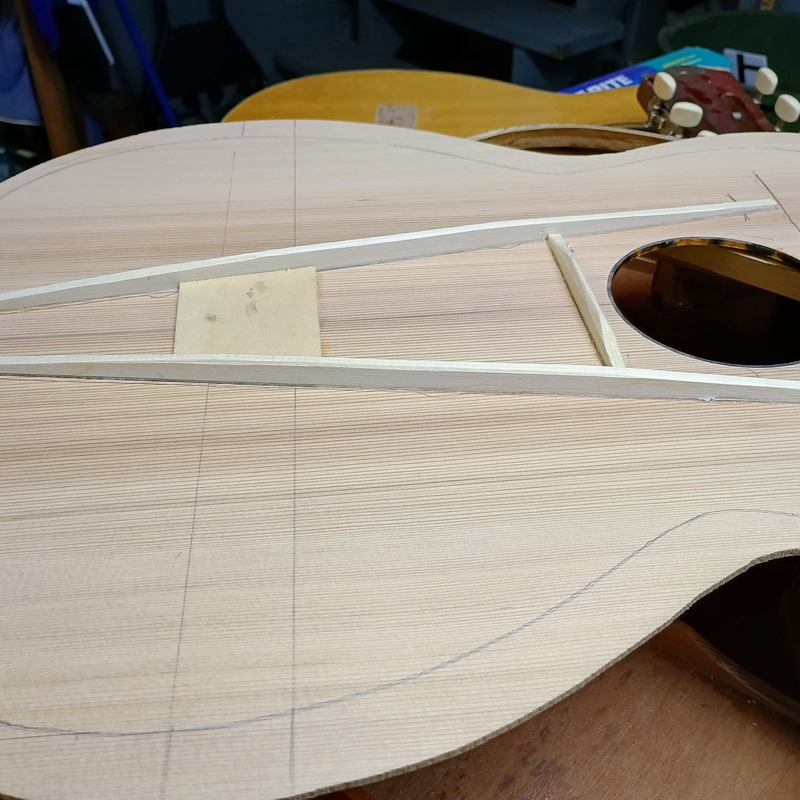
I had already joined some cedar plates for the future classical guitar, so I added the sound hole in the right location and size, then cut and installed my preferred bracing, keeping it light as befits nylon strings.

Simple V braces and a small bridge plate.

I cut the main braces from larger stock, 5mm wide x 10mm tall. The bridge plate is 2mm thick yellow cedar. The cedar top is about 3.2 mm thick. The braced top has a good tap tone and I don’t get overly concerned with making it as thin as possible once it sounds good.

After gluing on the braces I shaved down the ends and tapered them slightly in cross section.
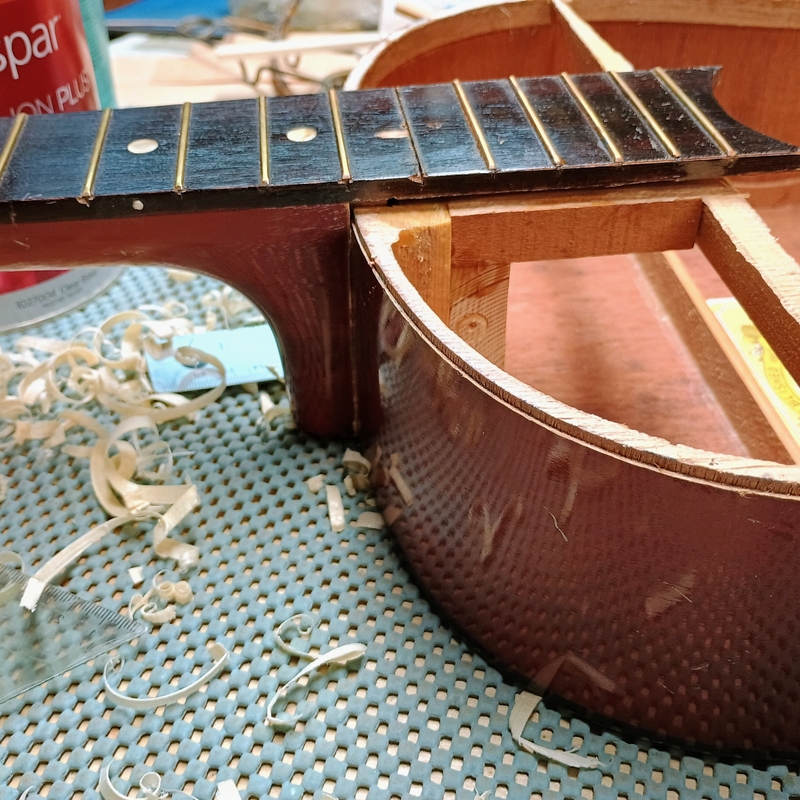
Flat fingerboard and maple neck with tapered dovetail joint.
The neck has a hollow steel bar in it and is dead straight.
I replaced the fingerboard extension block and the upper face brace that both came out when the top was removed.

The next step will be to glue the new top back onto the rim. Then the bridge will be attached and the top will be trimmed and finished. I will post again after more work.

Leave a comment

Filed under Guitars, Uncategorized

I Got Goya!

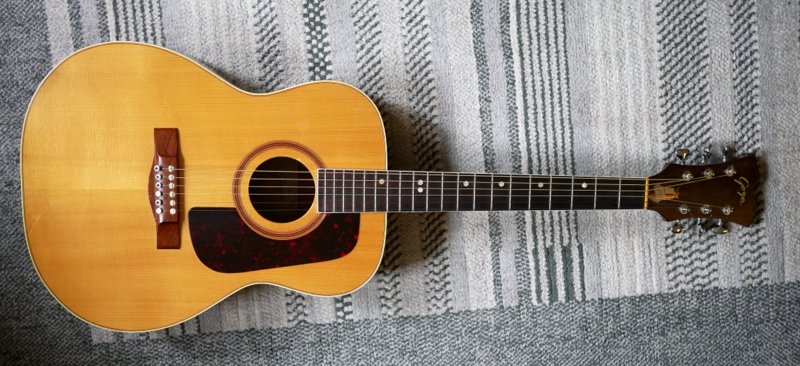
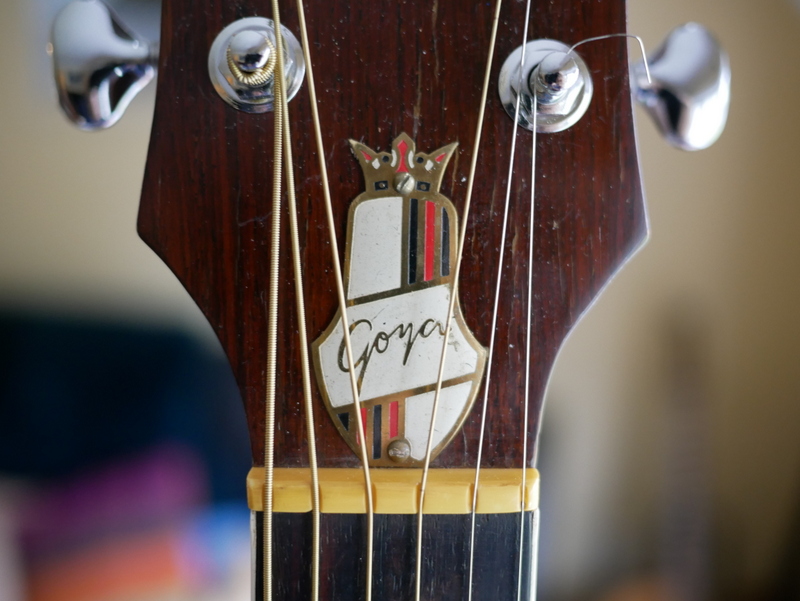
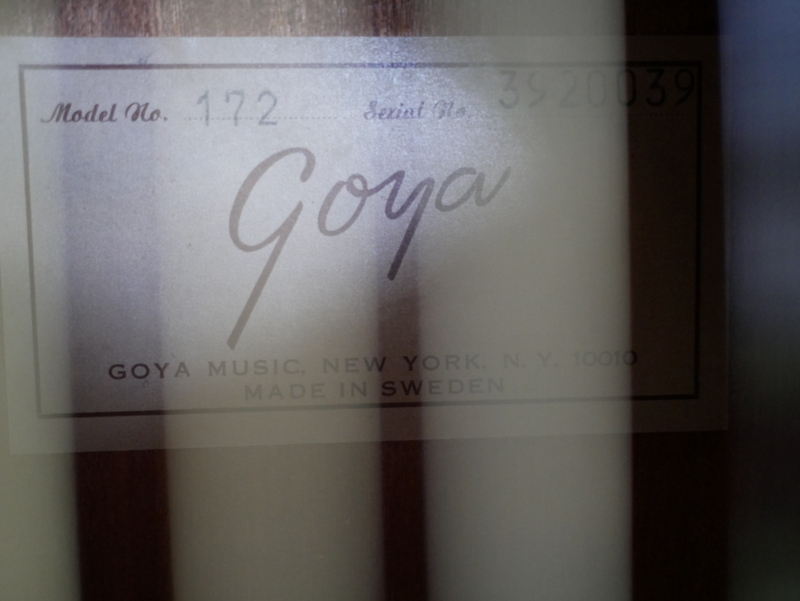
I recently acquired a 1969 Goya guitar that needed a neck reset. Goya guitars were rebranded Levins sold in North America by an importer. Levin was a respected Swedish guitar manufacturer, established in 1908. Goya eventually became nothing more than a label, and as far as I know they no longer exist, but Martin still owns the trademark. The Levin company is gone too, and so Levins and Goyas are now “vintage collectibles”, whatever that means.

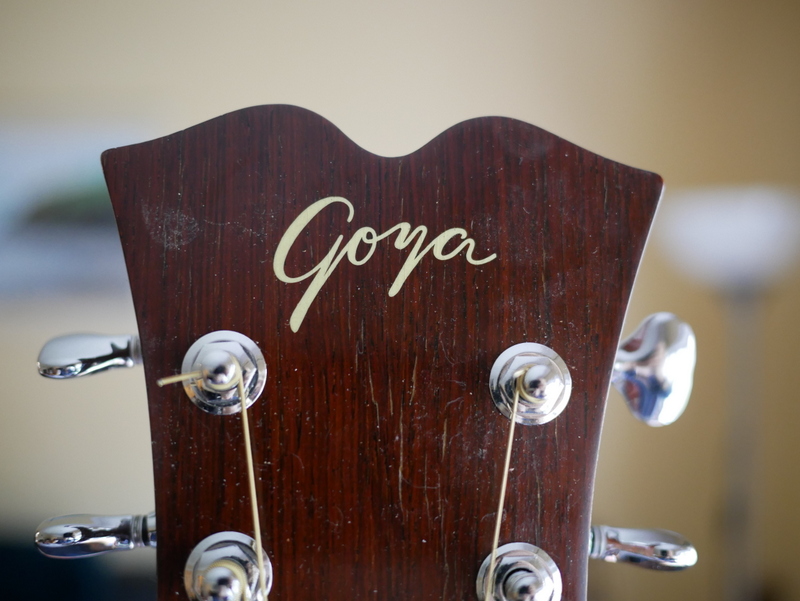
Logo and new tuners. The original tuners were very stiff. These are 1:21 and ultra smooth.

Their biggest claim to fame in my understanding is the famous photograph of Django smoking a cigarette, with a Levin archtop guitar up under his chin.

I fixed the neck on the Goya, and soon realized that despite the fact that it was made of first quality materials, it had a very low-grade tone. This was a surprise, as I assumed that it would sound great, being well constructed of fine solid woods, and fitted with a standard X braced top and all. But alas, it was loud, extremely shrill, and lacking even a decent amount of bass and mid-range.

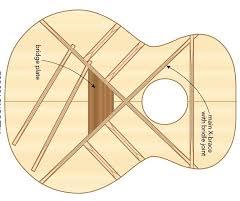
I shaved the main X, the tone bars, and the 4 short bars.

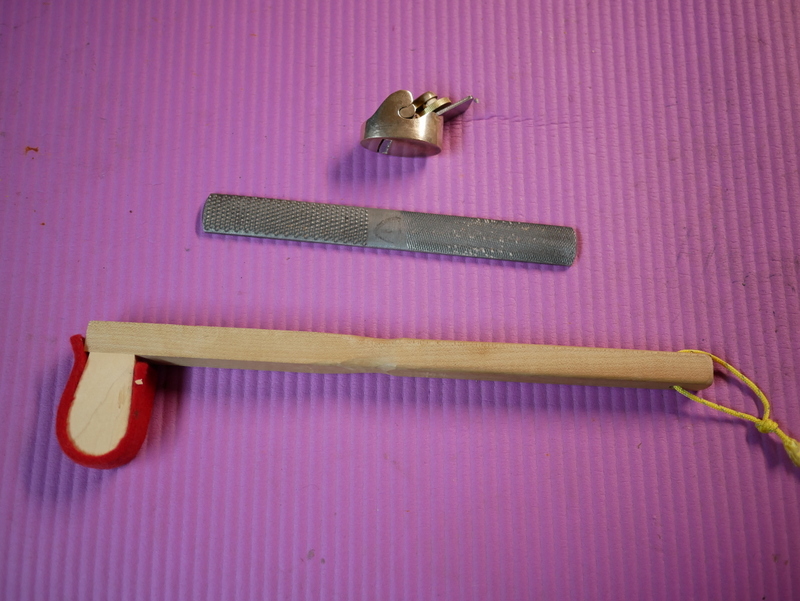
What to do? I got my small bronze luthier/violinmaker’s plane and proceeded to shave wood from all the braces I could reach. I have done this on many guitars, so I knew it worked, but in this case, I had to remove a lot more wood than expected. What I could not reach with the tiny plane, I filed with the rough end of my 4 in one file. After each session I strung the guitar up and played it, and banged on the top with a small felt tipped wood hammer.

My tools - all you need is this!

Tapping tells a lot about the responsiveness and pitch of the soundboard. What started out as sounding like a wooden desktop eventually began to open up and produce a much wider range of tones, especially in the lower frequencies. The decay time lengthened appreciably too. It took quite a few sessions, but eventually the guitar went from sounding like a banjo to sounding like a great guitar. This was very satisfying!

Well made with the best materials.

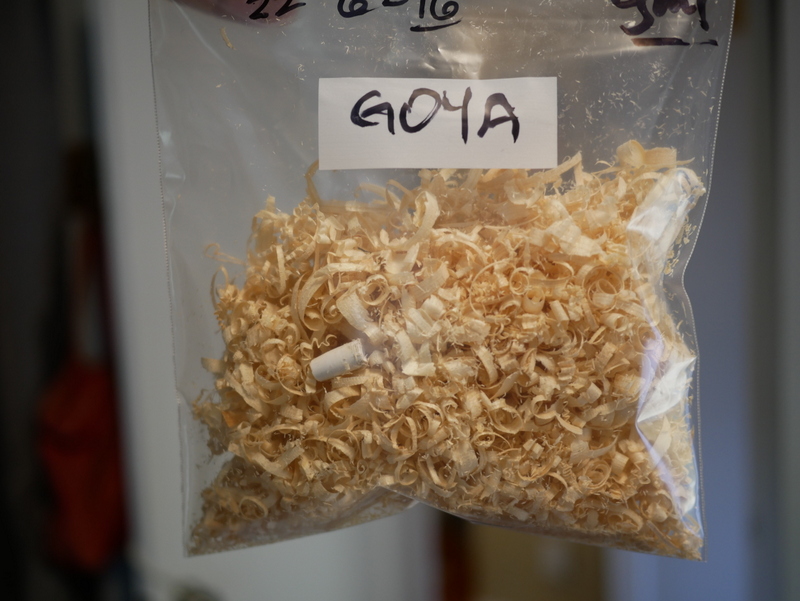
The shavings I collected weighed 16 grams. That may seem like nothing, but represents a significant proportion of the overall bracing weight. I did some calculations based on what I could see inside and estimated the total weight of the braces in the active zone at about 68 grams. Reducing the height of a brace has a rapid and strong effect on the stiffness, which determines the resonance. Engineering wise, when a beam is reduced in depth (height), it loses stiffness proportionally to the 3rd power.

This is the difference between fair and great!

If my guessing is accurate, the 16 grams of shavings removed represented 24% of the mass of all braces. I shaved down the main X braces, the tone bars that crossed the lower bout, and 4 short finger braces between the main X braces and the rim. The main X brace measured 17mm high at the crossing, and was reduced to around 15mm. I ramped the legs of the braces in both directions, taking more from the back end, as that is where the greatest effect happens.  I did not attempt to scallop the braces, because in my opinion this is not the best idea in a case like this. Maybe it works when done before the guitar is built, but it doesn’t have enough effect when attempted on an overbuilt guitar like this one. In any case, ramped braces sound fine to my ears, and I find the frequency response of ramped braces very pleasing.

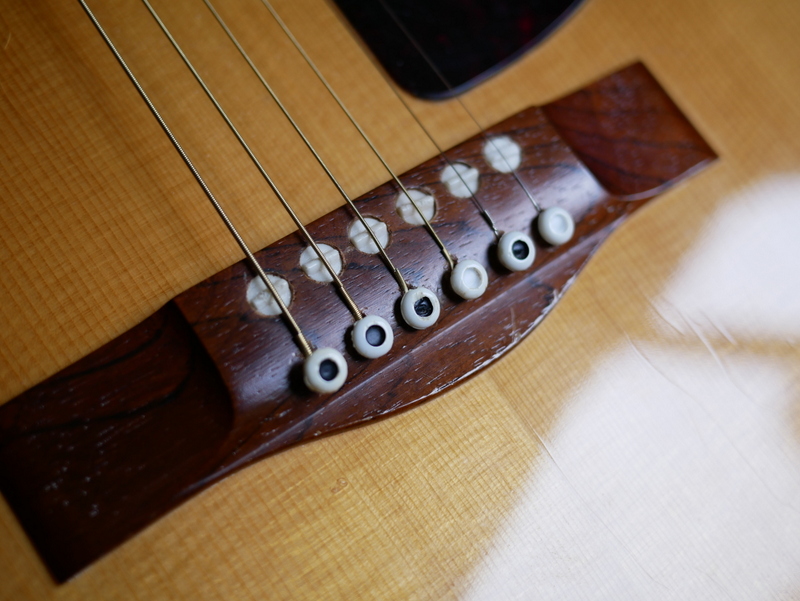
Unique bridge has screw adjustable saddles.

My rough estimating indicated that I reduced the stiffness of the top by about 60%. That is huge, yet it took that much reduction to get the guitar to sound good. One can only conclude that guitar makers tend to overbrace their tops. That doesn’t make for great guitars, which is why there are so many good guitars and only a few great ones! He who dares, wins…

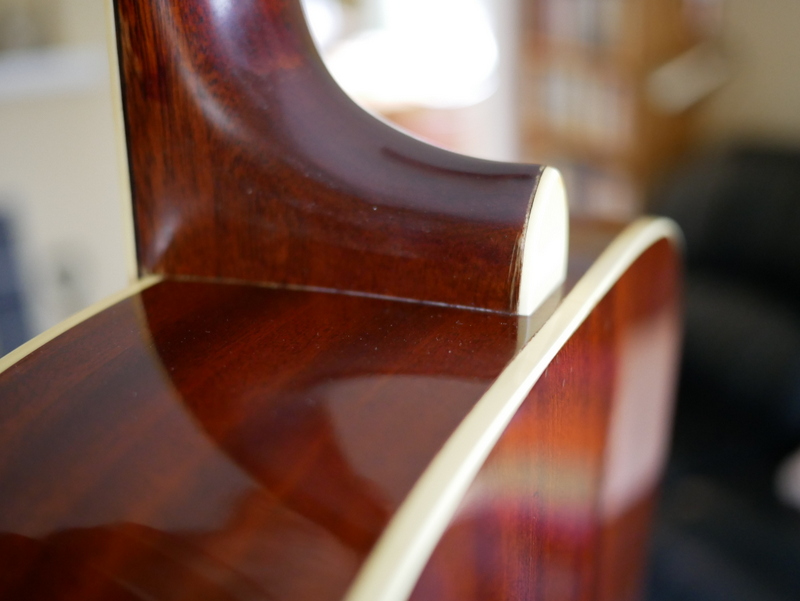
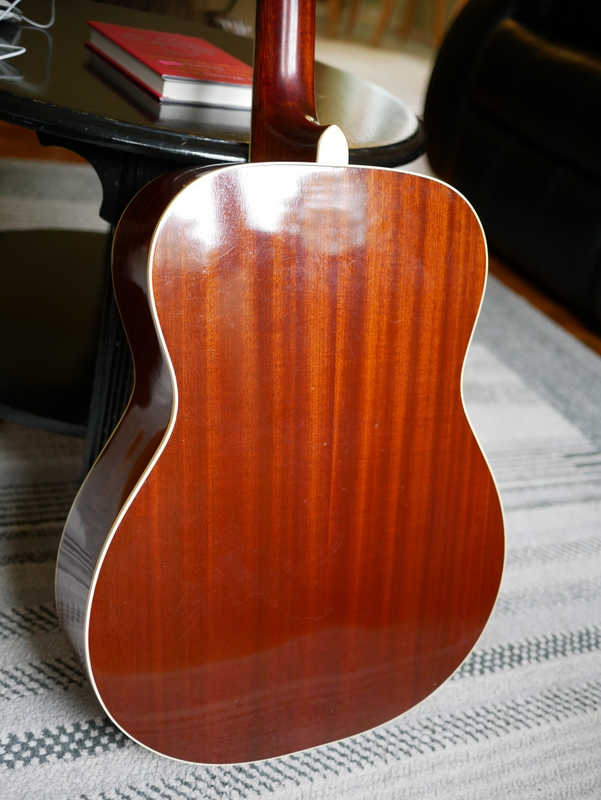
Honduras mahogany body, spruce top.

3 Comments

Filed under Guitars, Uncategorized

Guitar #41

I recently built a guitar after two and a half years off. A friend gave me a lovely piece of bear-claw spruce, which I took down from the shelf one day in June and joined together just for something to do. Then I planed it down and sanded it to rough thickness. By this time I realized that I was going to build another guitar, but I didn’t know what it would be. So I went around and looked at guitars in the local music store and decided to make something that looked like my previous big body guitars! These were both copies of the Taylor Grand Auditorium model, but when I delved into this a bit more I discovered that those were very close to the little know Martin models known as J40 and M36. The main difference being the body depth. So I settled on something shaped like a Martin M36, which has a 4″ deep body, but with V bracing like Taylor uses, and which I have been using for the last few guitars too.

It took me 2 months to build, working slowly and steadily. I have been experimenting with this V bracing and this time I settled on my own version that omits the waist brace. I had already tried this on a guitar or two that I rebuilt, so I was confident that it would work. Basically I simplified the already simple V brace concept by making the 2 main braces one long piece from end to end. Unlike Taylors, this idea needs no waist brace. Despite how great the guitars I made with the waist brace design were, I still figured that the waist didn’t really need that brace if the main braces didn’t get thinner there. So I left off that waist brace and kept the main braces high at that area.

In the spirit of being different again, I braced the back with an X brace, which is the commonest form of soundboard bracing. But heck, it looks good and works great for backs too!

In conclusion, it’s a fine guitar and it has a great sound. I can’t say it’s better than the ones I built with the waist brace, but time will tell how it sounds in the long run. So far, so good – great response from low to high, and very loud. It was an interesting project to build something out of the ordinary. After all, why be ordinary?

If you are interested in reading the whole process, here is my diary of the build, from original hand written notes.

2 Comments

Filed under Guitars, Uncategorized

Typewriter Rock n Roll

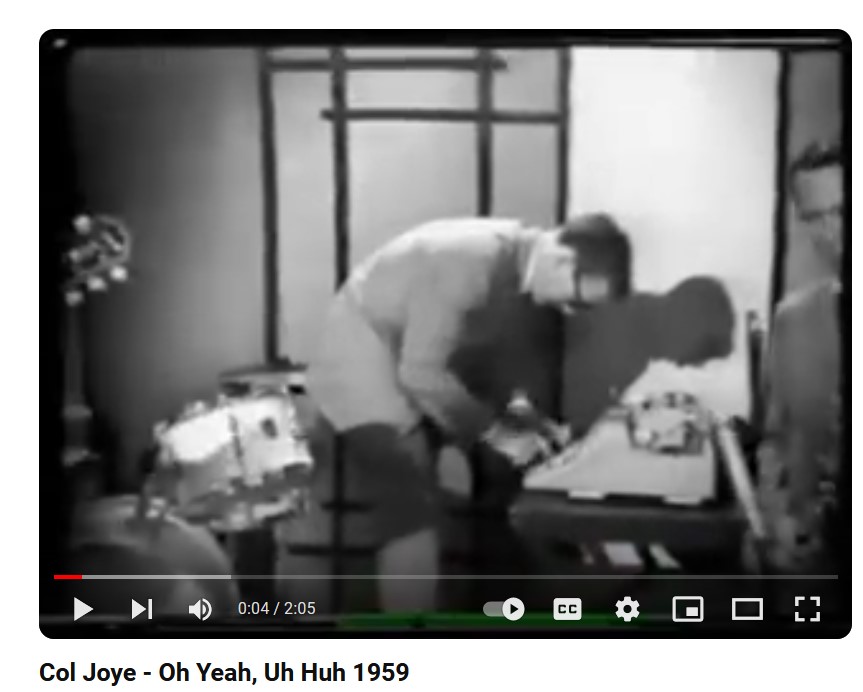
A recent thrift shop find was a very unusual 60 year old Japanese guitar. I bought it because I liked the funky look of it. A search by photo turned up some amazing facts that led me to this clip above of an Australian band from 1959 that featured rhythm by typewriter. That band was led by it’s star singer, Col Joye. He had a line of guitars made in Japan with his name on the label. This is one of them.

My Col Joye guitar after repairs.

It resembles a French gypsy style guitar in construction, having an arched top with ladder bracing as well as a fret marker at the 10th fret. It sounds like a gypsy jazz guitar, very bright and loud. The rosette is a work of art, with delicate inlaid mother of pearl, seriously fancy for a presumably low cost item. The neck has no truss rod, but it does have an inlaid wood bar that acts as reinforcing. The neck did not warp or bow, but slowly bent from the heel over 60 years, as even the best of guitars often do.

I removed and reset the neck, made a new bridge and did a lot of fret levelling to make it playable. One site stated that Tommy Emmanuel owned a Col Joye as his first guitar. How this came to Canada beats me, as they were not sold here.

Neck removal by steam injection. Lucky for me they used hide glue. I used hide glue to reassemble too!
Rosette and pick guard detail

I found numerous videos of Col Joye and his band, but the one that amazed me was the performance of Oh Yeah, Uh Huh, which had a guy typing rhythm. The song is forgettable, to be kind, but the video should be priceless to typewriter aficionados. As for the guitar, it is the rarest guitar I have ever owned, and likely one of the few left in the world (just guessing).

Page from an archived Australian website that once had the same guitar for sale.

Tommy Emmanuel, if you are out there, I will gladly trade you this guitar for one you own!

Leave a comment

Filed under Guitars, History, Thrift shop finds, Typewriters

Sovereign Revival

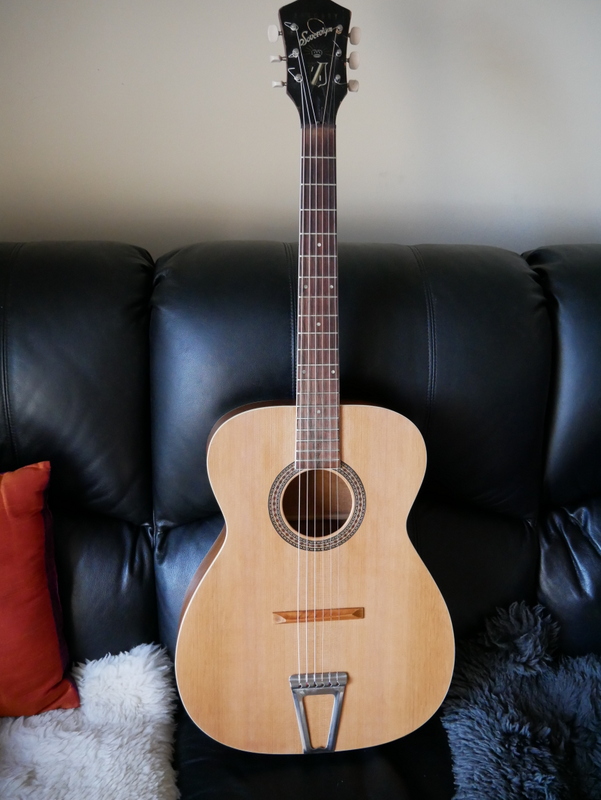
HARMONY SOVEREIGN MODEL 1203

A couple of weeks ago I found this old 1960’s era Harmony Sovereign guitar for sale at the Sally Ann, cheap! The nut and tuners were gone and the top was damaged, cracked and warped. The bridge was loose and had been bolted into place. But otherwise the rest of it was in reasonable shape.

INJECTING STEAM INTO NECK JOINT
SERIOUS DAMAGE AT THE NECK JOINT
DOVETAIL NECK JOINT

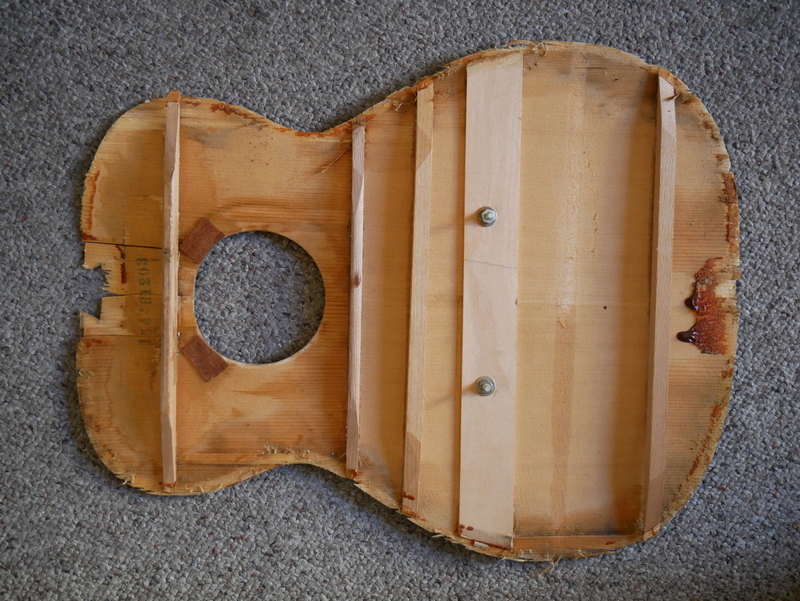
I removed the neck using steam and a special jig. These old Harmony guitars were glued with hide glue, a fortunate thing since that glue dissolves with heat and steam, enabling disassembly. The top was so damaged that I removed it, but upon inspection it was not worth repairing, so I made a new top. They built these tops with so called “ladder bracing”, no doubt to save cost, but they all fail in time because that is a bad design and cannot adequately resist the string tension over many years. To make things worse, ladder bracing may please some ears but it is almost never used anymore because it produces inferior tone in the main opinion. Some folks like it, but I am not a fan. No quality guitars are ever built with ladder bracing these days (that I know of).

OLD TOP WITH MISSING BRACE, CRACKS, & BOLTS!
NEW CEDAR TOP
NEW TOP SHOWING THE BRACES

For the new bracing I went with the V brace design that I’ve used for the last 4 guitars I made. This is a proven design that has lots of advantages over ladder bracing and the common x bracing. For one thing it is extremely simple. It puts the main axis of strength in the same direction as the main deforming forces, which means it is more efficient regarding strength to mass, thus enabling less mass in the bracing. Less mass equals more efficient movement of the soundboard, and more sound, especially in the lower register. The low register is where steel string guitars tend to have problems, because many builders over brace them to ensure that the tops don’t warp under tension, which of course limits the low frequencies that are so desirable. It is not hard to get high frequencies out of a steel string guitar, but good bass is another thing. I like v braces for this reason. However, they are so darned effective that you can easily over design them. Therefore I took the two main braces down to a mere 10mm this time, because on previous guitars of similar size I had to go in after they were built and plane the braces down to around that height in order to loosen up the tops and get the bass going.

INSIDE THE OLD BOX AFTER A LOT OF CLEAN UP
I CHAMFERED THE TAIL BLOCK TO REDUCE THE GLUED SURFACE

After a lot of testing of neck angle and what not I assembled the top, put on binding, and glued the neck back in place. Everything was perfect, but then I had second thoughts about the bridge. My design called for a typical glued on bridge with pins, which I was sure would work well enough. However, while waiting for the new bridge to arrive in the mail, I thought I would test the guitar with a floating bridge and a tailpiece. I had a suitable tailpiece that resembled those from some old Harmony and Stella guitars, and I made a bridge from a piece of maple. After I got it strung up I was pleasantly surprised to find that it sounded great, and very sweet toned with lots of bass. In short, perfectly acceptable for my purpose. So I left it that way. There is very little pressure on the bridge, and yet the guitar has plenty of volume and punch. So much for all those guitar experts who go on and on about break angles. There is no end of pseudo science among guitar nerds and luthiers; so beware of bullsh*t and trust your own ears!

THE ALL NEW OLD HARMONY SOVEREIGN

2 Comments

Filed under Guitars, Uncategorized

A Banner Day

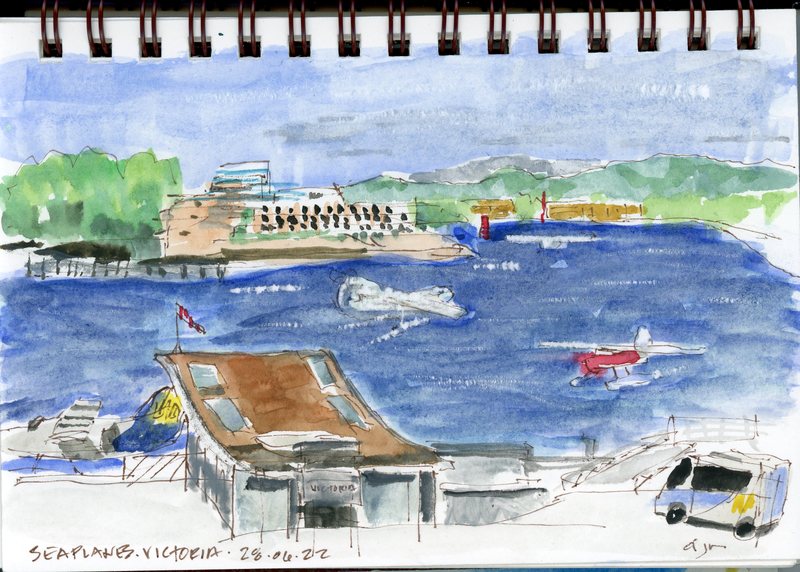
Inner harbour – Victoria BC – an actual international airport. Every plane is an Otter!
Braun watch – soon to have new innards! Thank goodness for interchangeable parts.
Yamaki dreadnought under repair. Betting this one is great! Solid cedar top, rosewood back and sides.

Yamaki guitars were well made, and many had solid tops. The bracing is a copy of a Martin D28, as is the body size. The scale is a bit shorter than Martin, 640mm vs 645mm. The interior bridge plate is rosewood, indicative of high quality. Cheap guitars have spruce. One thing I don’t like is the thick lacquer on the top. I might strip it off, which should improve the tone. A poor man’s D28 for about $50 after I buy tuners and strings.

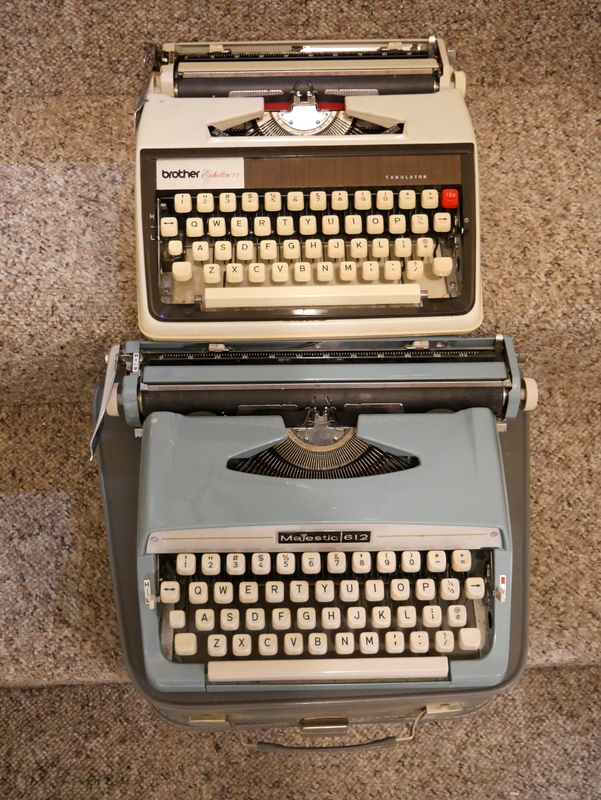
A pair of JP-1’s. Both work perfectly, after a bit of TLC.

Leave a comment

Filed under Guitars, Poetry, Sketching, Thrift shop finds, Typecasting, Typewriters, Watches

Back to Folk Singing

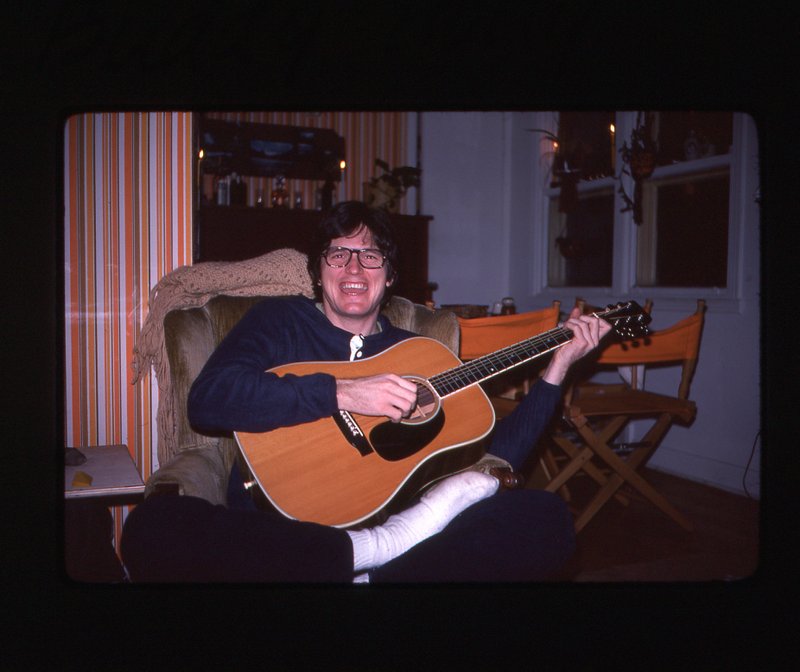
49 years ago I bought the guitar of my dreams, a brand new Martin D35. In those days I was in love with Gordon Lightfoot songs, the Beatles of course, and all that music that sounded great on a big flat top guitar.

My late friend Bob Wylie strumming my D35 c. 1977

But the years passed and so did my taste in music, so 24 years ago I sold the D35 and moved on to jazz. However, the circle of life comes around like the seasons and so I recently decided it was high time I had a big “folk” guitar again. The Martin dreadnought, or D type guitar is the most copied guitar in the world, because it is like a battle ship that fears no man or woman. But it is big, a bit too big for me now that my shoulder and arm can’t take long hours of being draped over a huge guitar. I checked around and found the next best thing – a Taylor Grand Auditorium. This guitar has a narrow waist that allows it to sit lower and thus is less painful on the strumming arm. It was designed to compete with the Dreadnoughts, and by and large it can, although it’s a little smaller. The D size guitars are very large and in the opinion of many guitarists the 000 Martin is the acme of flat tops. While I tend to agree, I had already built one of those many years ago, and I wanted something different. Hence the latest guitar – my version of a Taylor Grand Auditorium, complete with the “all new, improved V bracing”.

Here is my latest guitar, #37, successor to my long gone D35, which I expect is still out in the world being strummed somewhere.

The famous C chord, beloved of folkies everywhere!

Taylor is converting their guitars to this v shaped bracing system, away from traditional x braced tops. They claim to have invented it, but it’s been around a long time in one form or another. I just copied their design however, figuring they had already done all the testing for me. I played a few examples and while they were no better than some of their x braced guitars, it seemed like an adventure to try a new design. I already made several ukuleles with v braces and I knew they sounded really good, better than the fan braced ones I had made before.

The guitar sounds great for folk music, no good at all for jazz, which is how it should be. I already have a dozen jazz guitars!

V braced top, a la Taylor. They patented this. Didn’t stop me.

For the record: cypress top, cypress braces, African mahogany body and neck, rosewood fingerboard, ebony bridge. Tuners are Gotoh 510, 1:21, the smoothest damn tuners on earth and worth every cent of the hundred bucks they cost. Strings are D’Addario EJ15 phosphor bronze, extra light. Even with extra light strings this thing is loud. I might up the gauge when I change strings, but the trade off is more volume for more work, and I have lazy old fingers.

Body is 16″ x 20″ x 4 5/8″ deep, same as Martin D. The nut is 1 11/16″, exactly the same as my old D35, as is the bridge. Scale length 25.5″, just a tad longer than Martin’s 25.4″ scale, so it feels like a D35 in my hands. Now to go practice “Did She Mention My Name”. Today’s pop music is so banal and crappy it’s not worth listening to, so thank heavens we have Gordon Lightfoot, who is still alive! He should have got the Nobel Prize, not Bob Zimmerman… the worst performer I have ever seen. But BZ wrote some good songs. I may play one of those later.

4 Comments

Filed under Guitars, Music, Uncategorized

One Week Guitar Project

Guitar #36 – made in a week!

This year has been crazy, but it did allow me to make more guitars than I ever did before. Thus I built #36 one week ago, in 7 days. It began with an idea about how I could use an old pickup. This pickup is a Seymour Duncan Jazz Humbucker I bought over a decade ago and rarely used. I had it on an old beater electric but didn’t like the sound of it on that, so it ended up in my box of parts for many years.
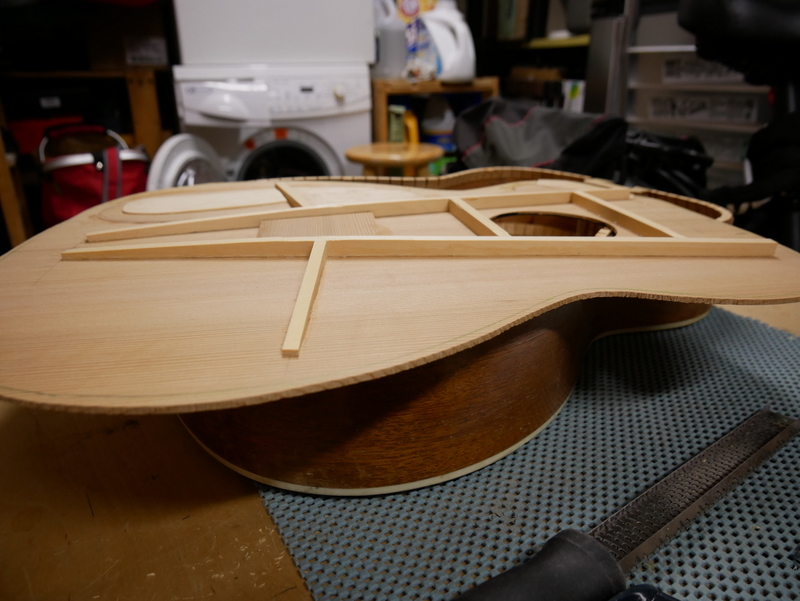
Recently I got it out and decided to mess with it by breaking off the legs so I could stick it right onto the soundboard of my latest Corona guitars, which have a space at the end of the neck deep enough for that to work. It sounded very good, but it just didn’t quite fit, so I puzzled over what I might do with it. Then I remembered an old guitar neck I got cheap at a thrift store some time past. It was a Fender style bolt on neck a bit thicker than the depth of my Corona neck extension, so the pickup would fit there with room to spare. I just needed a way to install it, since it now had no legs.

I hit on the idea of attaching it to the end of the neck with a bracket, like the Johnny Smith pickups on various archtop guitars. I got a metal pickup cover and soldered onto that a brass bracket, then stuck the legless pickup inside the metal casing and soldered it in place. I had a suspended pickup and all I needed was a guitar body on which to install it.

A suspended humbucker

I had lots of miscellaneous wood around, including a nice torrified Englemann spruce top, narrow walnut pieces for ribs, and an old guitar back with a hole in it. All this was perfect to construct a hollow body electric guitar from, so I immediately got to work.

I didn’t worry about the extra thick top of over 4mm since the idea was basically an electric guitar. However, after I glued the braces on it had a very decent tap tone. I put the ribs and top together and prepped the holes for the two pots and the output jack, then attached the back. The top gave out an even better tone when the box was assembled, so I decided not to cut a sound hole or f-holes in the top until I heard how it sounded. After all, there was a decent sized hole in the back already.

Repurposed back plate and hole to provide access for controls.

I had to modify the headstock to take 3 + 3 tuners, since that was all I had to work with and I don’t like the 6 in line ones much anyhow. I did this and installed the tuners and screws to act as posts for the strings in order to prevent the sideways pull of the strings from yanking the nut out of line. This was ugly but free and worked fine. The tuners were a nice set of Grovers acquired free from my sister. Thanks Val!

Modified headstock for 3 + 3 tuners

So, I got it all assembled and wonder of wonders, it sounds great without a hole in the top. Imagine my shock! Despite the thick soundboard and lack of hole, this thing is loud and sounds a lot like a carved archtop with the strong attack you want in jazz. The pickup is great too and deserves the reputation it has for not only jazz but most any type of electric guitar music you can name.

3 Comments

Filed under Guitars, Uncategorized

Guitar #35

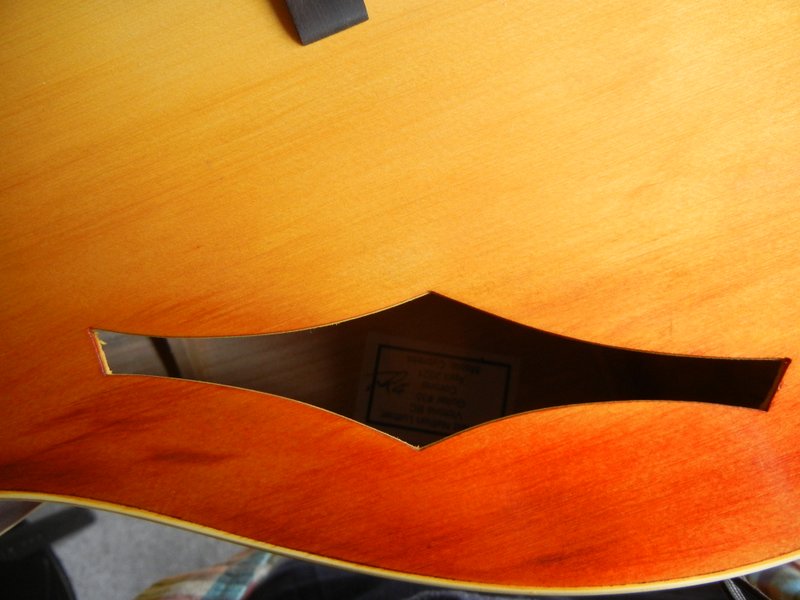
Recently finished this guitar. Maple body, cypress top. Hand rubbed French polished sunburst finish, somewhat like the bass I made before this. The yellow stain is made from turmeric in alcohol and the red brown colour is Dark Brown leather dye, which works on wood. I used that on the entire maple body and neck. This guitar is a full depth body of 4″ with x braced top like my previous Corona models. Previous models of this design were 3″ deep, so this one has a bit more low end. As part of this experiment this top has less arch, and I used cedar for the braces to see how that might effect the tone. Conclusion – it worked out very well. It’s loud and bright but more mellow than my normally arched tops. This one is perhaps the best of the bunch of Coronas, due to the balance between attack and sustain. It certainly holds its own in a jam and is not at all nasal, although real loud!

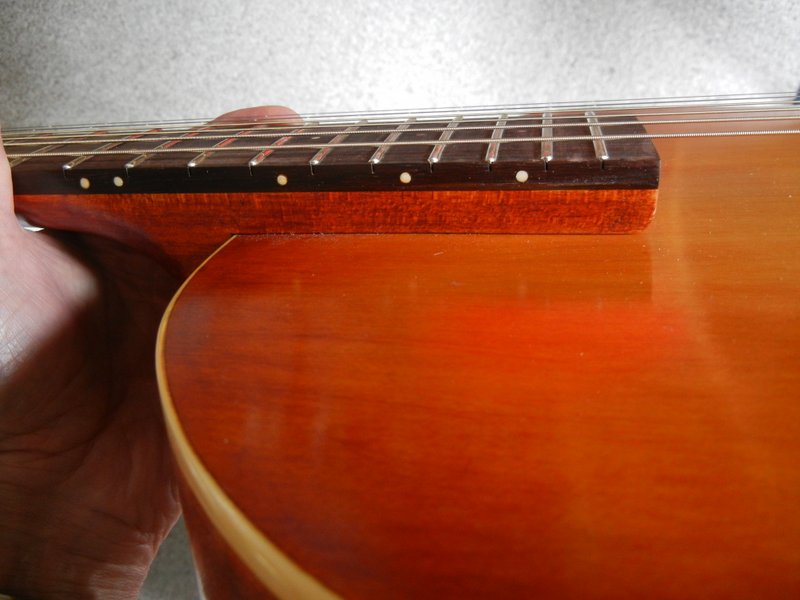
Strung it with Martin 80/20 light strings, to my ear the closest thing to Argentines at far less cost. 80/20 bronze alloy (4:1 copper to tin) is thousands of years old and the same stuff they make church bells of etc, so the magic formula hasn’t changed over time. I made the head-stock joint lower down on the neck this time, which I think I now prefer the look of. With a 2 way truss rod I can dial the neck from flat to whatever relief I want. The neck is on the fat side, a bit larger than usual but I like the feel of that too, as it is substantial and will be very stable, especially being hard maple. The fingerboard is extra thick as well, which contributes to the overall stability. With zero tension on the truss rod, the neck has a bit of relief. I dropped that to a tiny bit for now, but it is very easy to tweak it either way.

The bridge is Japanese, and rosewood this time as opposed to ebony on my previous ones. Rosewood is better to work with than ebony, which is brittle as heck. I had to cut it down a bit since they come too tall for this design.

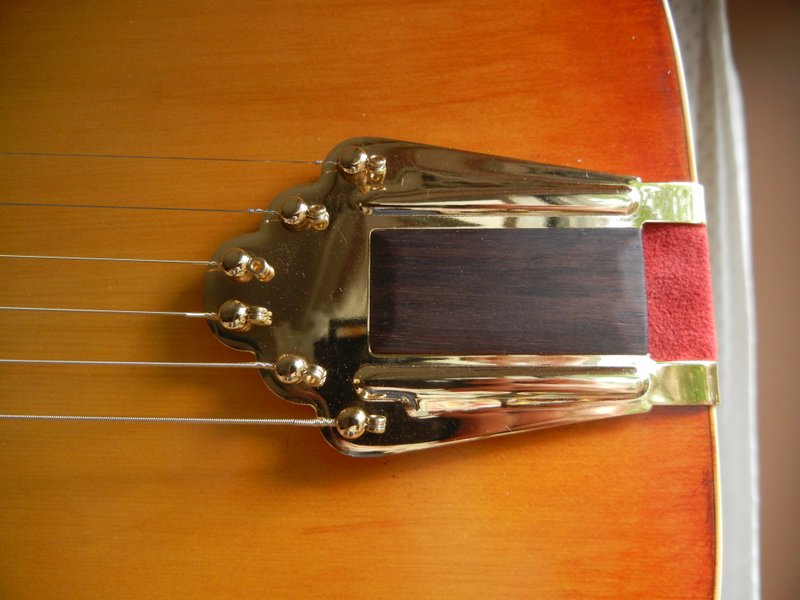
Tailpiece is gold plated steel. I made the wood insert for it as they come without one. Hard to argue with the low price of stuff from China, and it’s really not bad looking. The brass ones cost almost 10 times the price !

Leave a comment

Filed under Guitars, Uncategorized