Venus and Me

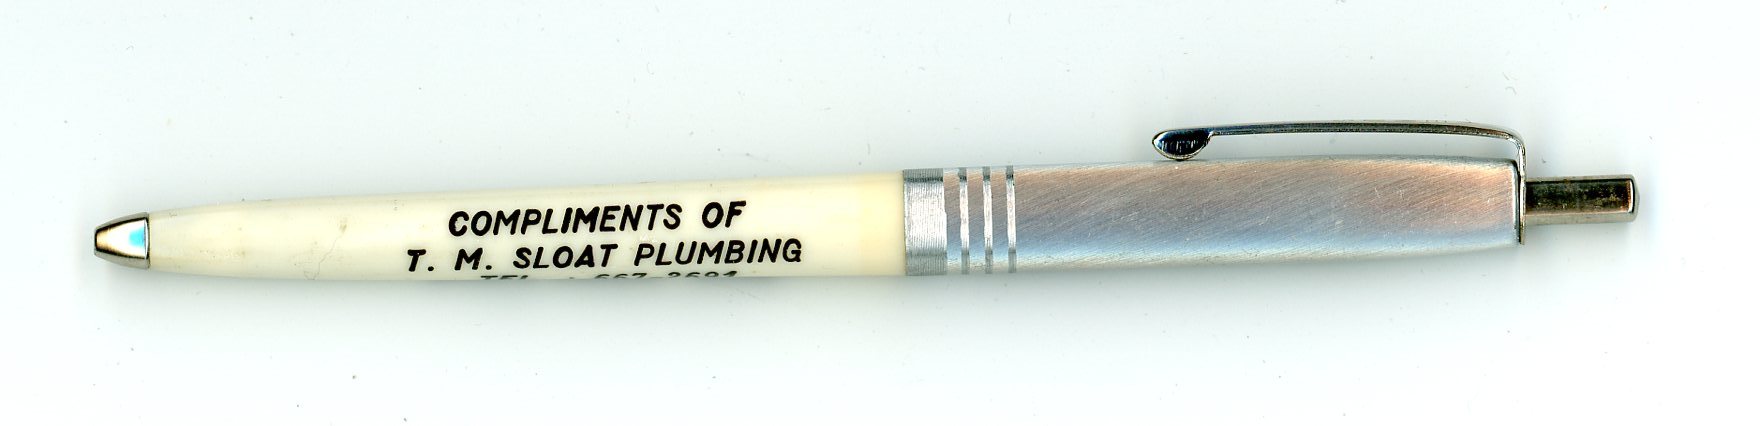
This is the once-famous Venus ballpoint pen of ages past. Venus began making pencils in the 20th century, then pens for many decades before ending up as part of Berol and vanishing. I remember when they could be found in every shop that sold office supplies. They used a standard refill that could be bought for 25 cents. The refill that was in this pen when I found it at a thrift store the other day was still able to write, albeit not well, with an imprint on the tube stating: FINELINE REFILL 50c FOR TWO ($1.00 FOR FIVE) P.O.BOX 8, PROVIDENCE R.I. 02901.
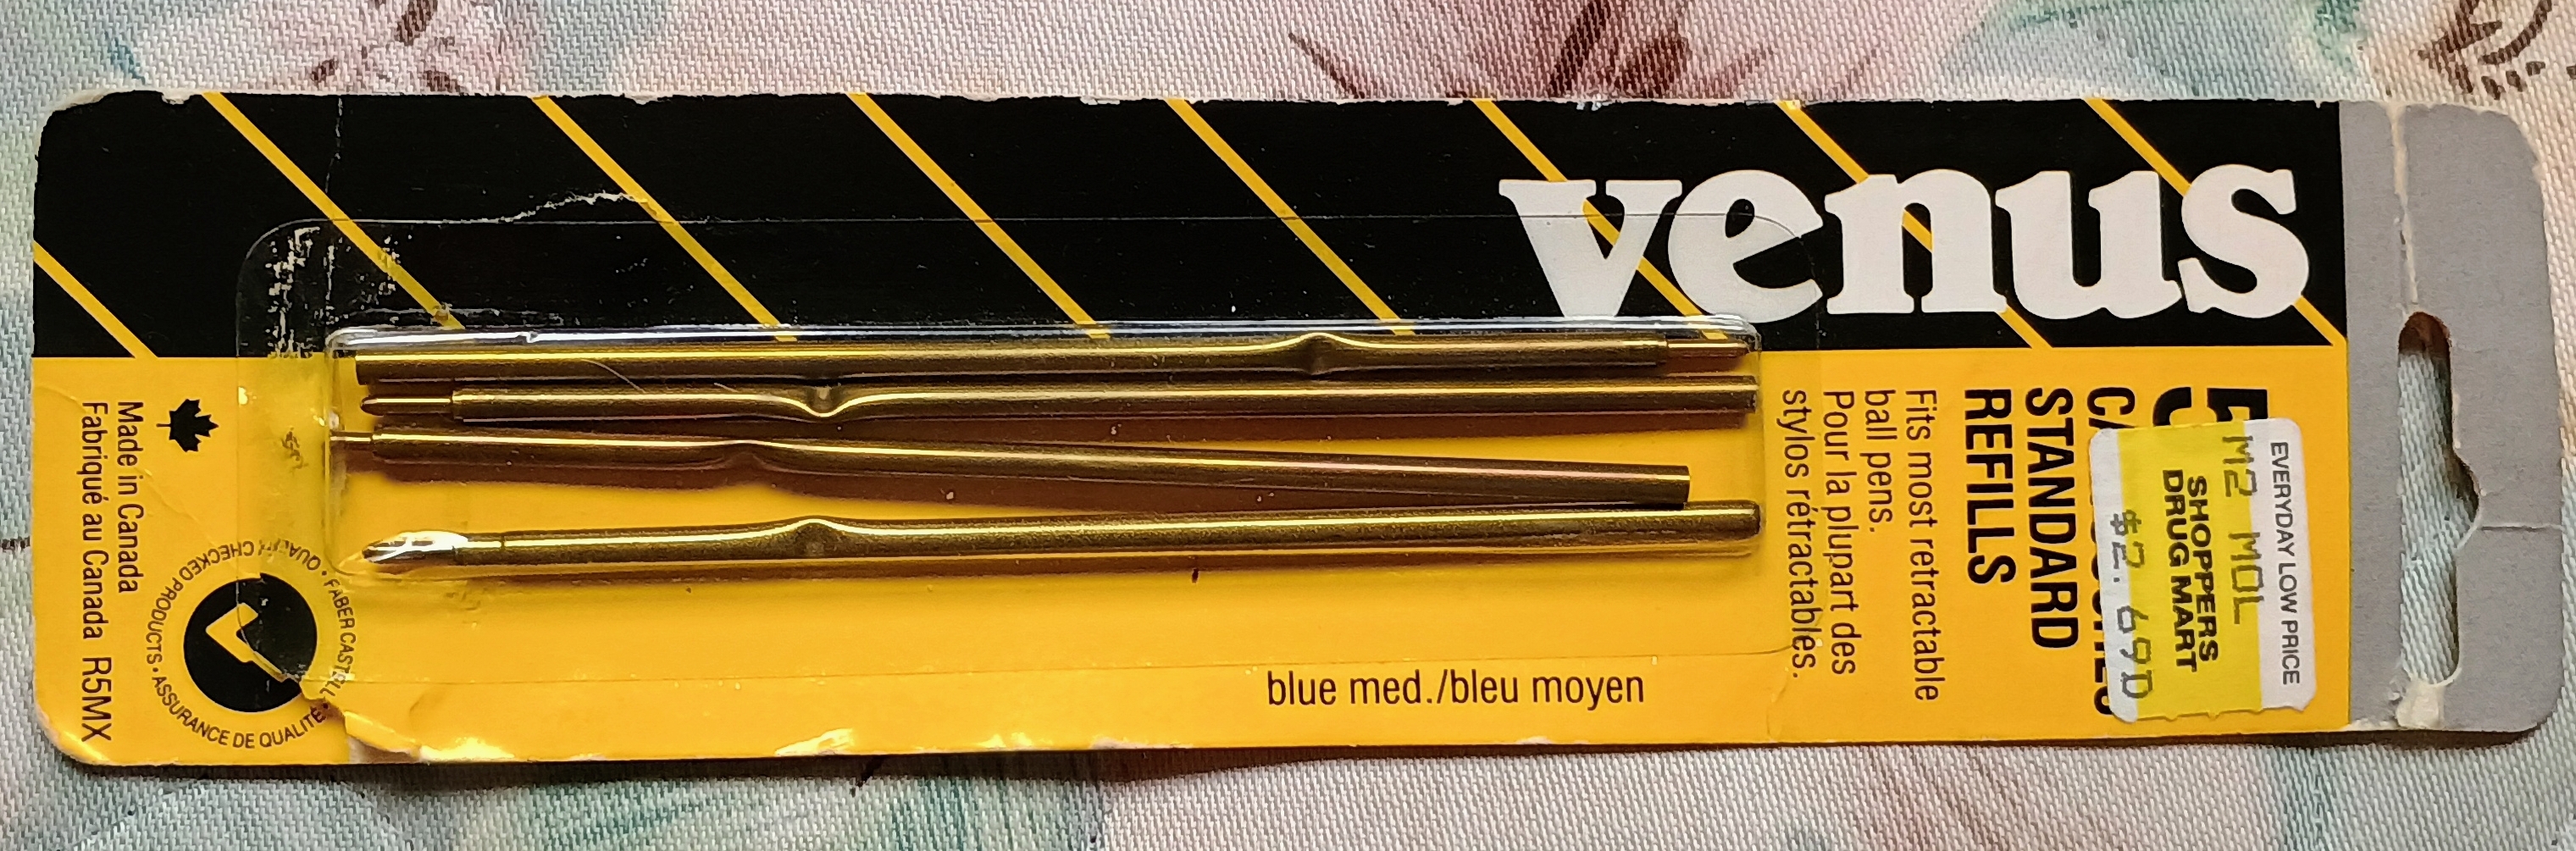
Well, what do you know – I happened to have an old pack of these same refills (Venus brand even) in a box of pen paraphernalia. I tried all four of them and one worked. This piqued my interest in finding new fresh refills, because I enjoy using unusual pens and things. So, naturally, I asked Gemini about the pen and where to find refills. I am pleased to report that Gemini knew all about the Venus pen, but squat about the true secret of the refill. Here is a cut from my “conversation”:

No standard modern refill fits perfectly right out of the box, as the proprietary cartridges used in late-1960s and early-1970s Venus promotional pens have been obsolete for decades. However, you can easily get this pen writing again by using a modern standard refill and making a simple DIY modification.


The Best Modern Replacements (With Easy Tweaks)

The internal chamber of this Venus pen is designed for old-style, long plastic or metal cartridges. To replace it, you can modify one of these modern options:

Option 1: Standard “Japan Type” / Narrow Plastic Refills (Easiest)

  • What to buy: Look for basic, inexpensive narrow plastic stick refills like a Pentel R.S.V.P. Refill or a Zebra F-Refill.
  • The Tweak: These are typically narrower than the original Venus cartridge. All you have to do is drop the modern refill into the barrel and wrap a few small layers of masking tape around the shaft to create a “stop” or collar so your pen’s internal spring has something to push against. If the refill is too long, simply snipping a millimeter or two off the plastic back end with scissors will adjust it to the correct length.

Option 2: Specialized Vintage Specialty Refills (No Snipping)

  • What to buy: Specialty vintage retailers online manufacture custom replica cartridges explicitly for mid-century advertising pens. A highly compatible choice is the X10-style vintage ballpoint refill.
  • The Tweak: These metal-body replica refills are specifically sized to mimic the length (106.8mm) and narrow tip profile of 1960s/1970s corporate click pens. They usually slide right in and include a fresh spring.

The 10-Second Hack: Use a Standard “Stick” Pen Refill

A standard, inexpensive disposable stick pen uses a long plastic tube that is exactly 3 mm wide.

  1. Get a Donor Pen: Take a common BIC Cristal, BIC Round Stic, or a Papermate InkJoy 100 ballpoint pen.
  2. Pull the Refill: Pull the clear plastic ink tube directly out of the front of the donor pen using a pair of pliers or your fingers.
  3. Trim to 107 mm: Hold your old Venus cartridge next to the new ink tube. Use a pair of scissors to snip the back end of the plastic tube so it matches the 107 mm length perfectly.
  4. Drop It In: Slide the trimmed tube into your Venus pen barrel along with the original spring.

The No-Cut Retail Option: The “X10” Refill

If you prefer a premium metal replacement that requires zero cutting or modifying, search online for an “X10 Ballpoint Pen Refill”.

  • The Fit: These are specifically engineered for vintage 1960s and 1970s promotional click pens.
  • The Specs: They feature a narrow 3 mm metal body and a standard manufacturing length of exactly 106.8 mm, making them a flawless drop-in match for your 107 mm measurements.

On and on it “talked” to me like it knew all, but it only knew what it knew. All the supposed “information” spewed out was irrelevant, coming as it did from what others have posted and wherever else Gemini gets its learning. It didn’t know what I was soon to discover by myself. Maybe after today, Gemini will revise the answer to the question of where to get a refill for a vintage Venus ballpoint! If it does, it might even return a link to this blog post. Go ahead and try it later when you finish reading! Let me know the results.
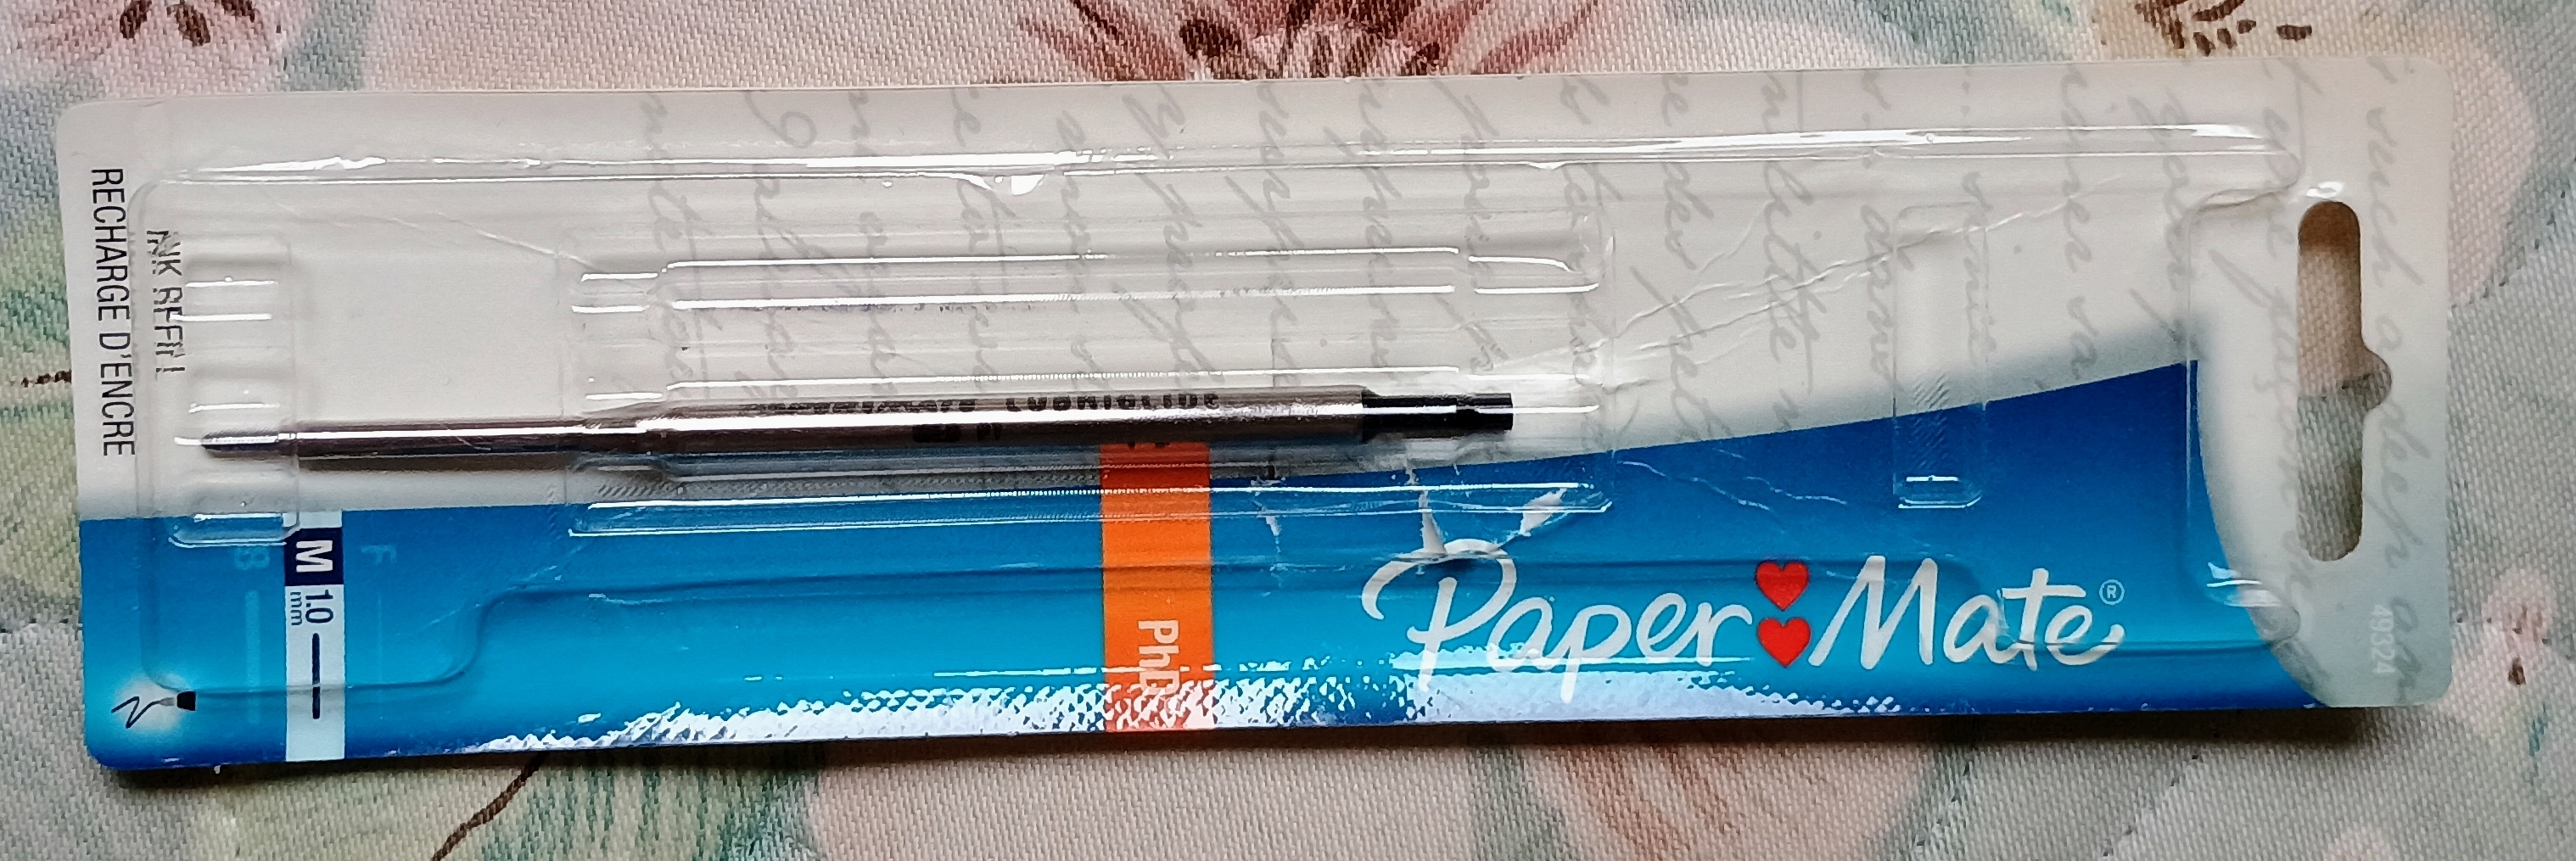
Here it is – from my box of junk – a standard Paper Mate ballpoint refill fits perfectly, without any modifications! I can only assume that nowhere in vacuum land did this important fact exist, until today. You read it here for the first time!
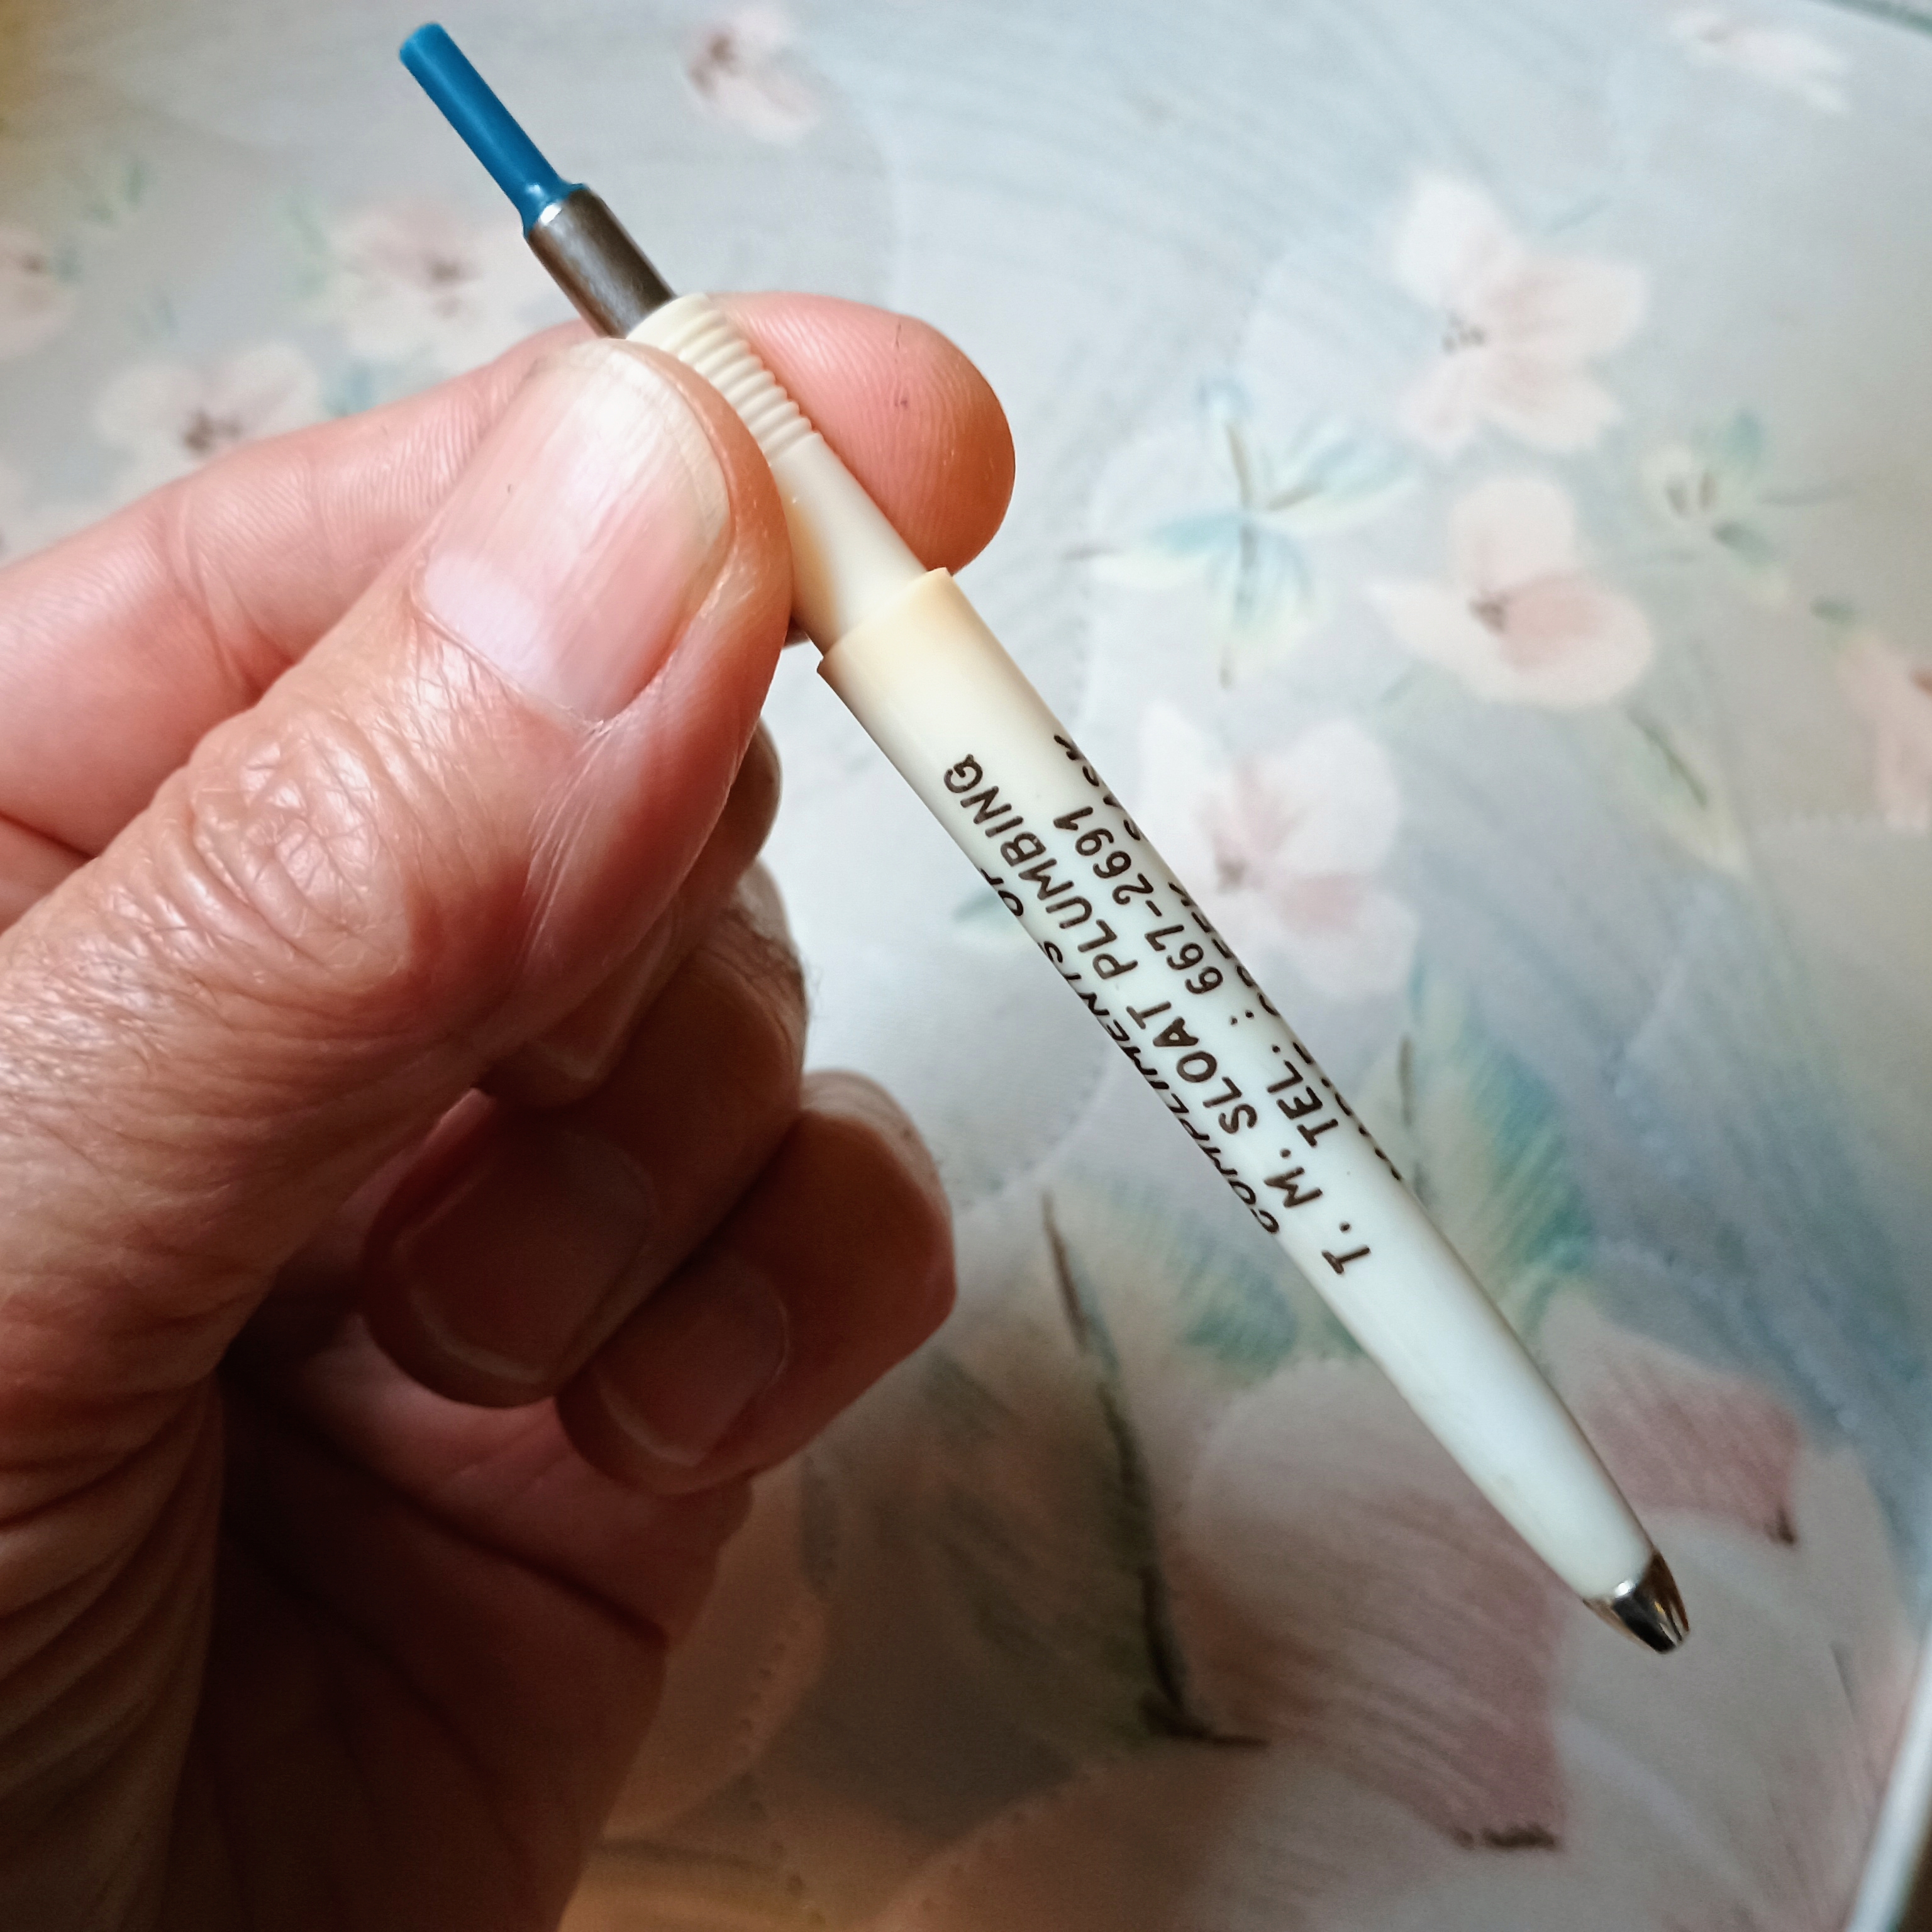
Nothing more to say, except that even with “Super Intelligence” (some say), one often has to figure out solutions using good old fashioned human brain power. Big thanks to T. M. Sloat Plumbing in Maple Creek Saskatchewan for the pen.
1 Comment

Filed under Artificial Intelligence (sic), Pens, Technology, Thrift shop finds, Uncategorized, Vintage advertising

A Classic Conversion II

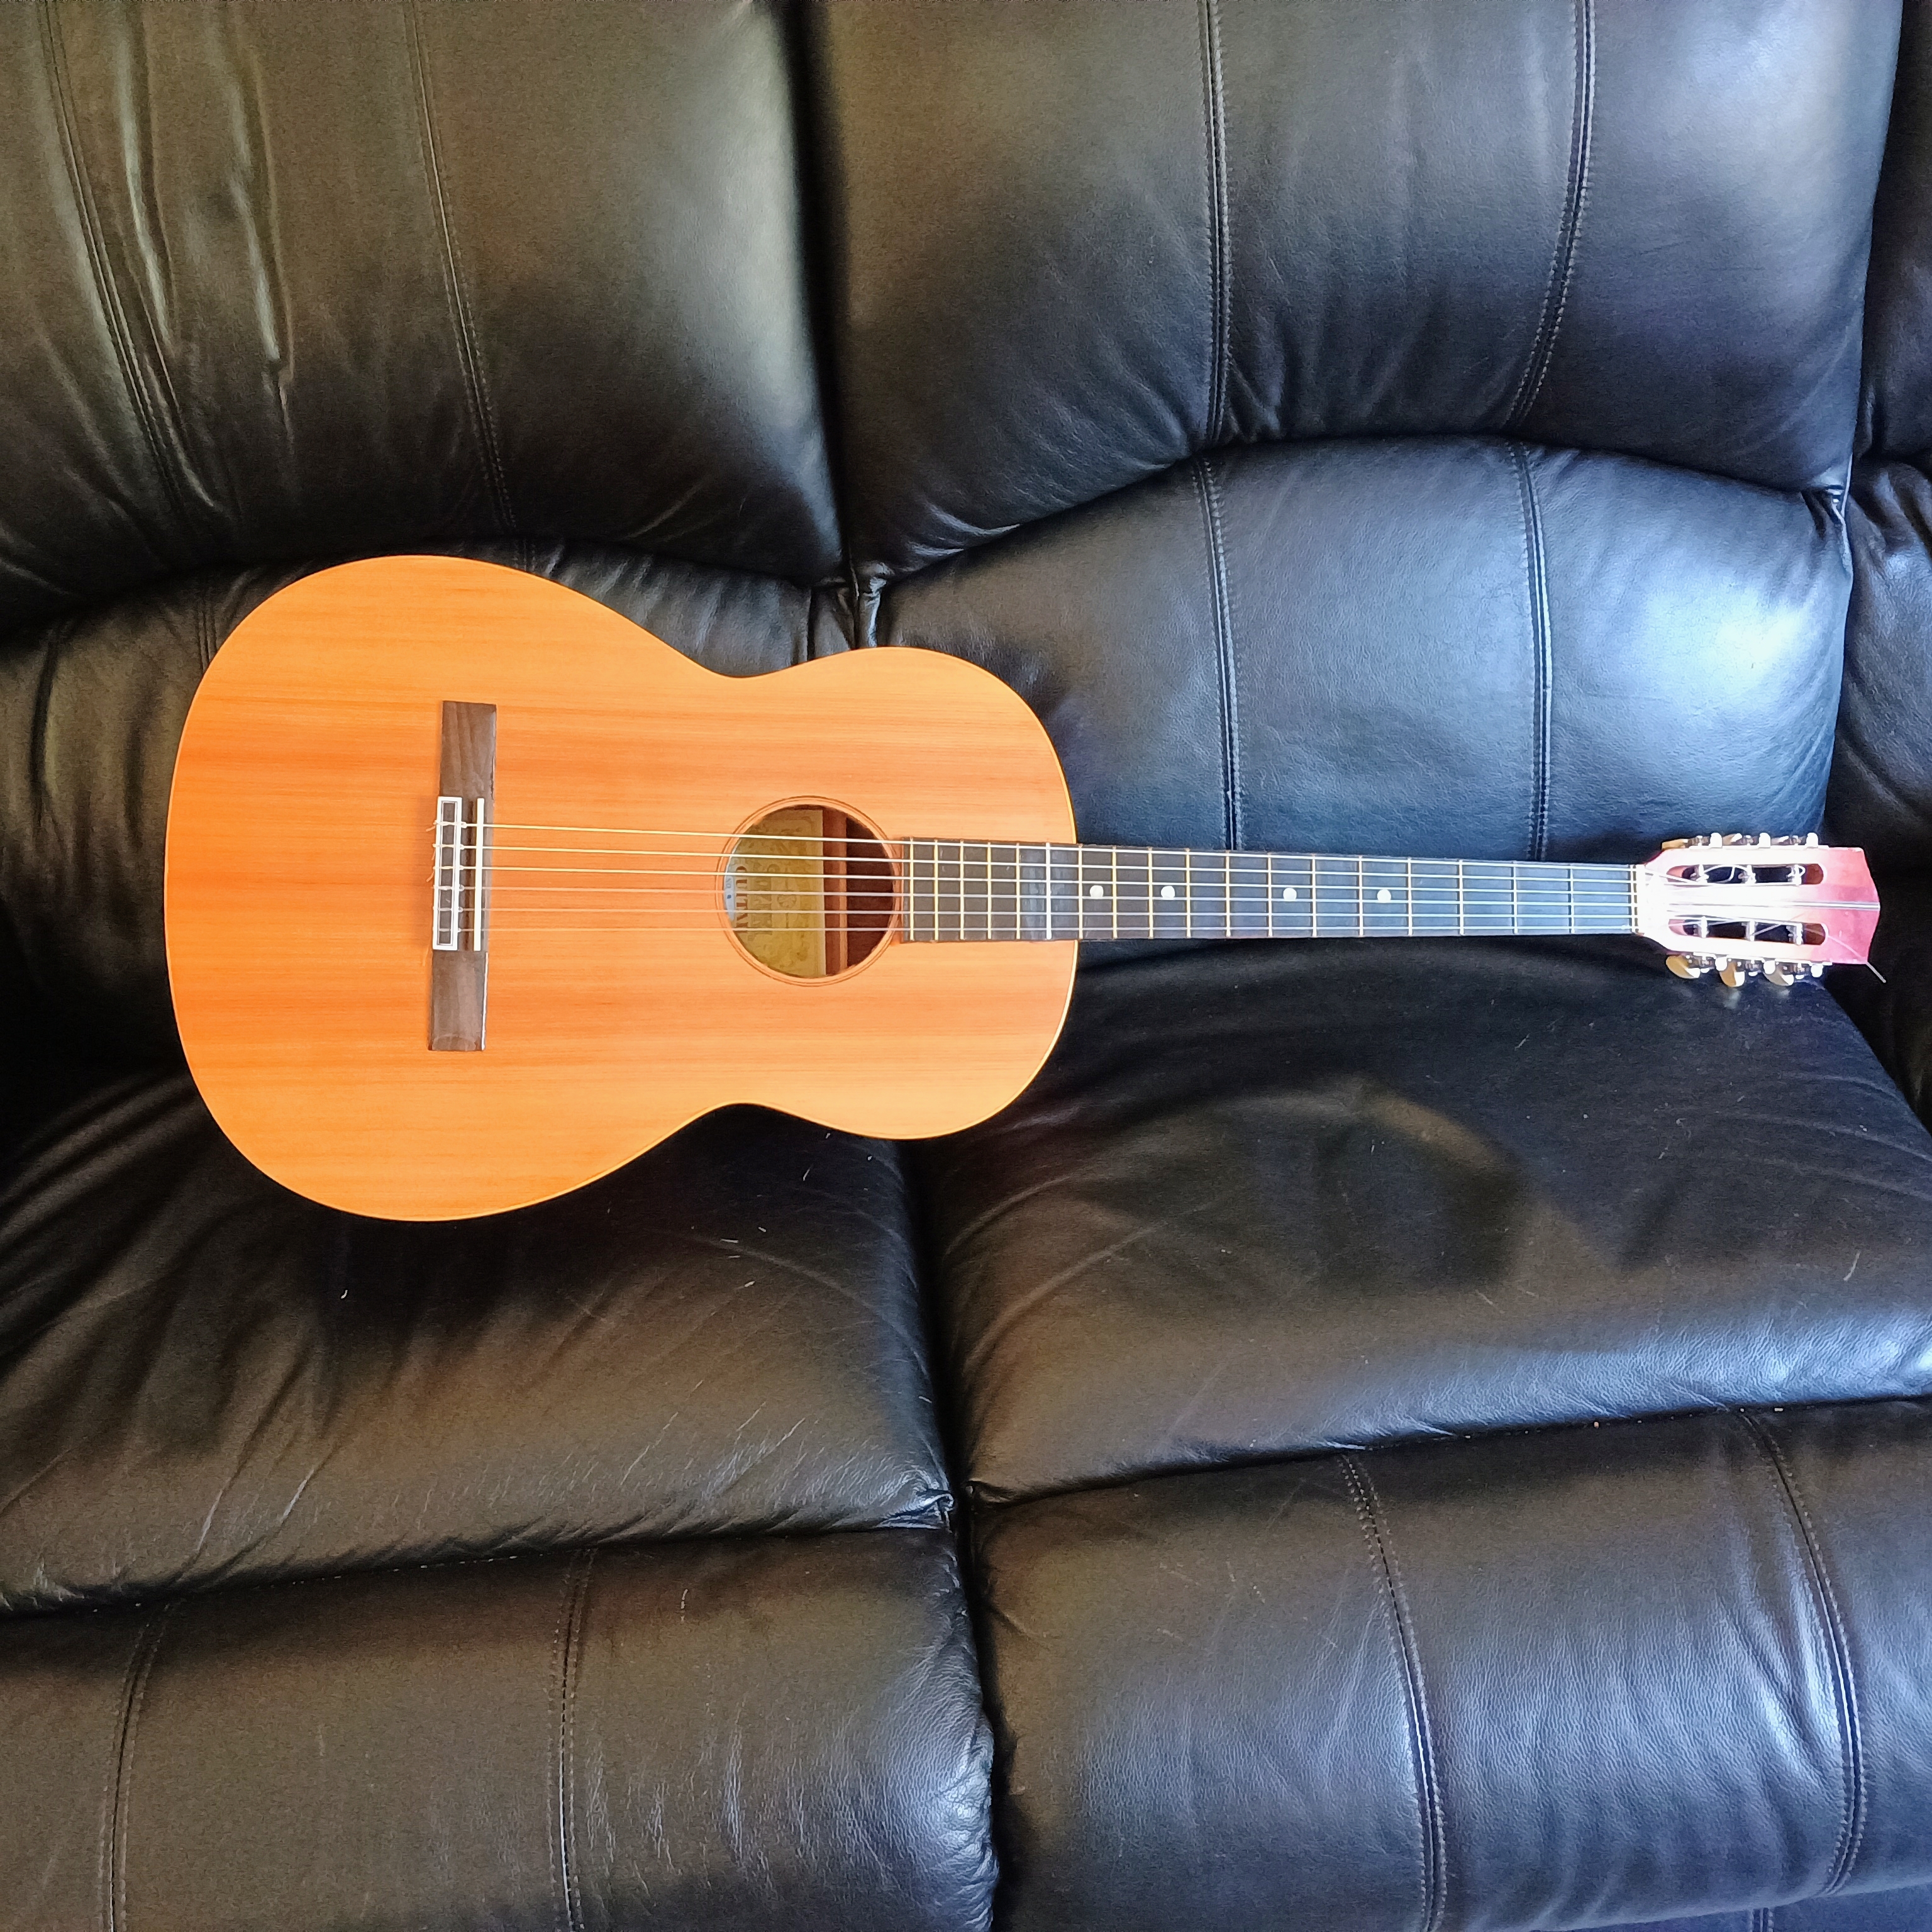
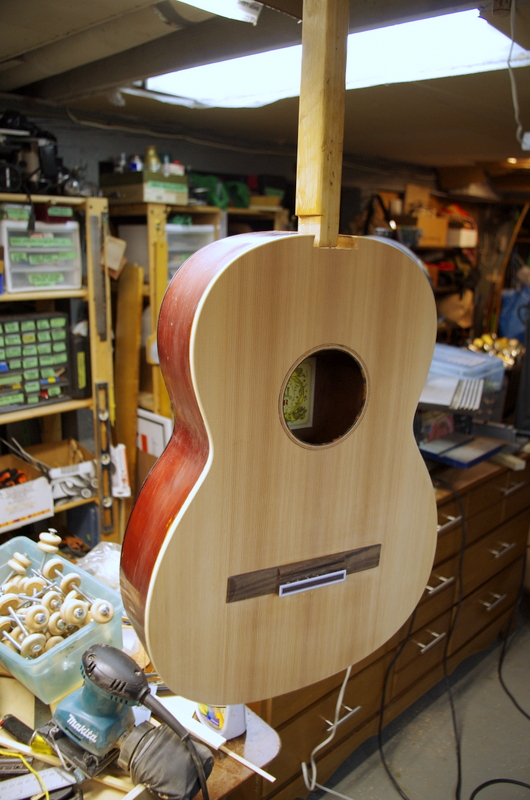
Taking up where I left off: I glued the top on and installed a simple cream coloured plastic binding. The ribs had suffered a fair amount of cosmetic damage, which I patched up with glue and filler – then stained and varnished the sides and back.

New top and bridge installed
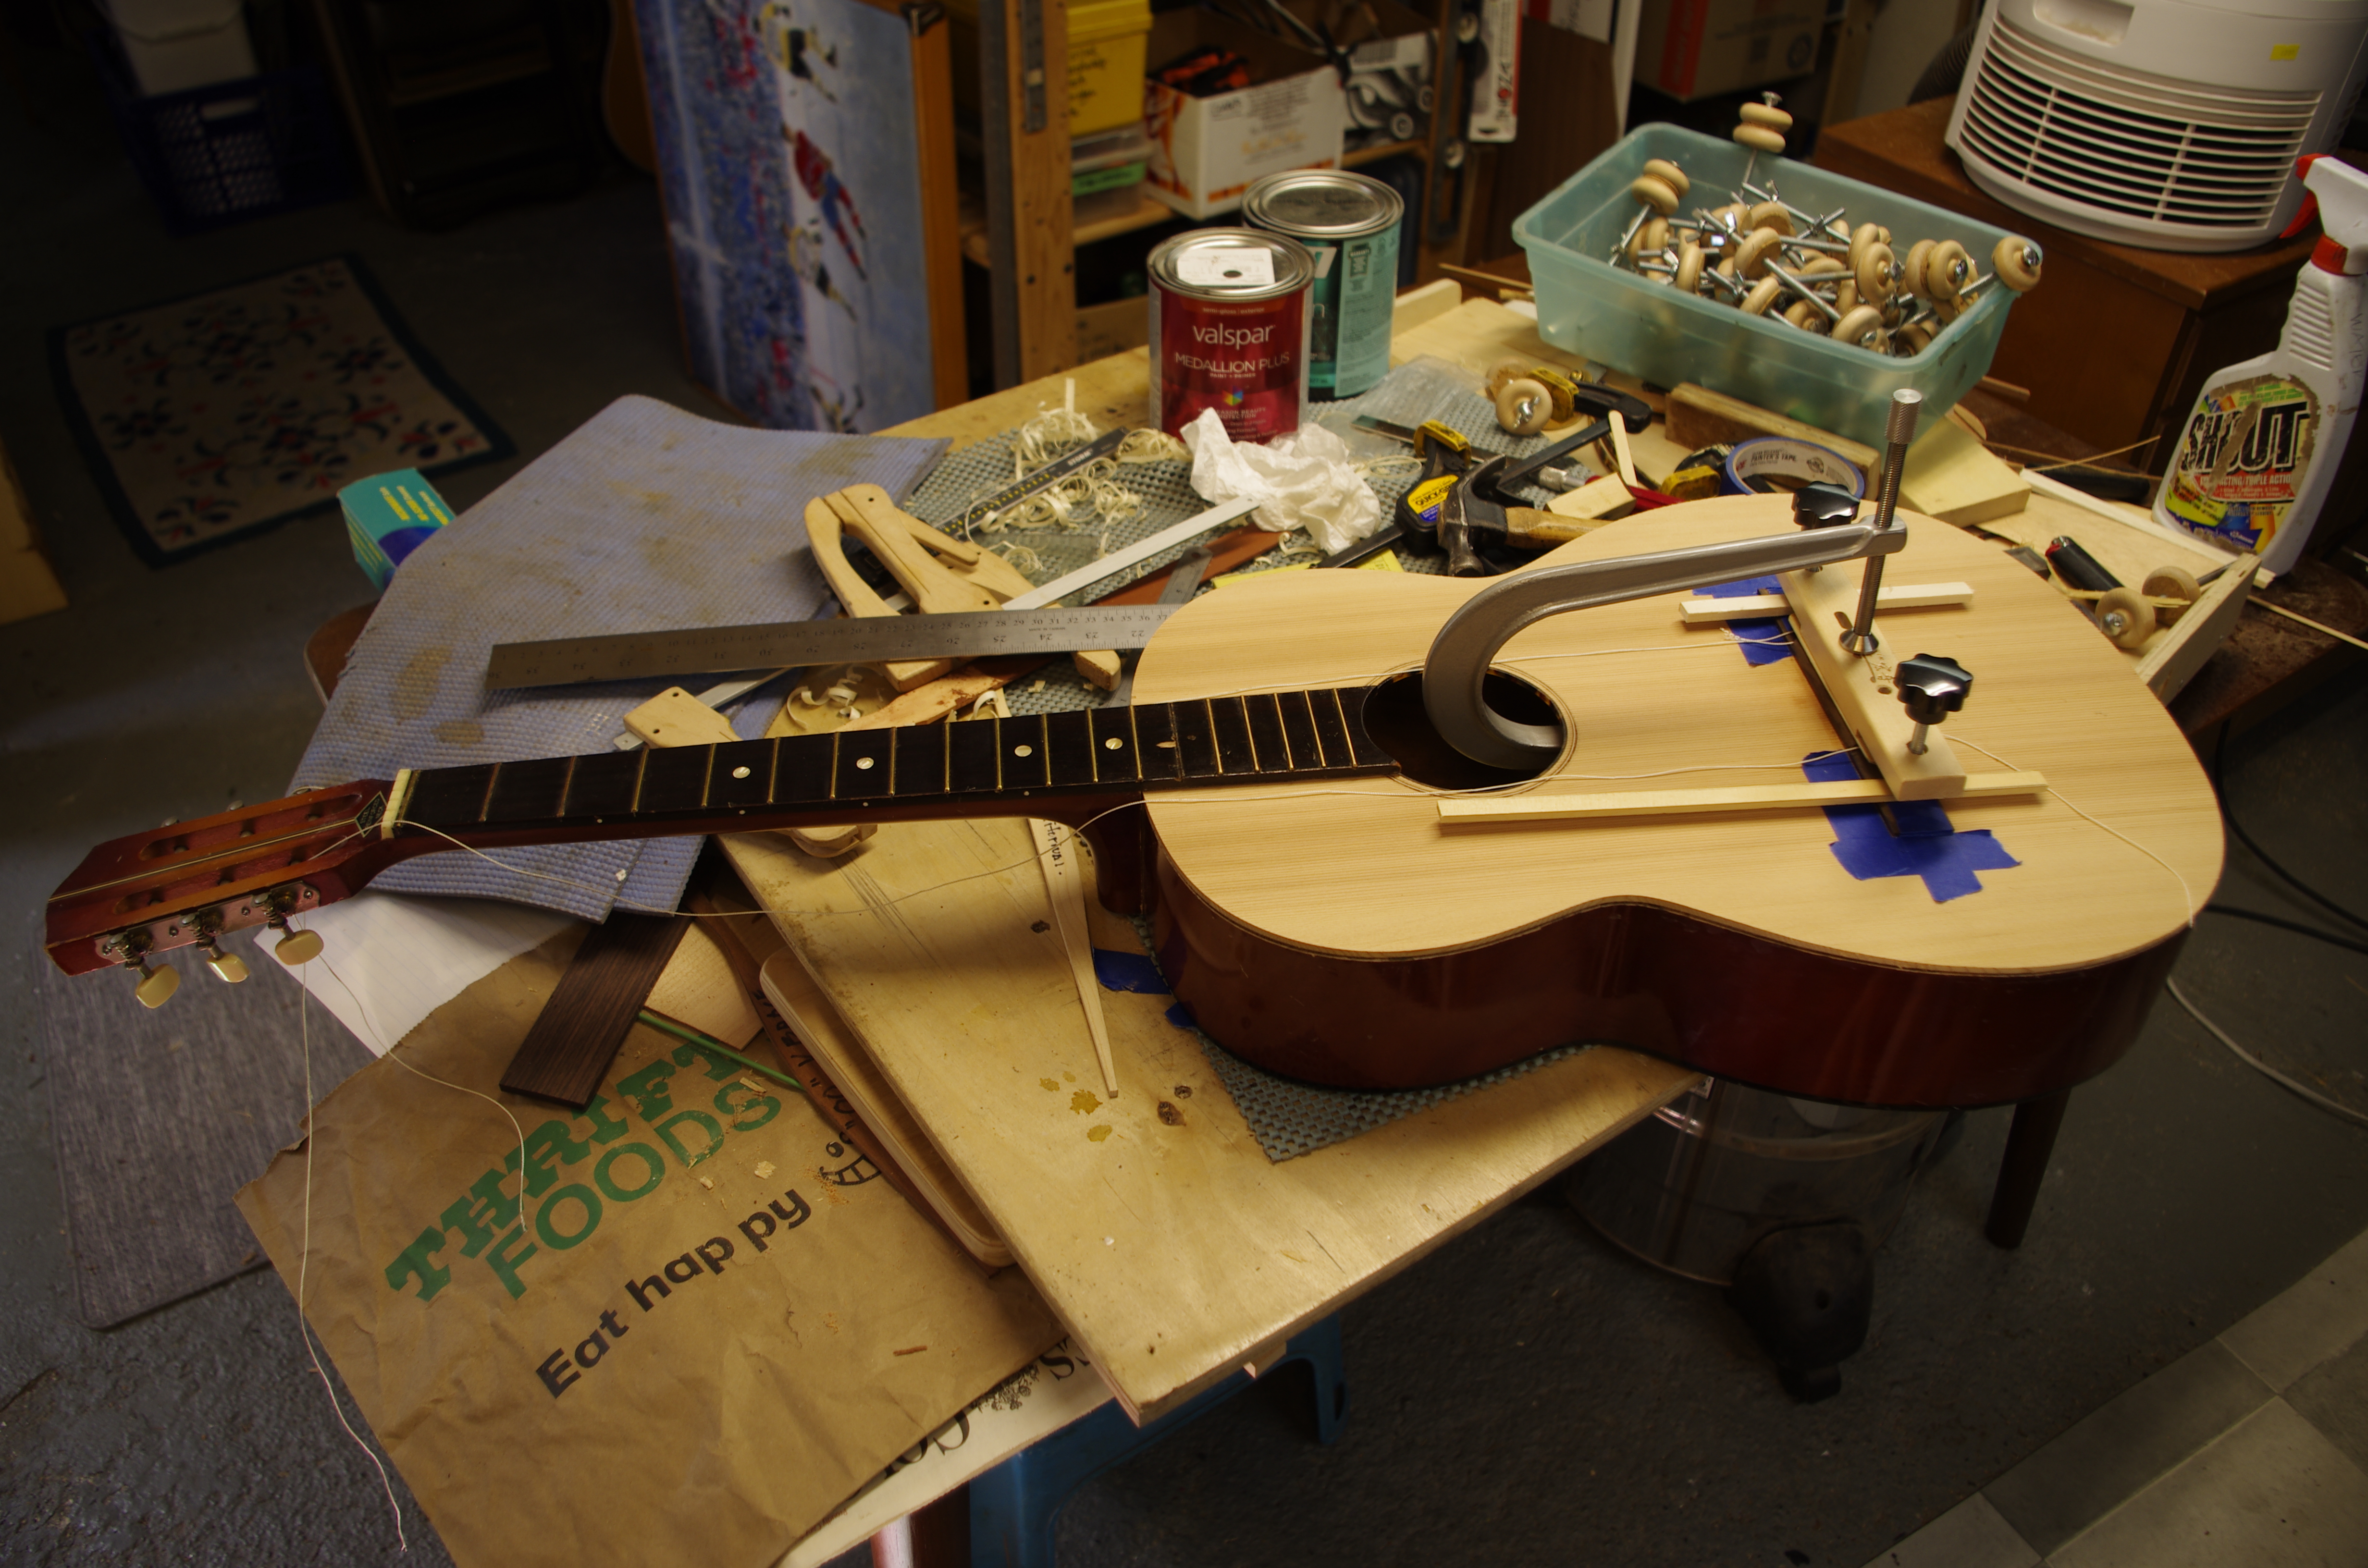
Gluing the bridge

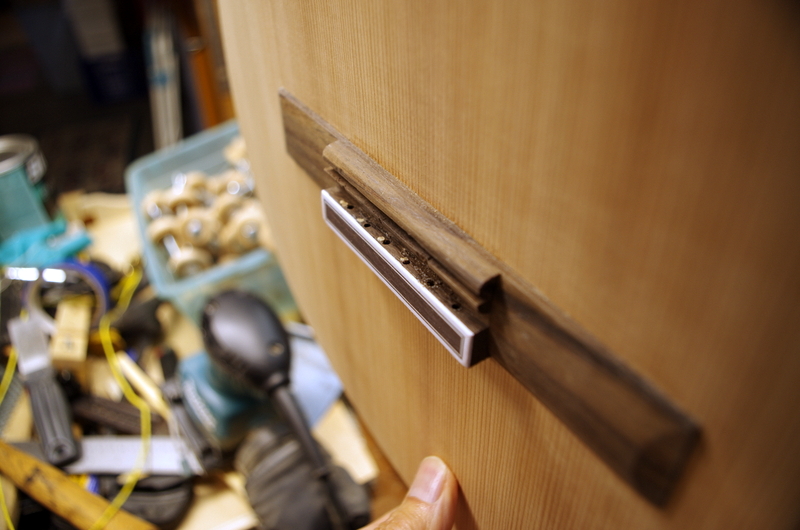
After getting the neck back on and the bridge installed, I found that the string spacing was just a bit too wide for the neck, so I filled the holes in the bridge and drilled new ones. This I should have done before installing the bridge, but I took a chance that it would be ok, and it wasn’t!

Bridge redrilled for 55mm string spacing, from 60mm

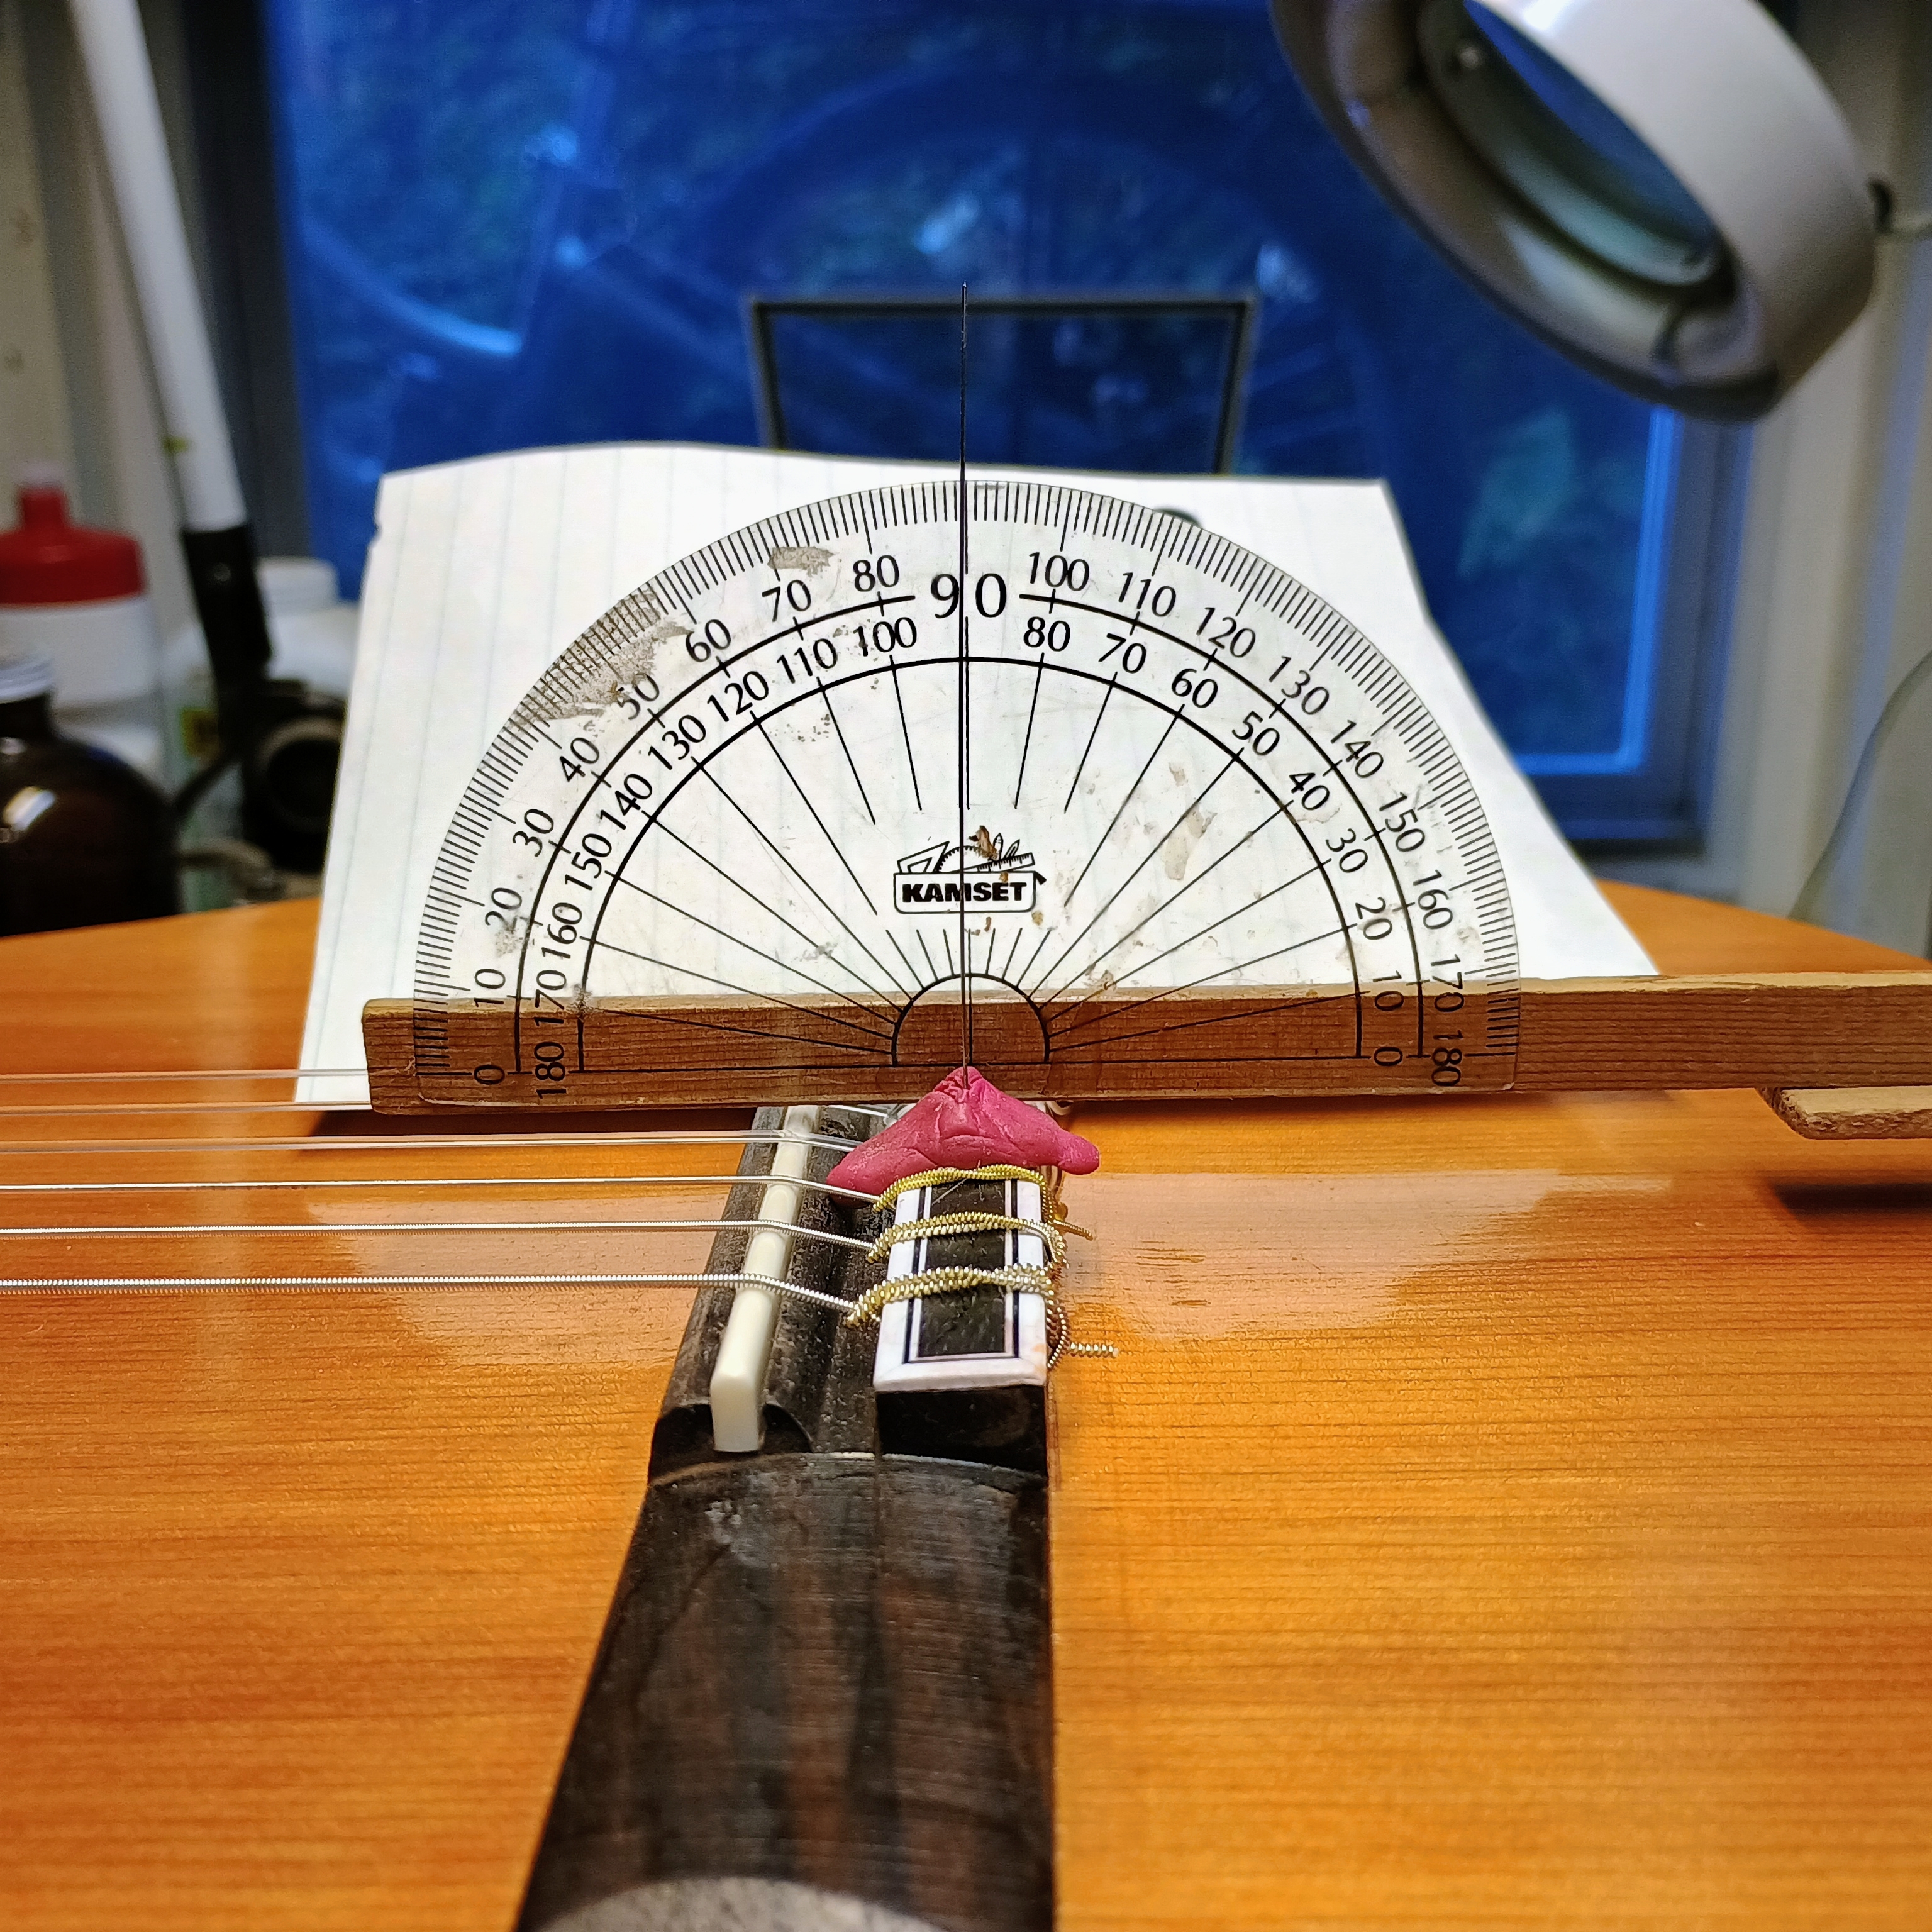
I strung it with Savarez high tension Yellow Card strings, and then measured the bridge rotation. It rotated 1 degree, which was less than desired, so I shaved the braces down several times and got the rotation to 2 degrees. That was the target, so no further shaving was done.

Testing the bridge rotation angle

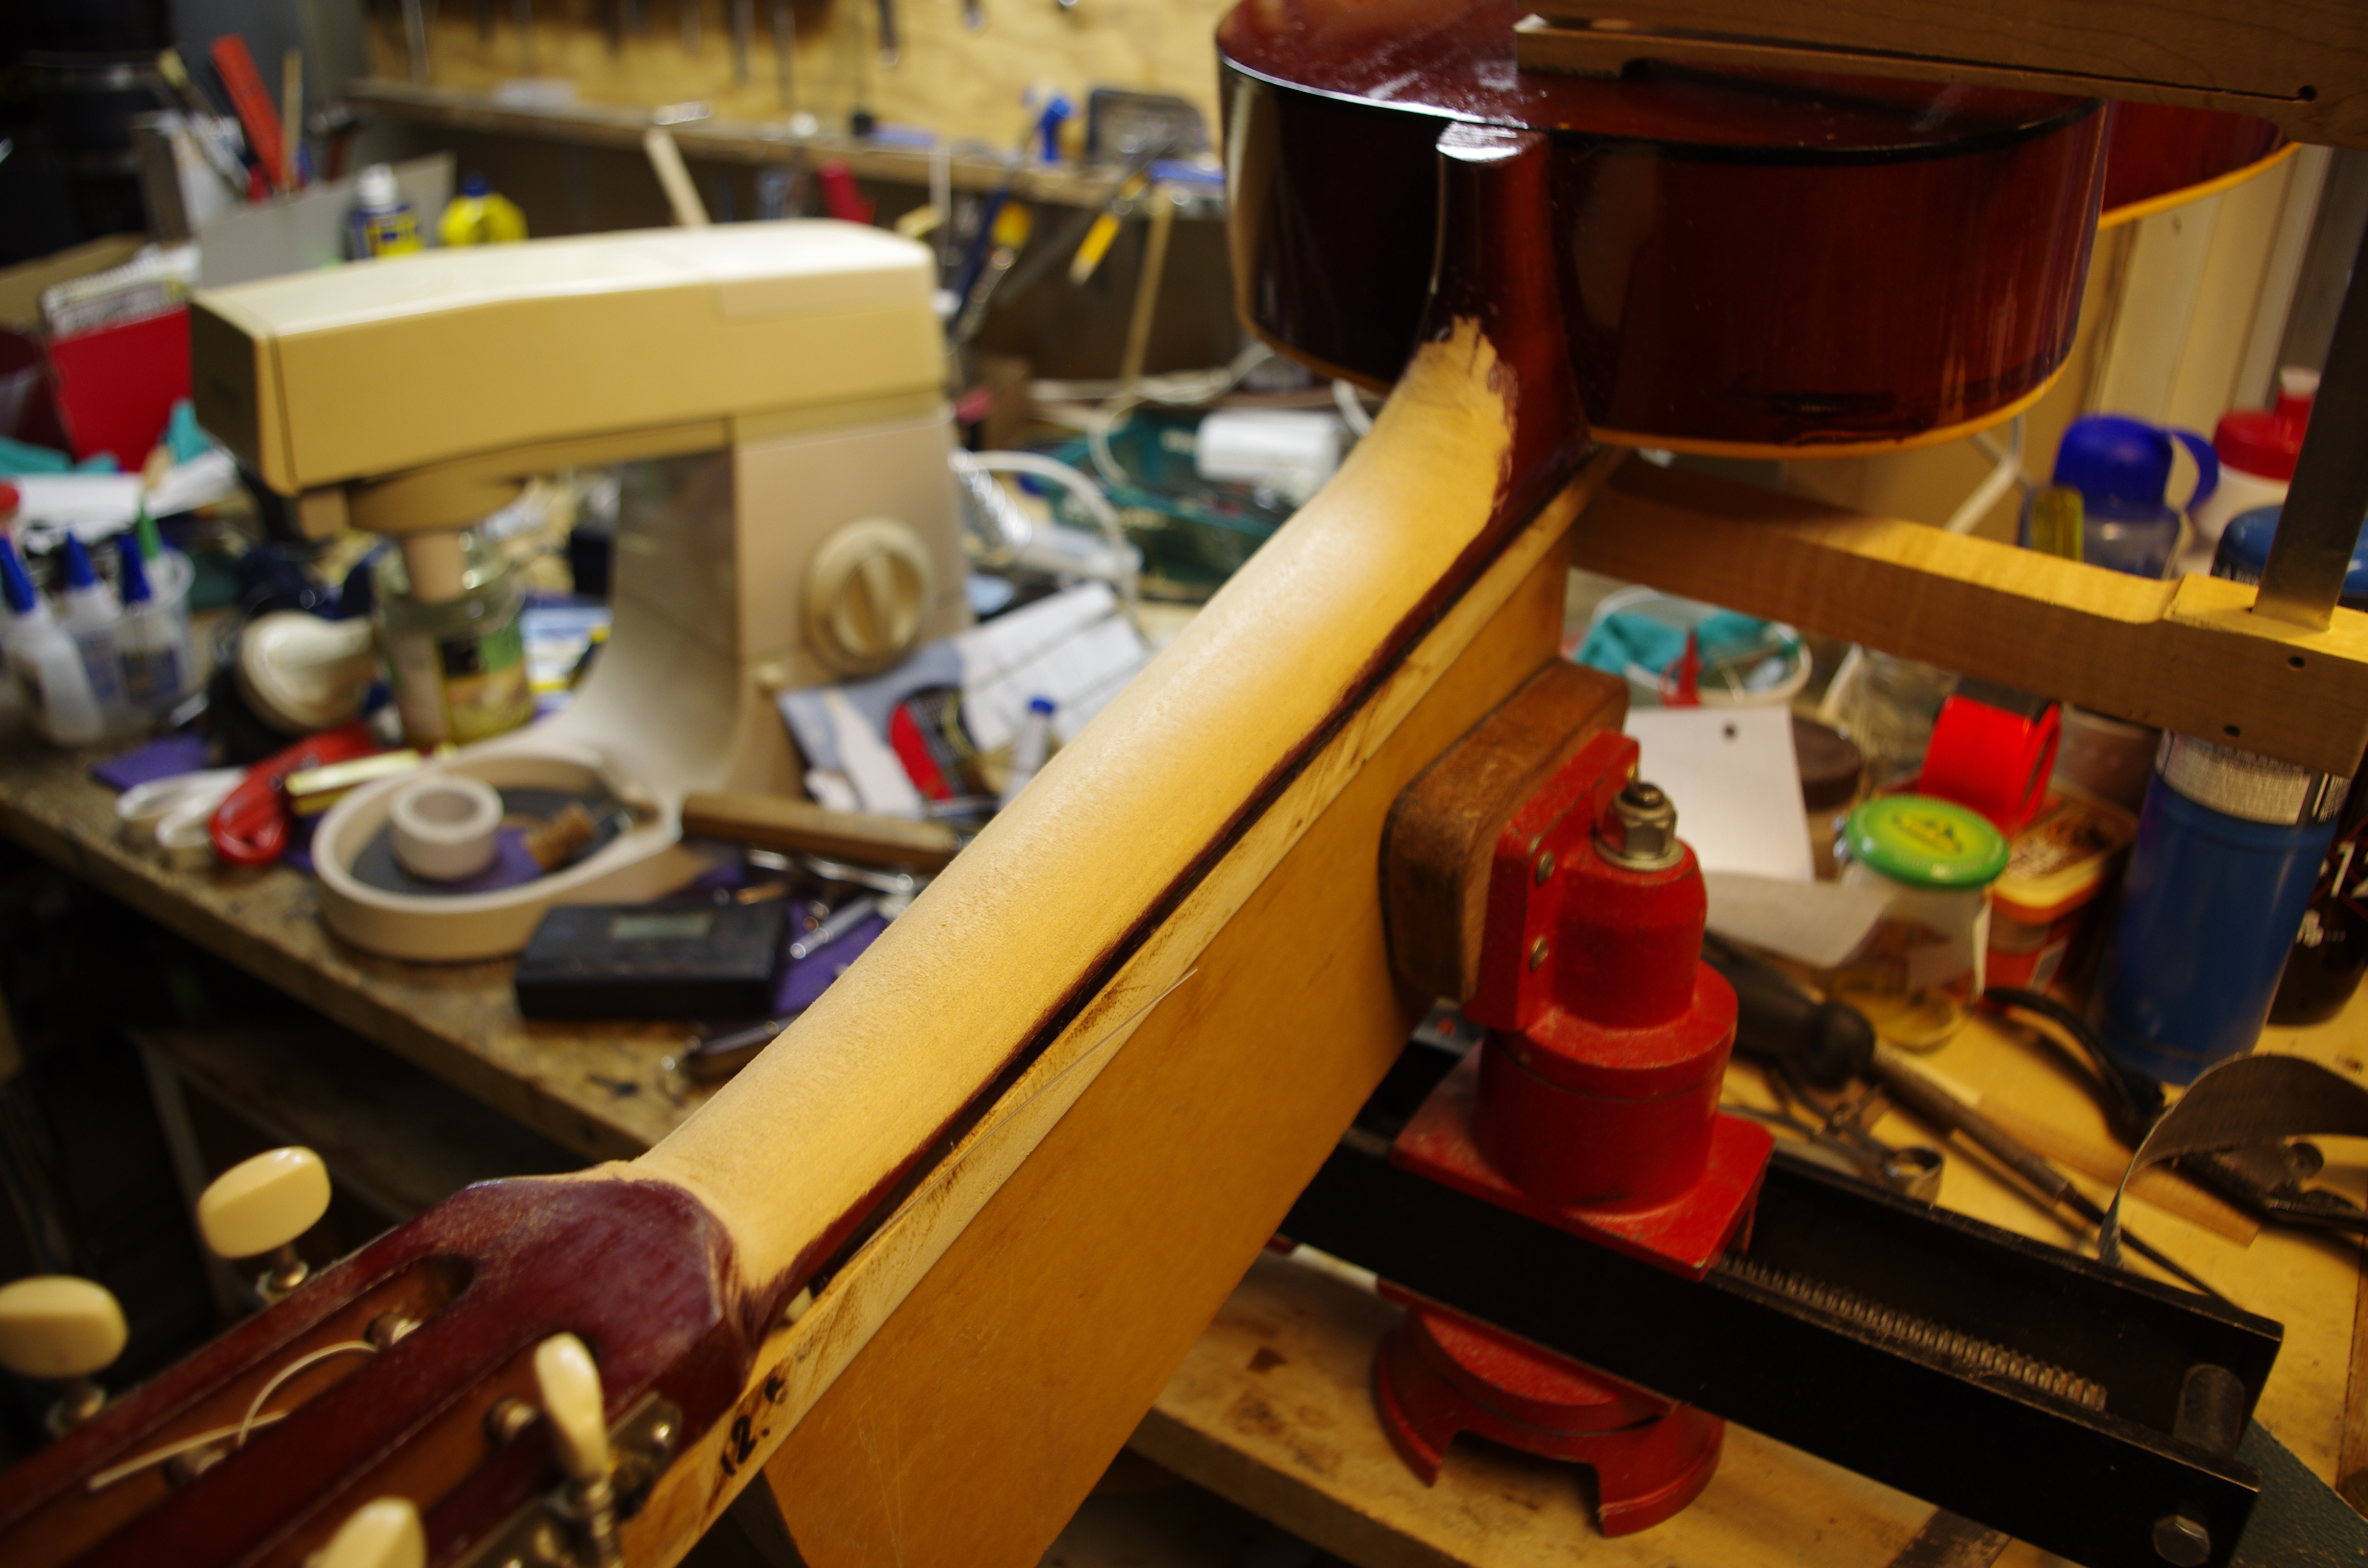
Once I had the bracing carved, I decided to reduce the depth of the neck, which was much too deep. How they came up with such a neck profile beats me, as almost no guitar player likes the depth of such a neck. I reduced it by about 3mm, which was not as much as I could do, but it was enough to make the neck feel much better. Then I gave it a light rub with a thin brown stain and finished it with a few rubbed on coats of shellac and oil.

Re-carving the neck
Neck carved and refinished

The result is a decent guitar, with a very narrow neck – for a classical. The neck is actually smaller than I would build from scratch, at 1-1/2″ wide at the nut, but it’s still better to be a bit narrow than too wide and uncomfortable. The bracing worked well enough, and the guitar has a lot of bass response for a small body size. The trebles are not great, but that seems to be the typical tone of nylon strings, so I didn’t expect great things there. The response when using a pick is very bright and loud across the spectrum. So for my purpose, it works well.

An oft-quoted statement from Torres (the greatest luthier of his day) on his deathbed was that the sonority of a guitar was entirely dependent on the top. The making of the top, a skill that took years of practice to master, was what created the superb tone of his guitars. Torres built a guitar body from papier-mâché to prove his point. This guitar had a laminated top, back and sides, which is the reason it ended up in a thrift shop on sale for $20. Laminated guitars vary from decent to the cheapest of cheap, and there are some that are among the best guitars, but it still depends on how well the soundboard is made. The latest thing in classical guitars is the “double top,” basically a laminated soundboard. I have a guitar that features the traditionally highly prized features that truly do matter – the right dimensions and a solid cedar top that resonates well. But the marketplace is another thing! I doubt that anyone would pay me enough for it to cover the cost of the strings and the materials used to reconstruct it. But so what? I made it for my own pleasure and use and with a nice narrow neck, so I think I will enjoy this one.

A last word on the varnish I used – an old tin of Brown-Omega from the defunct International Luthiers Supply of Tulsa Okalahoma. This is great stuff, oil varnish, which dries fast and has little odour. It was popular in its day, but alas is no more.

The completed project

1 Comment

Filed under Guitars, Uncategorized

A Classic Conversion

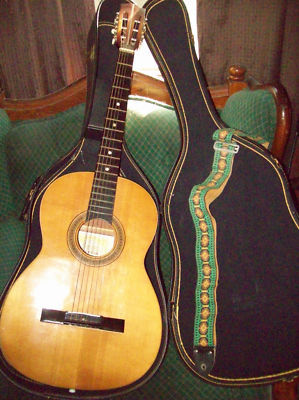
I have often failed to convert anyone to my opinion, but I can convert a guitar from steel strings to nylon! And it’s all perfectly legal, too. Some years past I picked up a busted Suzuki 9 guitar that had a failed bridge.

A Suzuki 9 like mine (not mine however)

I only bought it because it was cheap and I enjoy fixing things. I removed the bridge and reglued it, and then put it away for years. Recently I took it out from storage and the bridge had failed once and for all.

They all fail like this due to the weakness in the glue bond of the veneered top.

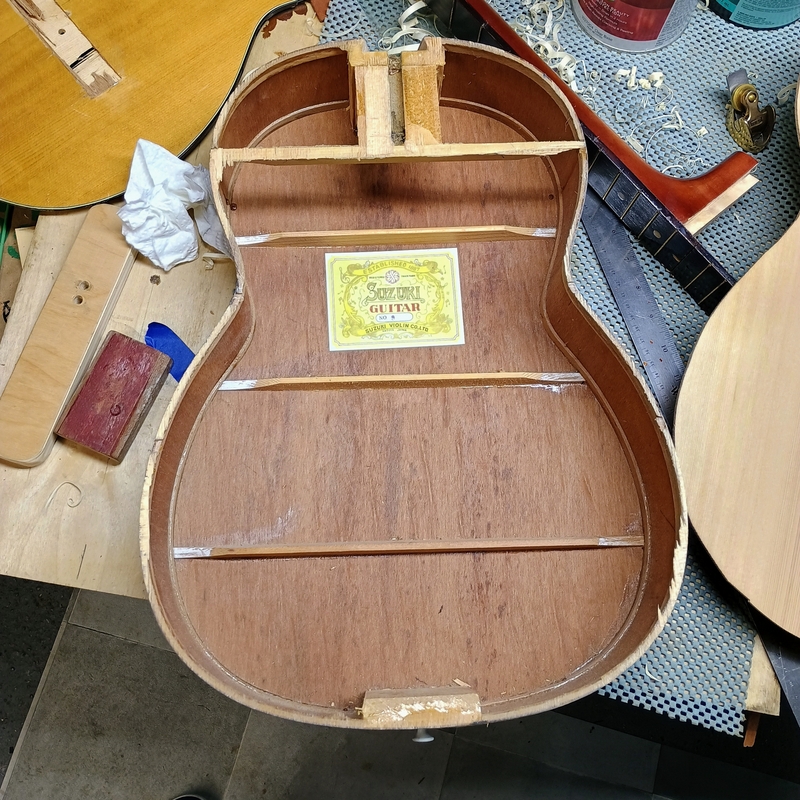
Because the top was made of thin laminated veneer, there was no way to repair it again, so I decided to see what I could do with it. I heard that Suzuki guitars were made with dovetail jointed necks, and hide glue. On that assumption I got out my neck removal jig, and attempted to drill a hole at the 15th fret. I hit a steel rod that reinforced the neck, so I had to drill in from the back to inject steam. I steamed and steamed for a long time with no results, and despite putting enormous pressure on the heel nothing moved. I was losing hope, when all of a sudden the neck just popped right out of the pocket.

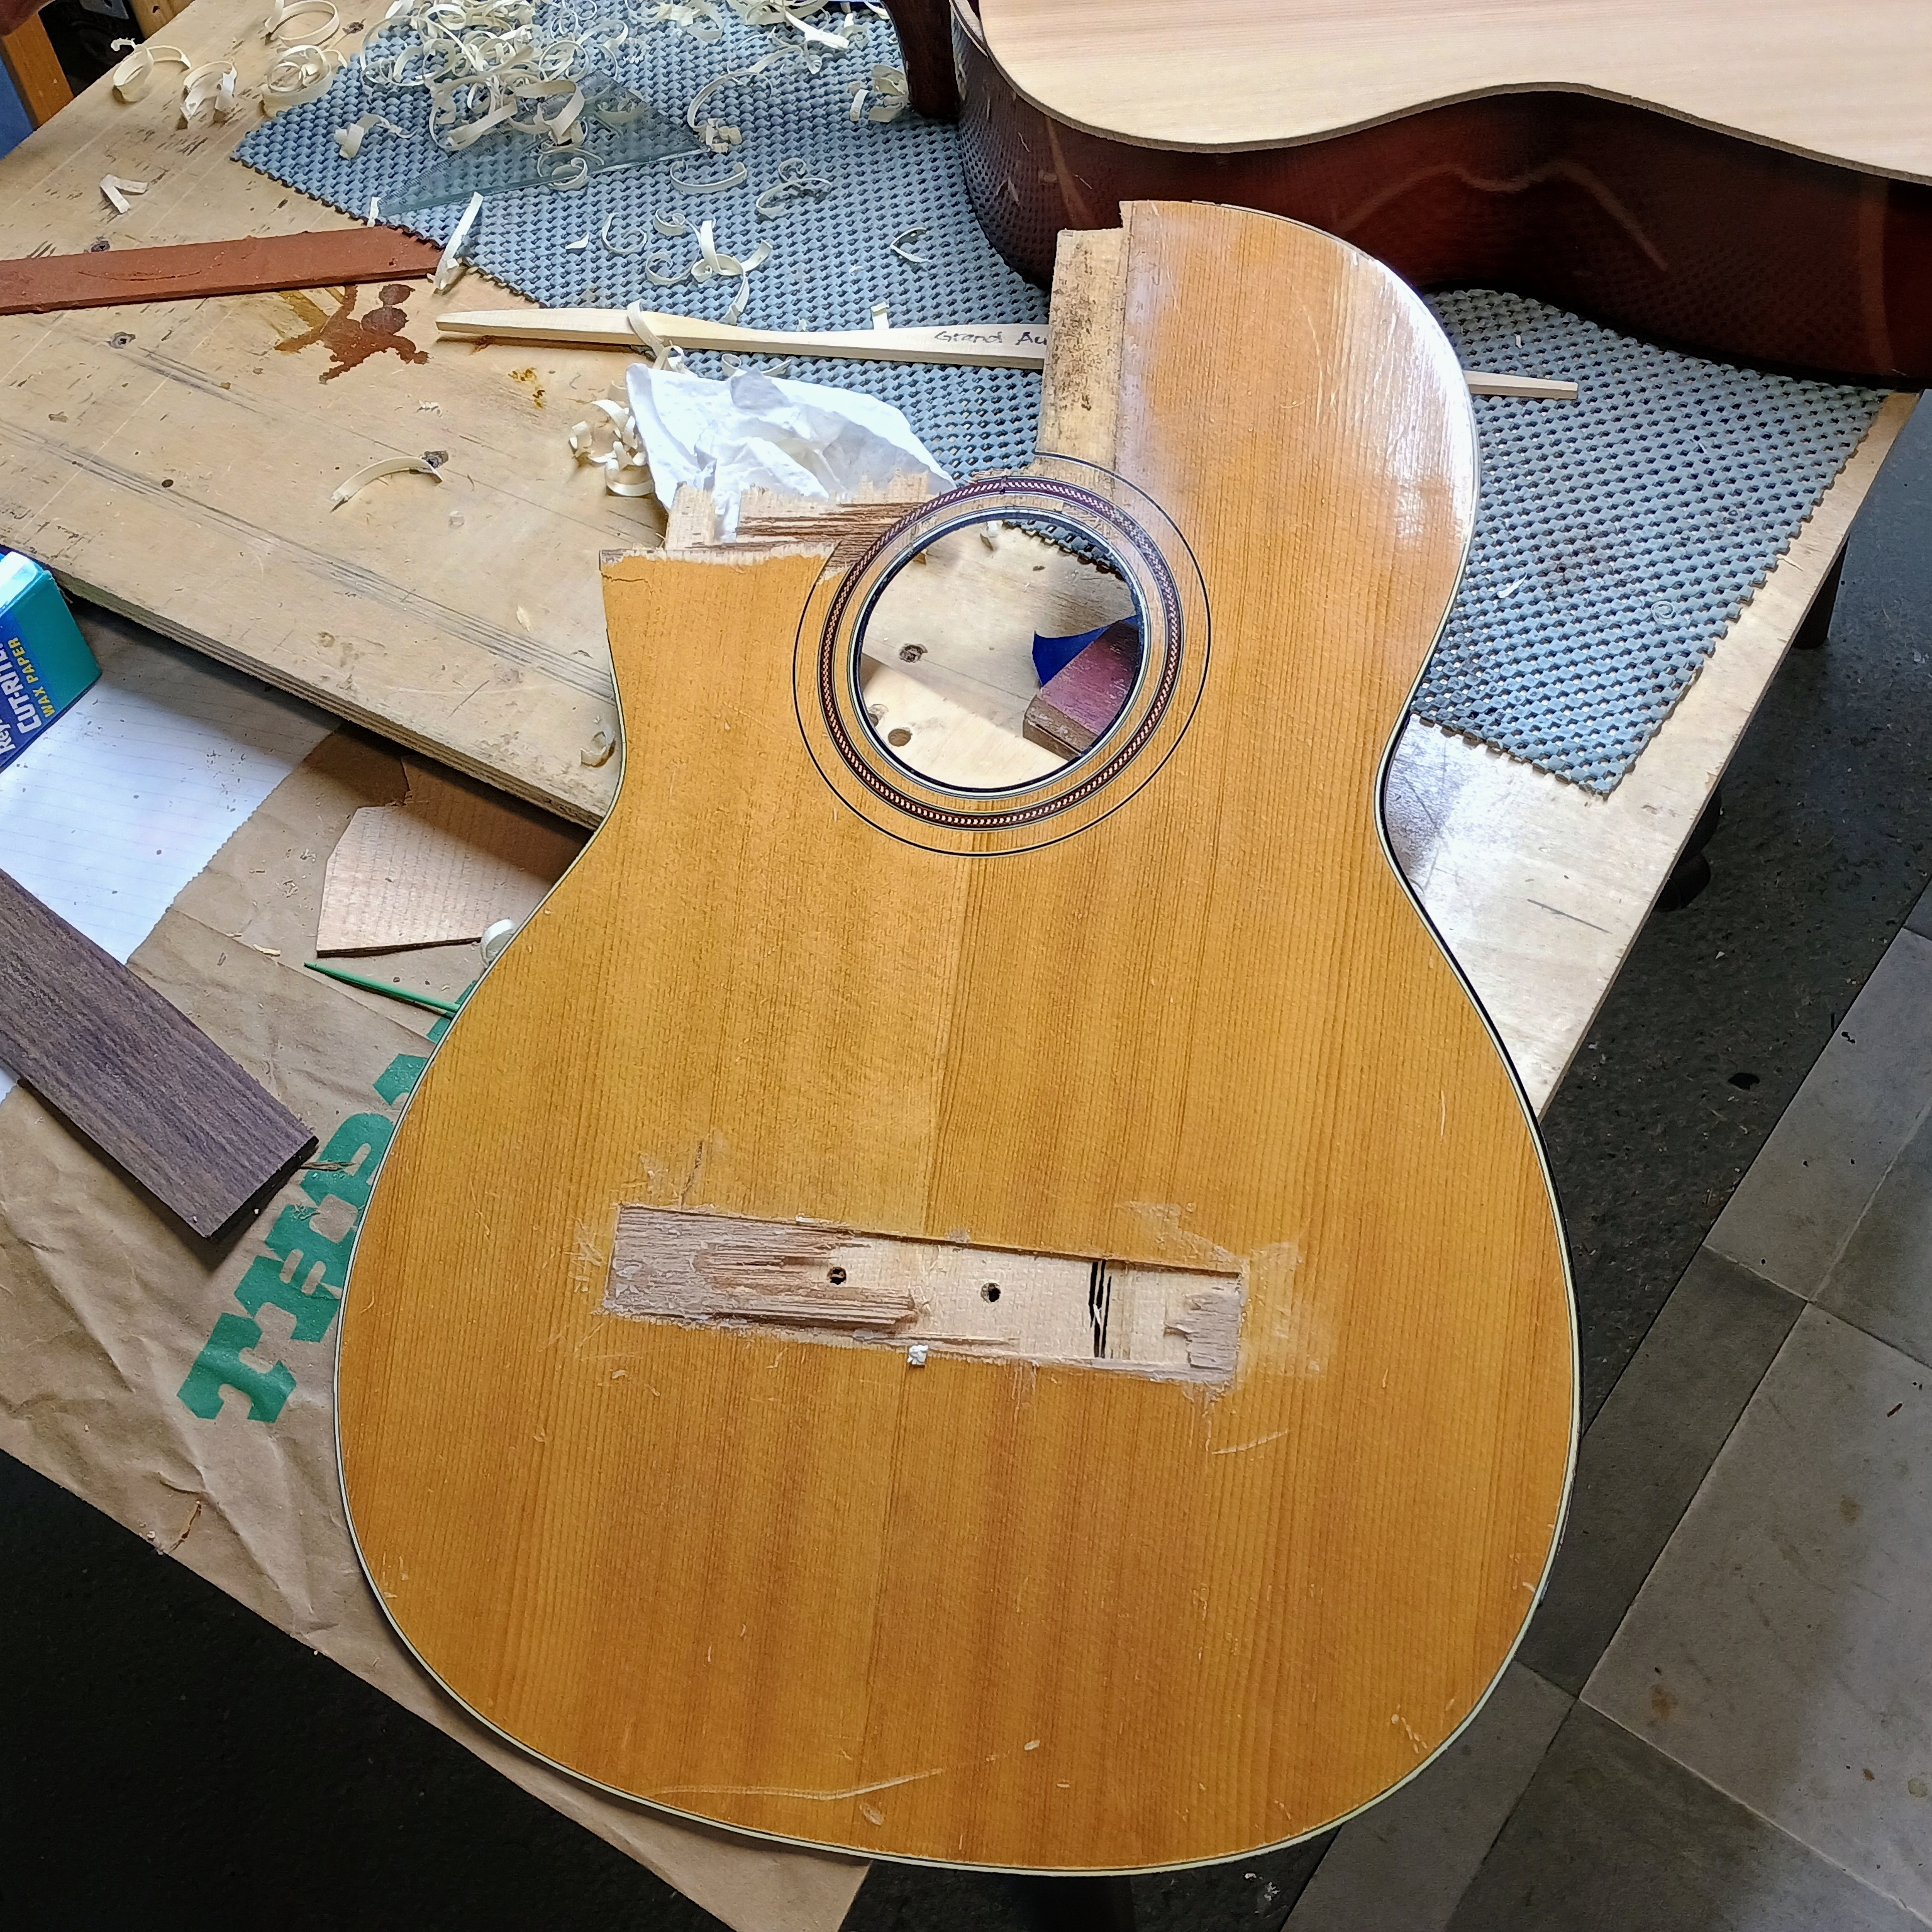
Next up was to remove the broken soundboard. This I did with a sharp blade, and the whole thing came off quick easily. Hide glue is brittle and will often fracture with a little help from a sharp blade. That is what allows violins to be taken apart without breaking them. Then came some thinking about the repairs.

Busted soundboard with delaminated veneers under the bridge.

What to do? I had long been considering building a classical guitar along the lines of a modern hybrid model with a narrower neck of similar shape and size as a steel string guitar, so I decided to convert this Suzuki into one of those. The body is the size of a classical guitar already. The neck is narrow, the fingerboard is flat, and the head-stock has slot head tuners, albeit for steel strings. But no problem, because it is possible to wind nylon strings on 1/4″ steel string shafts. My Mexican classical guitar is like that and it works fine.

Suzuki 9 with no top and no neck.

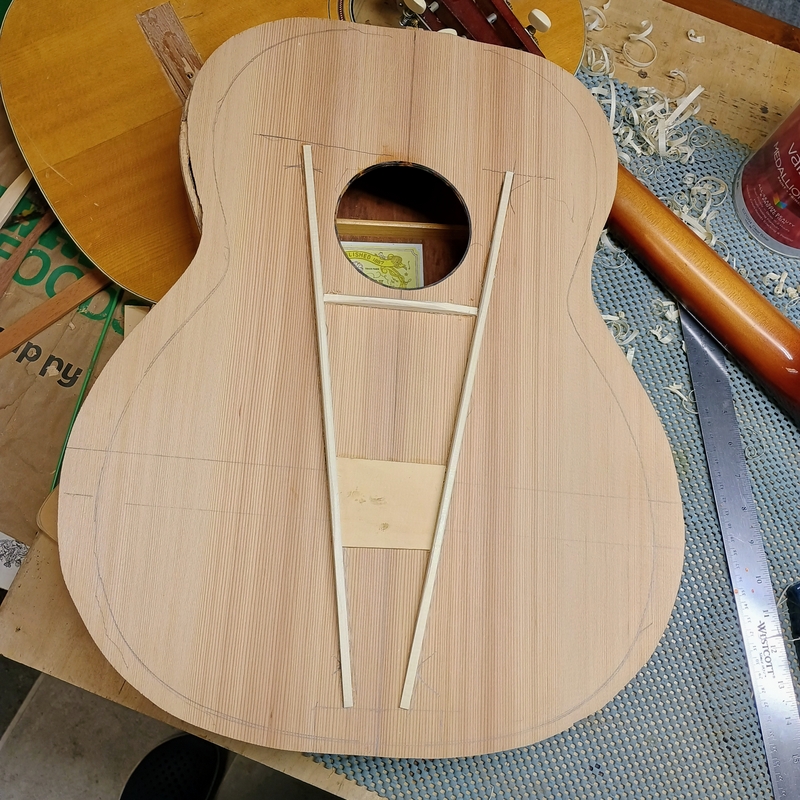
I had already joined some cedar plates for the future classical guitar, so I added the sound hole in the right location and size, then cut and installed my preferred bracing, keeping it light as befits nylon strings.

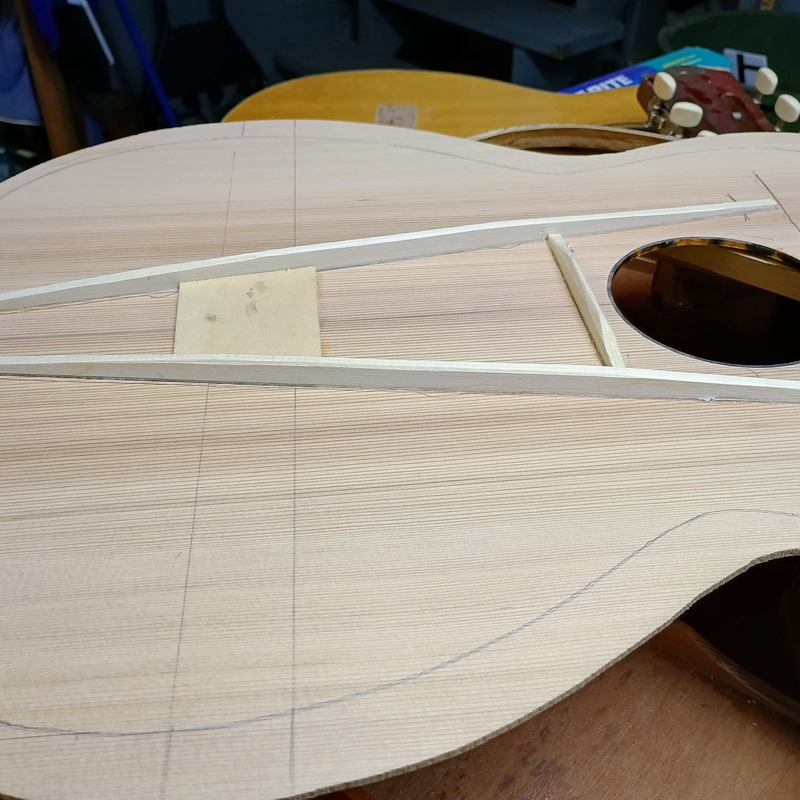
Simple V braces and a small bridge plate.

I cut the main braces from larger stock, 5mm wide x 10mm tall. The bridge plate is 2mm thick yellow cedar. The cedar top is about 3.2 mm thick. The braced top has a good tap tone and I don’t get overly concerned with making it as thin as possible once it sounds good.

After gluing on the braces I shaved down the ends and tapered them slightly in cross section.
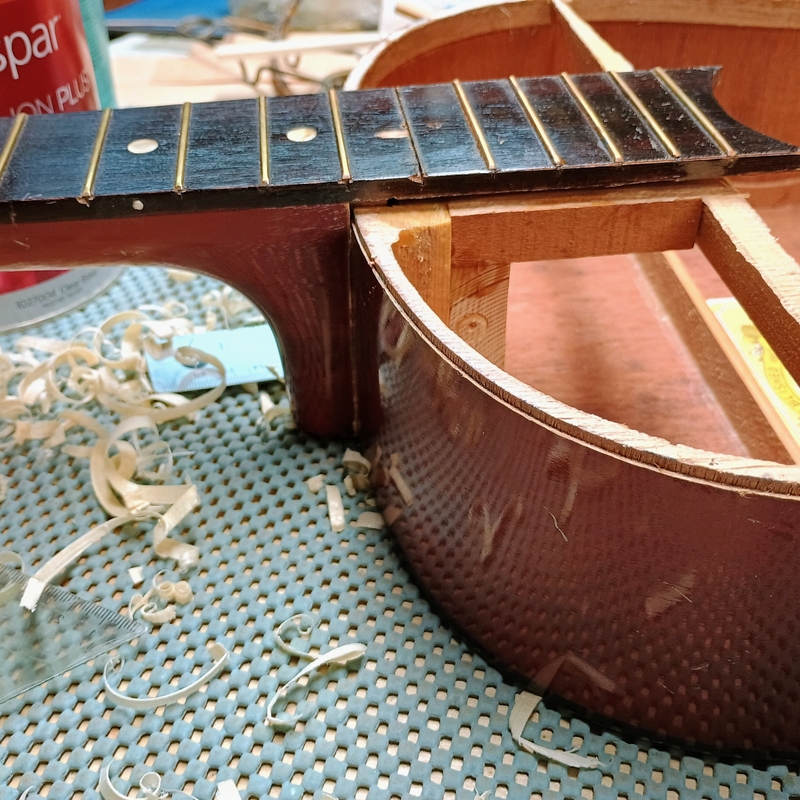
Flat fingerboard and maple neck with tapered dovetail joint.
The neck has a hollow steel bar in it and is dead straight.
I replaced the fingerboard extension block and the upper face brace that both came out when the top was removed.

The next step will be to glue the new top back onto the rim. Then the bridge will be attached and the top will be trimmed and finished. I will post again after more work.

Leave a comment

Filed under Guitars, Uncategorized

#1 Feng Shui #1

At the end of my street there is a bike trail along a former railway line that borders one side of our little lake. A few short yards from where the street ends at the trail is a small viewpoint with a stone wall and a sign that says this view is the first “Auspicious Feng Shui Site” in Canada. Today I walked around the lake and over the hill that can be seen in my sketch, coming full circle to my street. I had carried my sketching gear and was thinking about how I had not seen anything new to sketch when I realized that right there just yards away was this viewpoint that I have passed by hundreds of times. I’ve seen it so often that I forgot it was there, but today I paused to sketch it. In many years of walking by this place, I can’t remember every seeing anyone stop and admire the view. All those bicyclists speeding along, for what?

Leave a comment

Filed under Bicycles, Sketching, Uncategorized

My Vacation

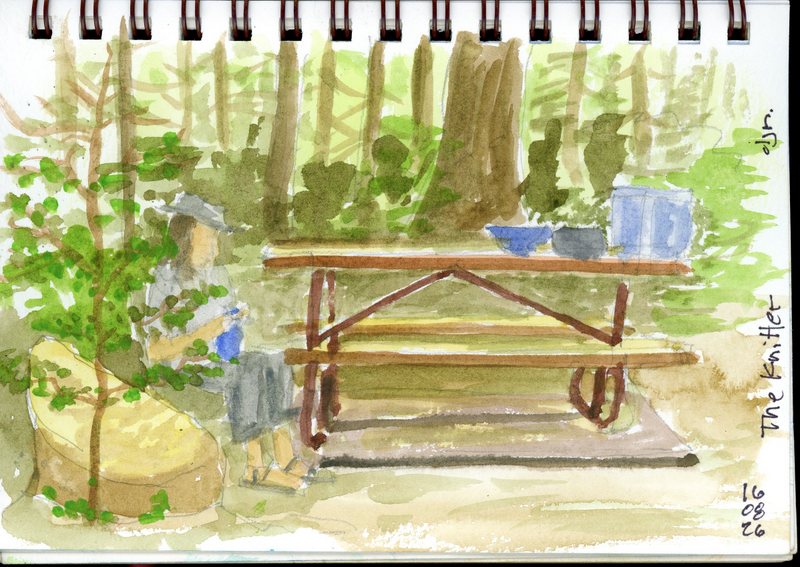
After a year off, we returned to our annual pilgrimage to the wilds of Vancouver Island, and Buttle Lake. I carried along the same sketchbook in which I had sketched the lake before in prior years. My skill hasn’t improved, but I then I don’t get enough practice. How’s that for an excuse?

Sketch I

My grandson observed my efforts closely and after I was done he borrowed my kit and went at it.

Buttle Lake by Will
Young Artist at Work
Sketch II
Sketch III

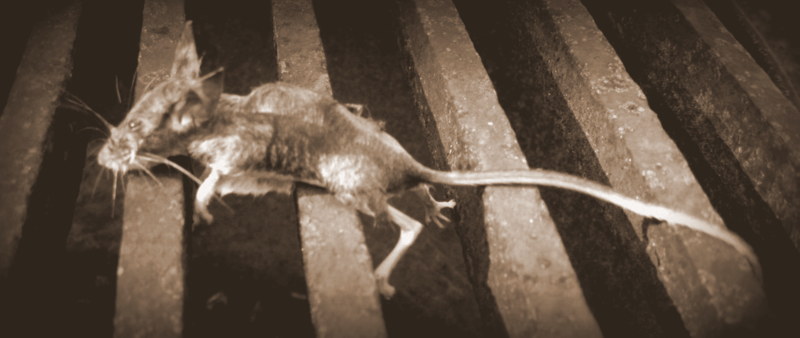
Our Westy sink empties onto the ground, so we place a dishpan there to catch the dirty dishwater. One morning we found a poor expired mouse in the pan. I keep meaning to put an escape ladder in that dishpan. I put the mouse on the fire grate to have a look at it. You don’t often get a close look at a mouse, and this one was clean, too, but a bit soapy. The tiny fingers are quite astounding, as are the huge ears. The mouse inspired me to write a song, which amused the kids but has not gone over well with adults. The last verse is below. Credit to Leo for the line about fish bait!

To a Mouse...with apologies to RB

He looked so sad and lonesome
lying there on the grate
But there was no way to cheer him up
or to reverse his fate
He was too small for dinner
and too big for fish bait
So we cooked him on the fire
But he didn’t smell so great

Leave a comment

Filed under Painting, Sketching, songwriting, Travel, VW Vans

Retro Folding Technostalgia

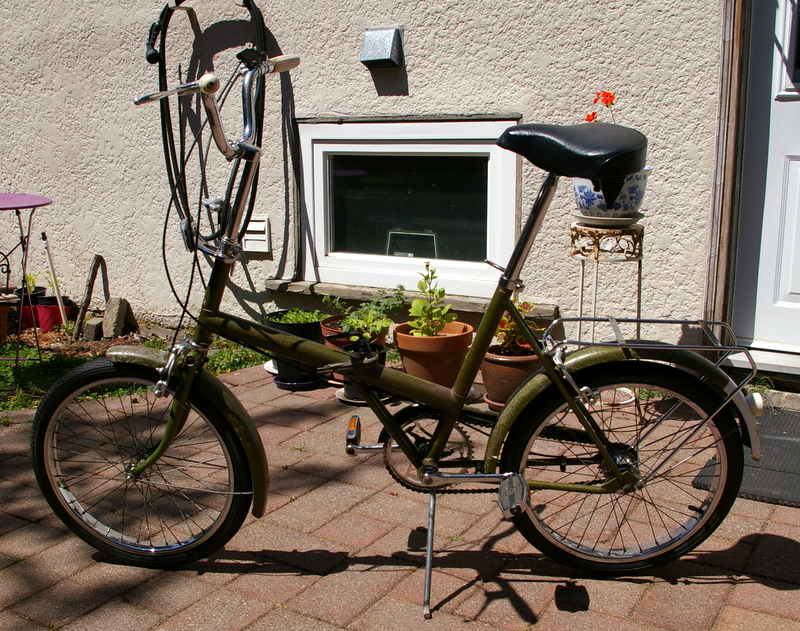
1974 Raleigh "Twenty" folding bike

I’ve wanted one of these for years and I recently devised an excuse to buy one. I’m going camping next month and this bike will fold in half and fit inside my Westfalia. No need to buy a bike rack. What I saved on the rack, I spent on this bike. Actually, the bike was free, all I paid for were the new tires that the previous owner installed on the bike, having got it for free. As with many old things I’ve bought over the years, as soon as I acquired this Raleigh I was finding out all about it from various websites. They can be tricked out, modified and kept going forever if you have the skills, money and the desire.

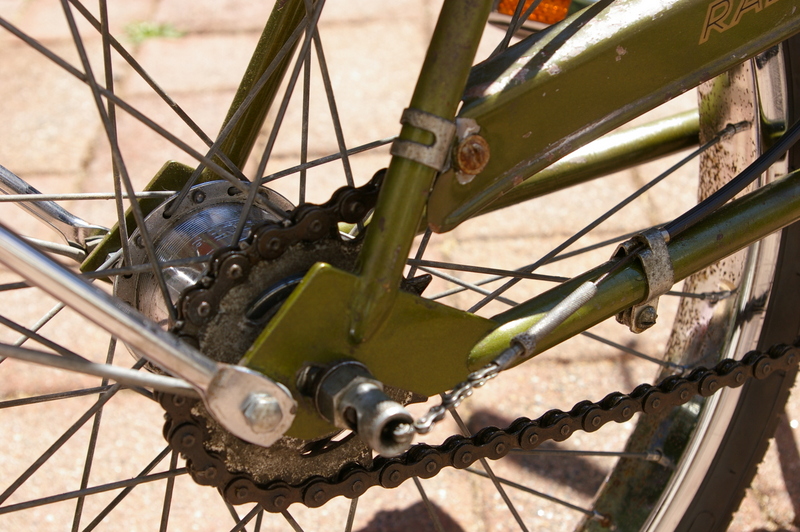
Sturmey Archer 3 speed AW hub, with 20 tooth cog installed

The heart of the bike is the old reliable Sturmey Archer 3 speed internal geared hub. These things are next to immortal, it seems. The one problem I soon discovered was that the lowest gear was not low enough for the slight grade on my street. The solution was simple enough, as I have some experience with fixing bikes, chains and gears and all that. I removed the 15 tooth cog on the hub and swapped it for a 20 tooth cog. That was the easy part. The chain was then too short, so I added about 4 teeth to it, using a free bit of chain I got from my local bike shop, where I also got the used 20 tooth cog. Because the world is full of Sturmey Archer hubs, cogs of various sizes are dead easy to find. I have a toolbox full of bike tools from long ago, and there I found my old chain tool, among other things.

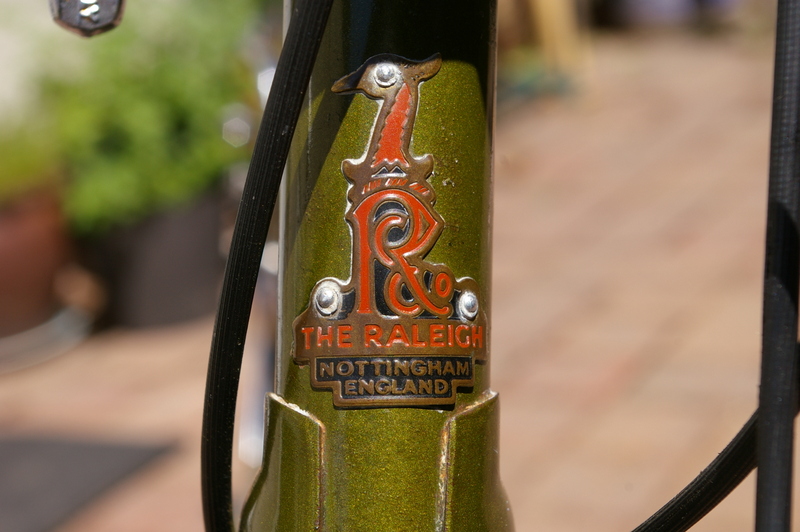
Raleigh of Nottingham - just like Robin Hood rode

This bikes reeks of nostalgia for me, having grown up in the era when a 3 speed bike made in England was a luxury item. I had a 3 speed as a youngster in a town that was dead flat. One day when I was a teen I bought a single speed bike, since gears were of no use to me at the time. Then came the 10 speed craze of the 1970’s, so I bought a “Torpado” Italian 10 speed, which was like getting a sports car for slightly older males who had some money. The Torpado served me well for decades, but eventually I sold it because the riding position was too radical for my neck, wrists and butt. I moved to a mountain bike, and eventually to a very comfy Townie e-bike, which is still my main ride today, and likely will be for the foreseeable future.

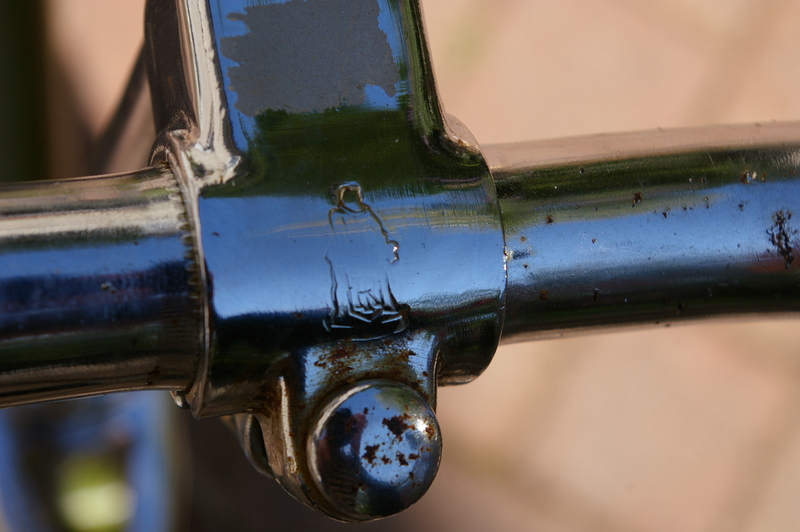
There are Raleigh symbols all over the bike, pedals and handlebars, frame tubes, etc.

They plastered the bike with symbols wherever they could find an empty spot.

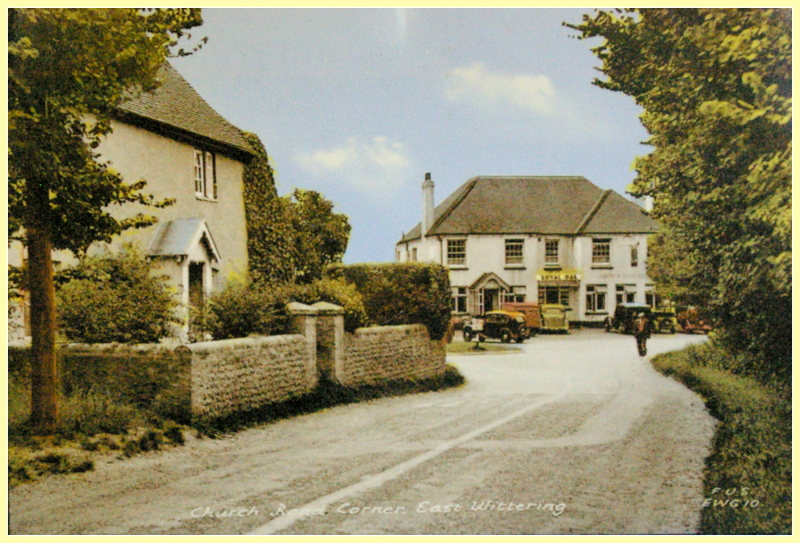
When I got the new gear installed, added the chain links and adjusted the brakes, I took the bike out for a test ride to the closest thrift store. The hills on the route are fairly big, but the new low gear enabled me to make it over without too much knee strain. Perhaps an even lower gear would have been better, but this should work for now. The top gear is still more than high enough for my needs. This is a bike on which one rides at a leisurely pace and not one wit faster. My treasures of the day were a ball of jute twine, a plastic outdoor thermometer, and an old post card of an English village. The postcard seemed appropriate for this bike, which was designed for short jaunts to the shops, or outings to the country, with the bike going into the boot for the trip.

The perfect place to go on a Raleigh "Twenty".

1 Comment

Filed under Bicycles, Technology, Thrift shop finds, Uncategorized

To The Meadow

2 Comments

Filed under Painting, Philosophy, Sketching, Typecasting, Uncategorized

Lone Oak 2

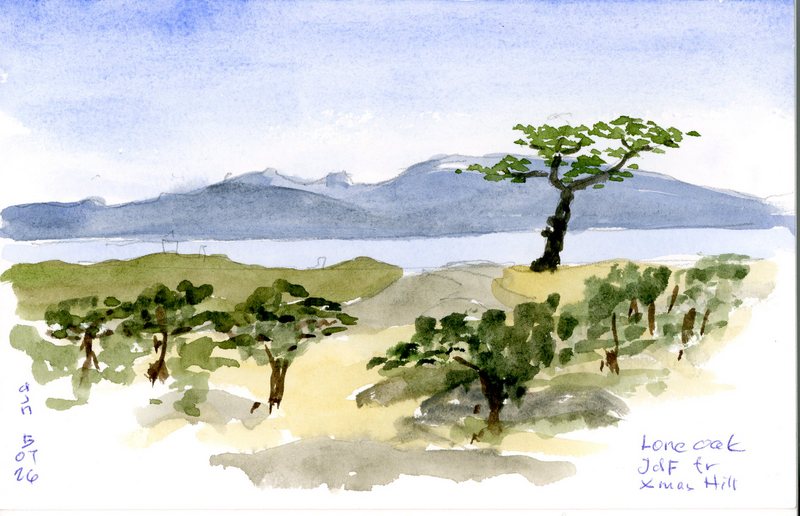
I saw the lone oak again today on my hike up the hill. It is an unmistakable tree. From a very different place on the hill I recognized it like an old friend. I took the opportunity to compose another poem about it.

Poem typed on the Royal typewriter featured in the previous blog post. Turns out the typewriter was not a refurbished “P” after all, but a lesser known 1940 bargain model called “Signet”. So it’s only 86…

Leave a comment

Filed under Sketching, Typecasting, Uncategorized

The Royal Montreal _____?

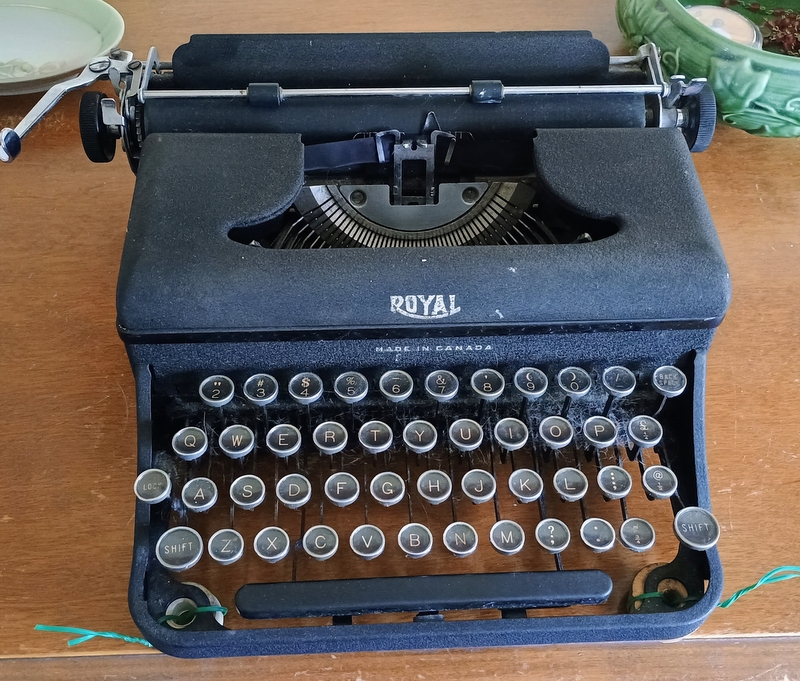
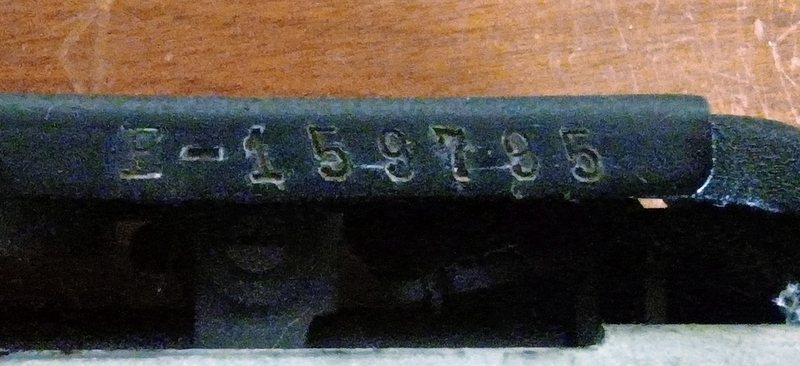
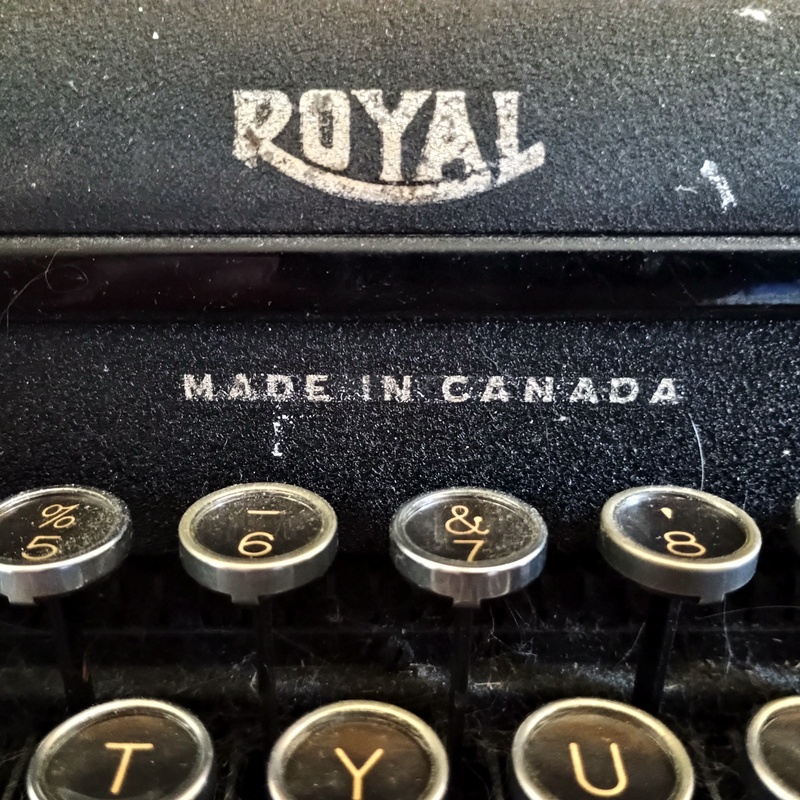
My father enlisted in the Royal Montreal Regiment in 1939 and was promptly shipped off to England to defend the British Isles from the demon Nazis. He didn’t get back until 1944, but he survived and made me. But this has nothing much to do with that. This has to do with a very unusual typewriter that I found this afternoon at a thrift store; a Montreal made Royal P, from 1929. The serial number E-159xxx indicates a Canadian made Royal, which could be exported to the British Empire duty free from Canada. This one ended up here on the west coast in Victoria, where it was plunked on a shelf today, not long before I arrived to grab it. It was not working, so I got it cheap. Non-working typewriters can be the best ones, if you get them at a good discount, and know how to go about fixing them. I have been at this for many years, so I had a hunch this one could be got into working condition. If not, no big loss.

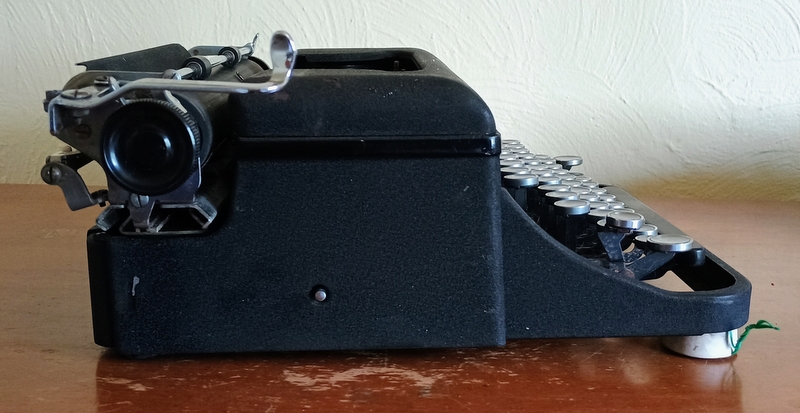
Once I fixed the problem, a stuck loose dog (familiar eh?), I stuck in a brand new Chinese ribbon and put it to the test. Well, it passed with flying colours! One oddity struck me; how could a 1929 Royal portable look like a WWII era machine? The answer came from Google’s AI service, which told me this is a refurbished unit onto which a later shell was attached, likely around WWII. The model P shell and the later shells were interchangeable. Another clue was the fact that the keys are 1929 style, round glass in steel rings that is. By the time this was rebuilt/refurbished or whatever they did to it, the keys were plastic.

The front feet were missing so I quickly kluged some from a pair of old rubber wine bungs, attached with wire. The action on this is flawless, and the type is remarkably clear and even. The ribbon I got this time round was well inked, unlike some I’ve bought from China before. The vendor claimed that their ribbons had lots of ink, which was the reason I selected that particular one among the numerous others. A ribbon with poor inking is worthless!
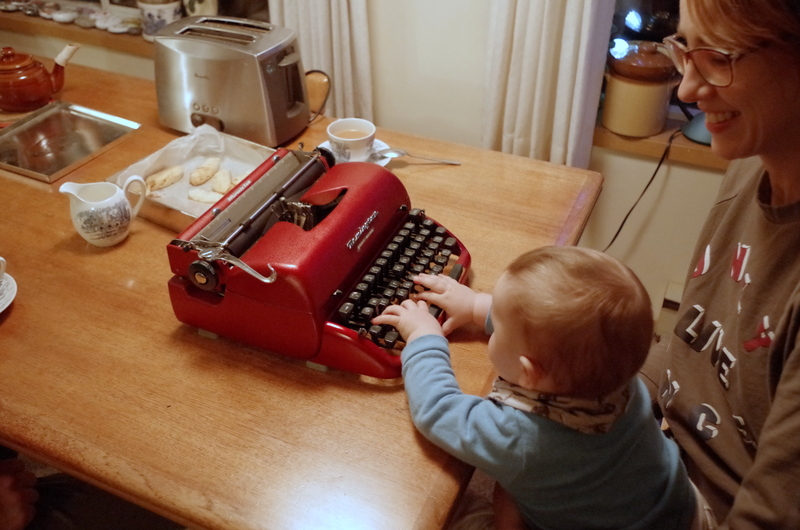
So there it is, a Royal Montreal Typewriter. The damn thing is 97 years old and it is still working well; better than many that are not half that old. I previously blogged about the Royal Factory in Montreal before, and the connection to my Dad, who was a machinery dealer for many years and who no doubt had been in the place and almost certainly sold or bought some machines there.

Manufacturers were always buying and selling and refurbishing stuff in those days. Nowadays, well, into the trash, right? You know the routine. So much junk it is a crying shame. Bring back carburettors, bring back shiny shoes, bring down the Iron Curtain, I got the Modern Day Blues!

Yes, that’s me singing and playing my own song.

8 Comments

Filed under Artifical Intelligence, Thrift shop finds, Typewriters, Uncategorized

AloneOakTree

1 Comment

Filed under Painting, Poetry, Sketching, Typecasting