
one yummy loaf
Last week I spied a very interesting enameled cast iron pot in the thrift shop. It was the perfect size for a small chicken. On the bottom it had the familiar stamp of Le Creuset, the famous French pot makers. I brought it home and prepared to drop a chicken in it when I noticed to my dismay that there was a crack, which rendered the pot useless for holding liquids, thus ruling out chicken. Then it occurred to me that the pot was the right shape for bread.
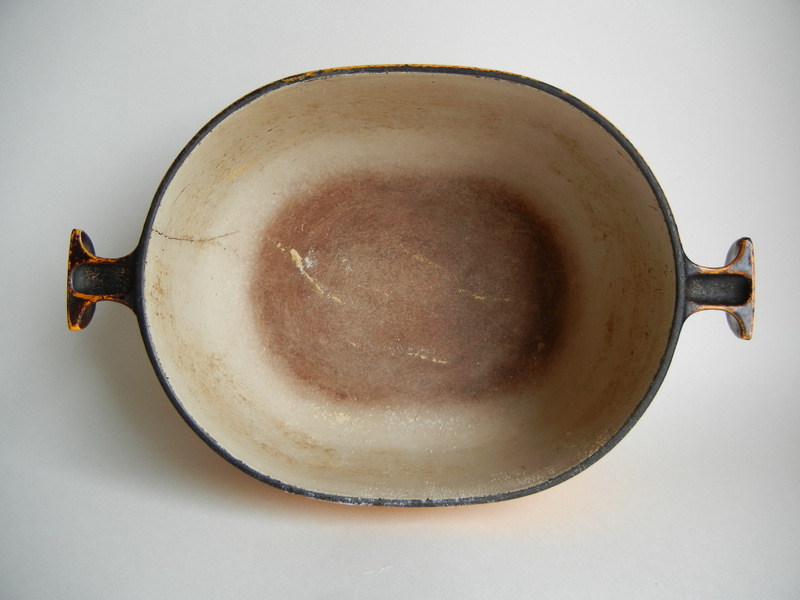
if not chicken, then bread
An internet search revealed a recipe for making a very different sort of bread in just such a pot – from the NY Times. It’s no-knead bread, and so far we’re very impressed with the results. I’ve also make a loaf of regular rye bread in this pot, and it rose much better than any rye I’ve ever baked in the oven.This has to do with two main factors: putting the dough into a hot pot, and baking with a lid on. The lid traps the moisture that ordinarily escapes from the bread in a normal oven, and this contributes to the initial rising and superior results in texture and taste.
In 1972 Le Creuset hired Enzo Mari to design this particular line of pots. I love finding beautiful things like this, and who was responsible for their design. Mari is one of a long line of Italian modernists, responsible for countless beautiful objects of which I am surprised and happy to have discovered one more.

Enzo Mari
One thing I realized after all this – if the pot had not been cracked we might not have discovered this wonderful way to make bread. Ergo: crackpots have their uses! No offense, Enzo, I’m referring to the pot.

the pot

sign of an Italian designer
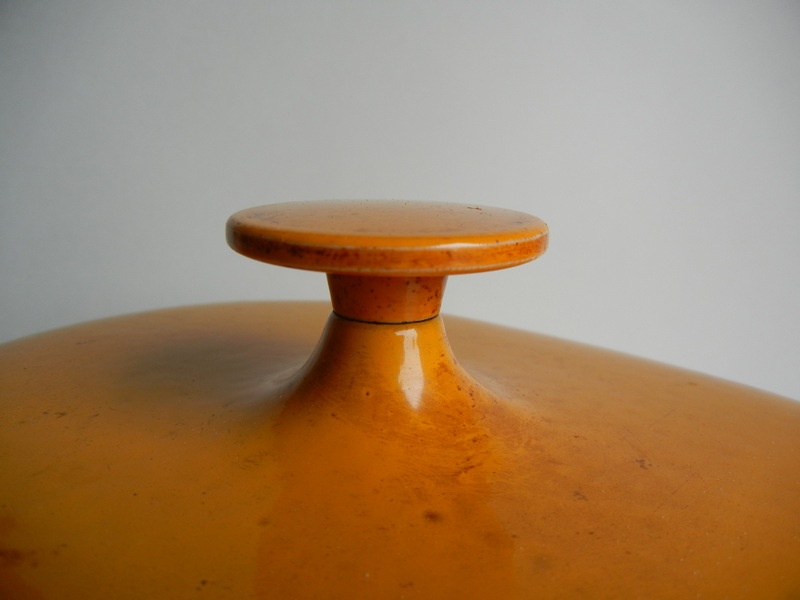
lid detail