installing truss rod & carbon fiber rods
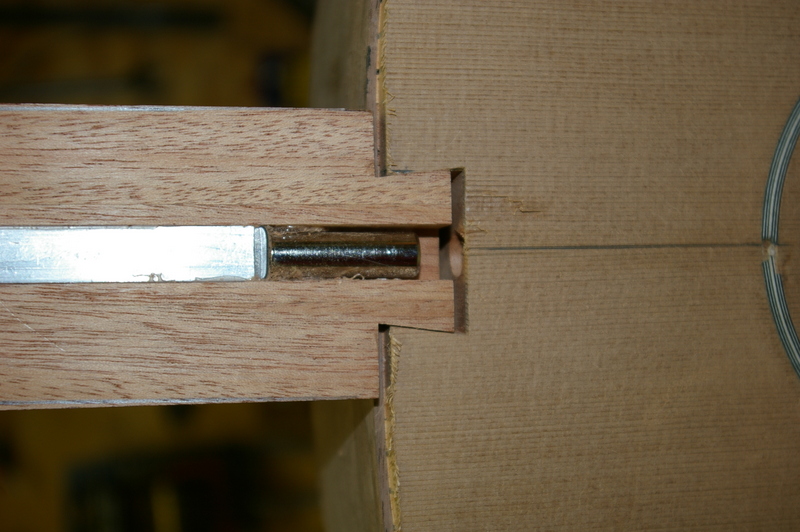
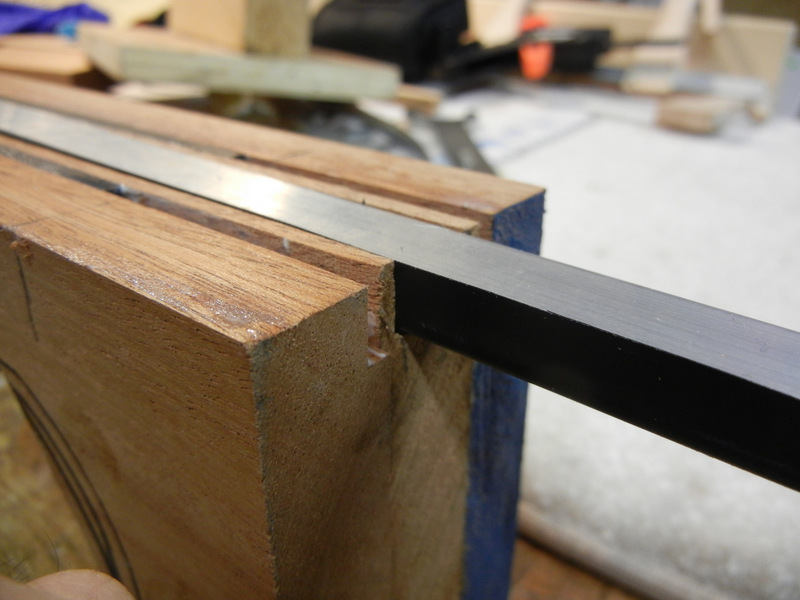
I decided to do some work on the neck blank today. The sun was shining into the carport this morning when I set up my workmate and clamped the neck blank in place. Fetching the router I found that it had the truss rod bit already in place and set to go. I attached the fence, made some adjustments to ensure I had the center lined up, and then routed the slot in a jiffy. I went to put the truss rod into the slot next. It didn’t fit! I looked a little closer and discovered that my supplier had changed their truss rod in a very small way, but now it was wider by about one millimeter. Problem: no 12mm router bit. I looked through my bits and found one that was 1/2″. Close enough, so I swapped it into the machine and set the depth, then ran it down the groove, shaving off the millimeter required. Only now the rod was a bit loose. No major deal here, I put electrical tape on the rod, which made it snug in the groove. But if they keep sending me 12mm wide truss rods I guess I’ll have to buy a 12mm bit. I have learned that it is sufficient for a truss rod to be installed without glue, and in fact I think it’s better. That way if it ever breaks it can be withdrawn and replaced. If it were glued, forget it – make a new neck.

neck with truss rod and carbon fiber rods glued in
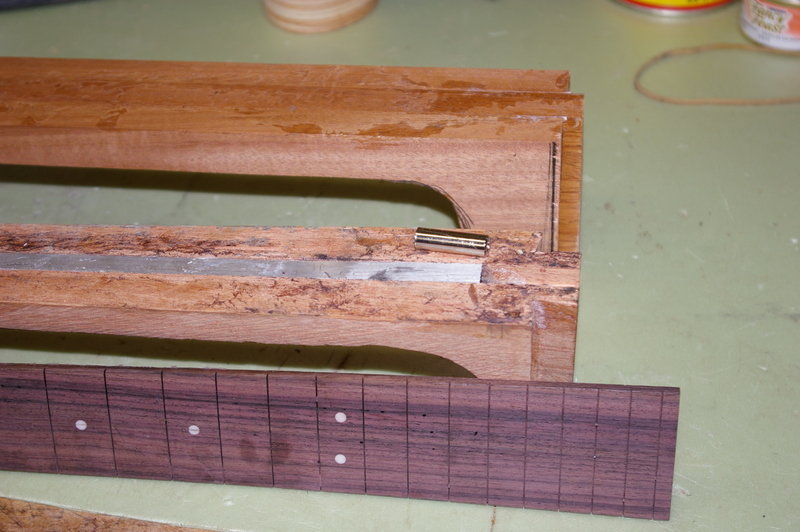
After the truss rod groove I switched to a new 1/8″ bit and routed slots for twin carbon fiber rods I recently bought. I cut one long piece in two, sufficient to do both sides of the neck. These were glued in place with epoxy. The slots had to be widened for these just a bit, which was done by adding tape to the sides of the neck blank and to the router fence for a second pass at the slots. After that the carbon rods dropped right into place perfectly.

carbon fiber rods before gluing
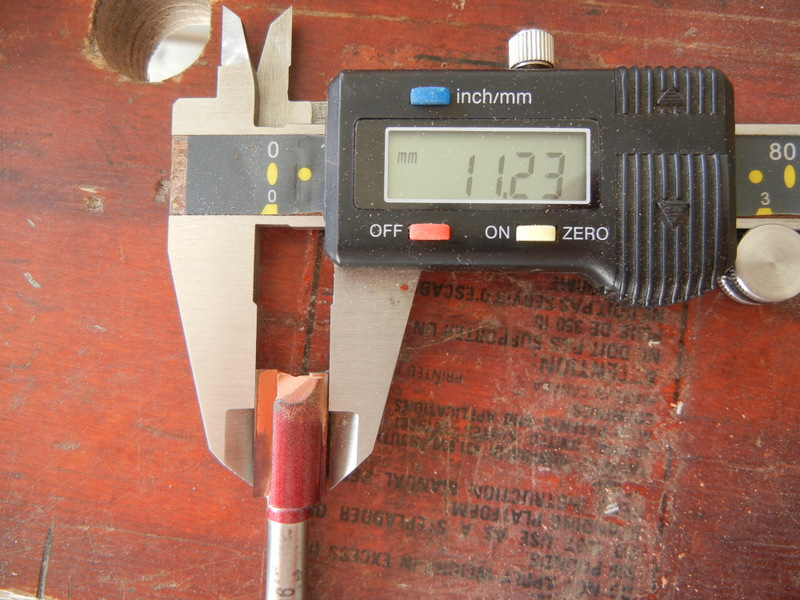
the bit for the old truss rod
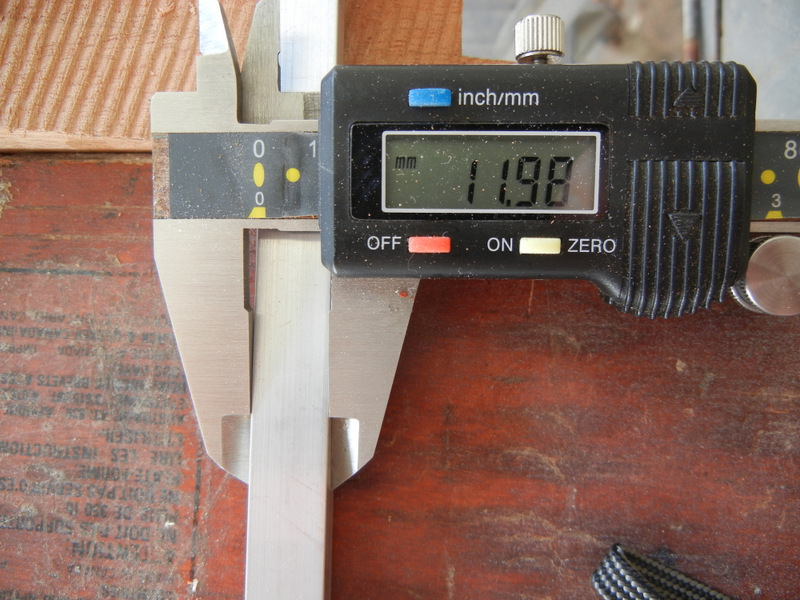
the new wider truss rod