
Neck assembly coming up below!

easing the tuner bushing holes in the headstock
Before assembling the neck to the body I completed the installation of the tuners and made a nut. The holes in the headstock were too tight so I eased them out another 64th by hand with a drill. Then I installed the tuners. I cut the nut from a piece of bleached bone. I have a scale for this which has graduated slots on it, slots which account for the increased width of the strings as well as providing any number of spacing options. The nut slots are filed with special files, too. There is a file for each string thickness.

nut before trimming

nut after trimming
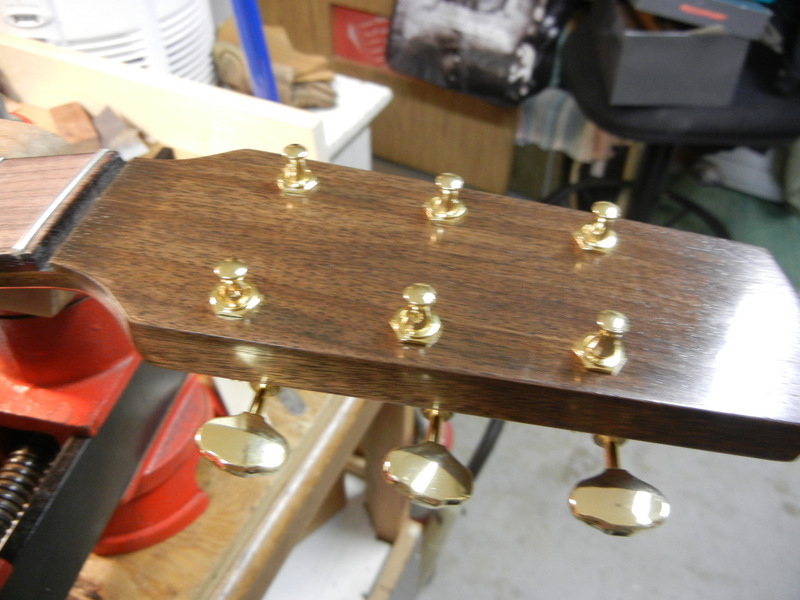
tuners installed – note press in bushings
Finally! Time to assemble. Many dry runs were done first, to ensure the fit was tight and had no slop. This took me a long time, even though the clearances are tiny they have a large effect. I adjusted my shims this way and that and finally ended up using a strip of blue shop towels soaked in glue. I needed 0.050 mm and the towels are 0.025 thick, which with both sides gives me just what I need. I tried with thin veneer but that didn’t work as well. The compressibility of the soft towel seems to be more forgiving in any case, which is why I seem to end up using this method a lot. I can testify that it works well.
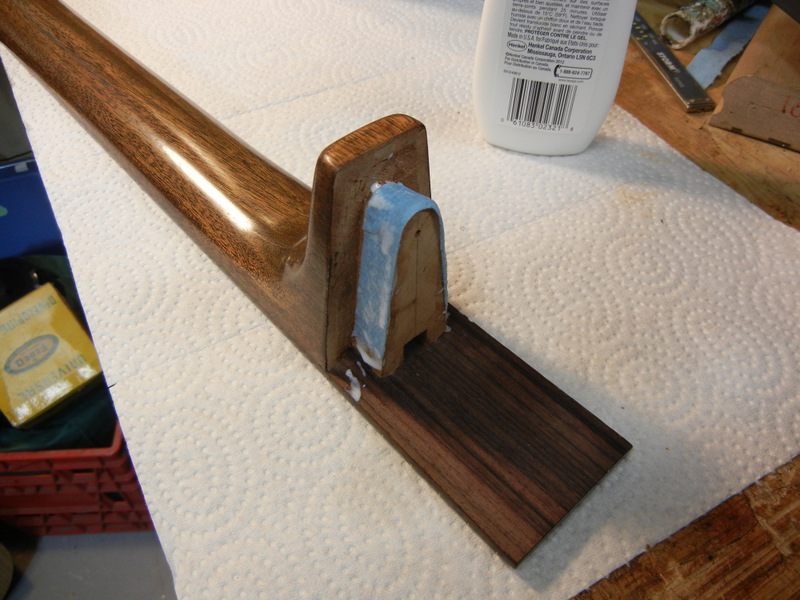
neck ready to insert, with shop towel gasket/shim
The fingerboard gets glued to the top as well, but doesn’t need much glue. That joint isn’t structural, so minimal glue is required. I sanded off the finish under the fingerboard to get good adhesion. Glue does not stick to shellac very well.

finish removed beneath fingerboard
The neck should fit into the slot almost 100% before there is resistance. Then with a little clamp pressure it seats to the bottom and is rigid. That is the theory anyways. Hence all the fiddling around with shims and gaskets. This time it fit perfectly. I clamped it to seat the dovetail and also clamped the heel down to ensure that there will be no gap at the back. For this I have a long Klempsia clamp. I have a bunch of these clamps, which slide on a rail and are made with wooden jaws and cam levers. No woodworker should be without some.
One last note for today: I almost forgot the truss rod, because it’s not glued in. But it’s in there now, loose but snug. If it ever breaks the neck can be removed and the rod replaced. It does work, I tested it.
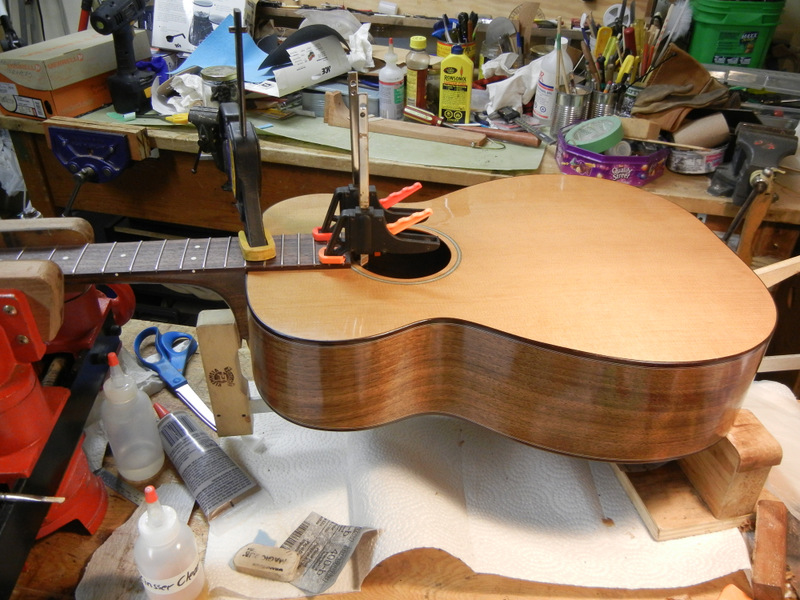
neck joined to body and clamped