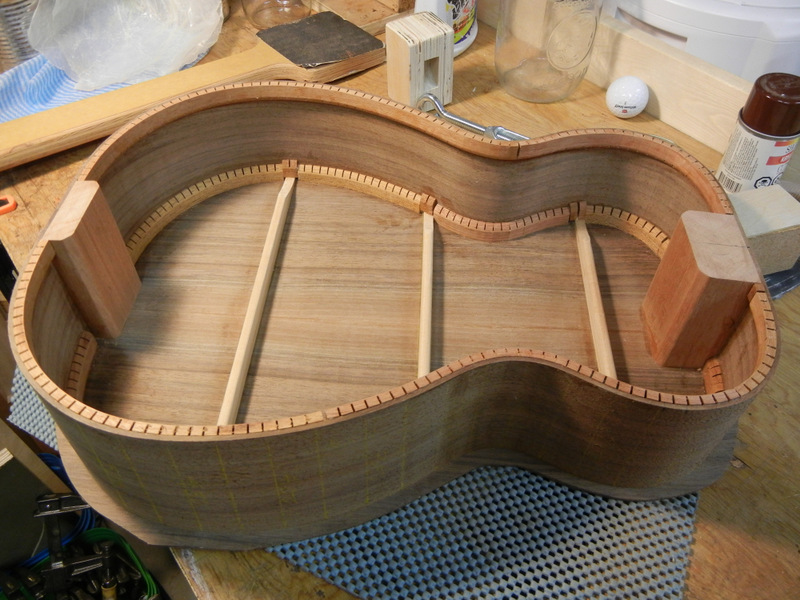

ribs and linings with glue – ready for the top
When last we blogged the guitar box was half assembled. I put the back plate on first this time, trying to save a little work by installing the linings at one go. It should have been fine but there was a hitch – the ribs weren’t quite as straight as they should have been, even though they were clamped in place in the mold. Sometimes you have to check things at least three times. This time I only checked twice. So the ribs are a little crooked. When this happens I resist the urge to smash the whole thing and start over. I figure that in time I’ll forget about the mistake and enjoy the guitar despite the imperfections. Then again there are always imperfections – they just vary in degree!
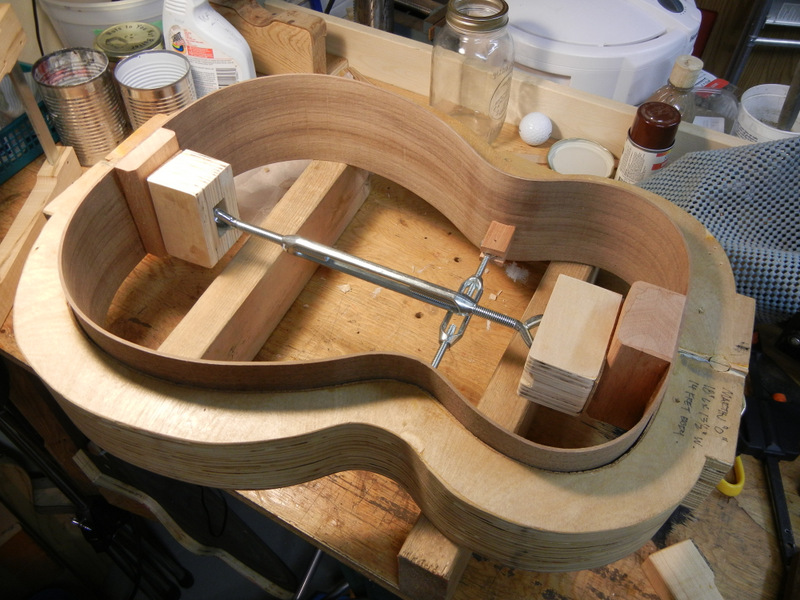
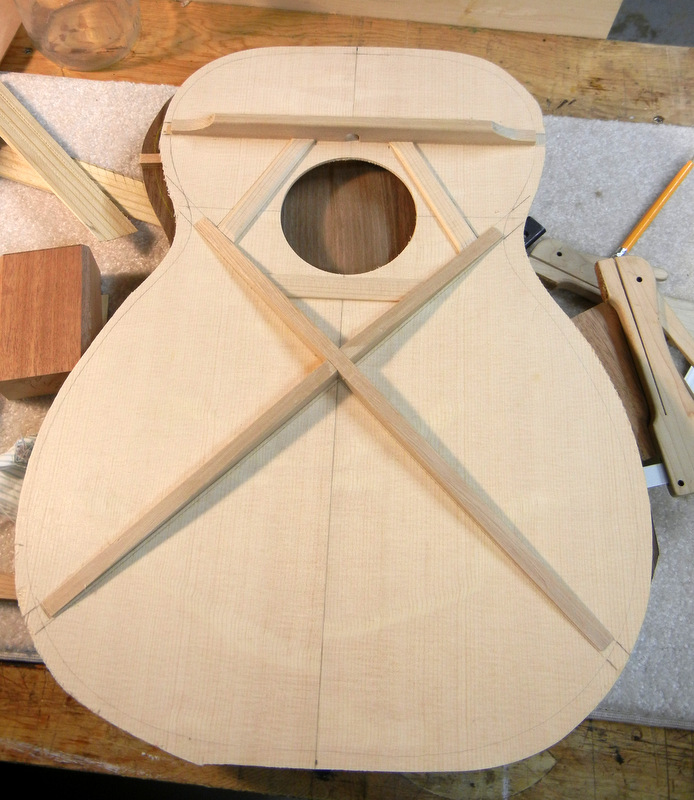
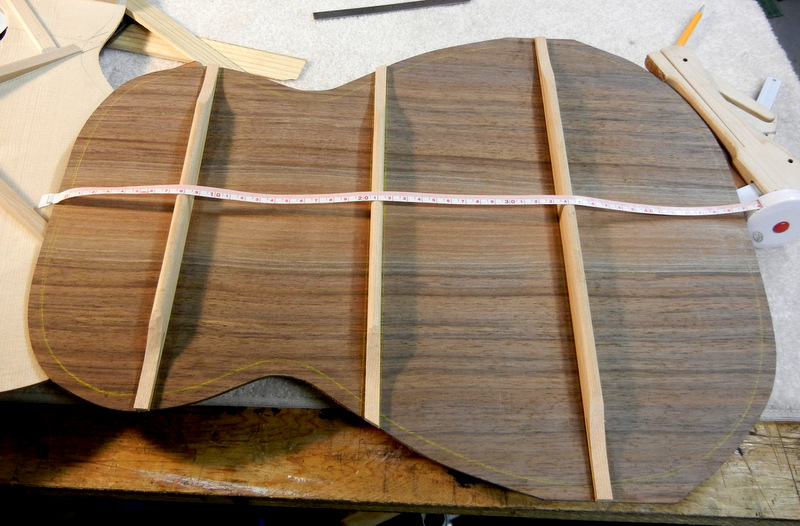
So I glued on the top, and then trimmed the overhangs top and back.

top plate with rubber band clamp

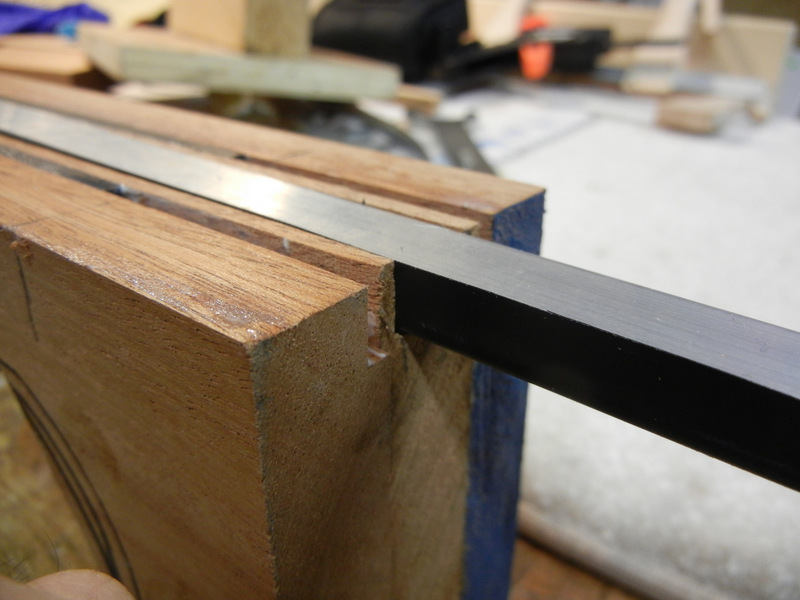
trimming the overhang with the router
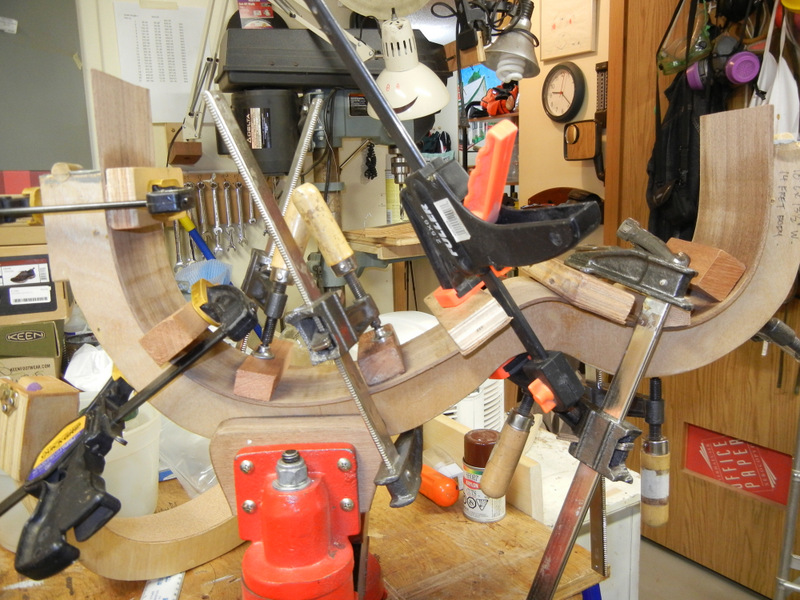
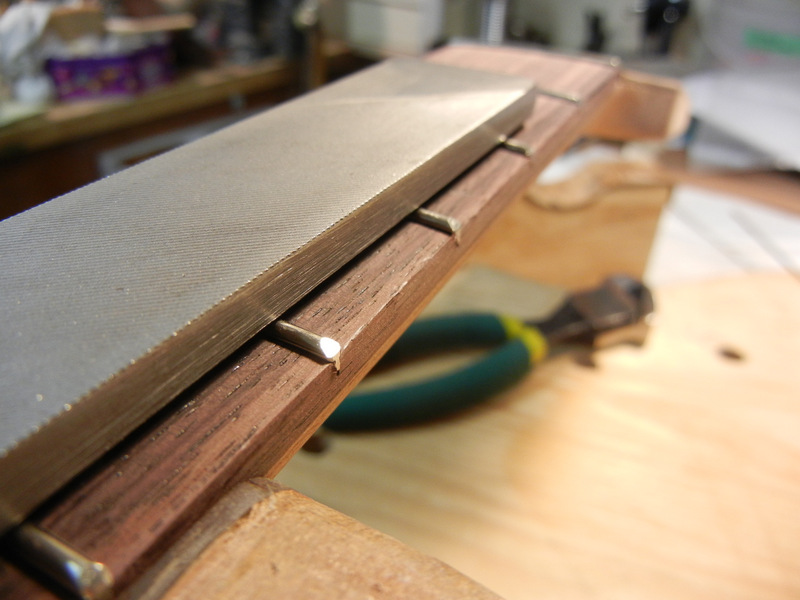
Next step is to put on the bindings. I taped four pieces together and bent them all at once on the bending iron. Then I clamped them into one side of the mold to dry. I cut the channels in the meantime. The jig was already set for these bindings but after cutting the channels weren’t quite deep enough, and the bindings would have been standing much too proud of the edges, so I adjusted the depth and cut again. Then I began fitting bindings into the channels. Even though the bindings were all shaped to the mold they still required minor adjustments on the bending iron – numerous minor adjustments. So I did these one at a time, gluing on each one and taping it into place before the next one was begun.

bindings after drying in mold

guitar with bindings glued on and taped tightly
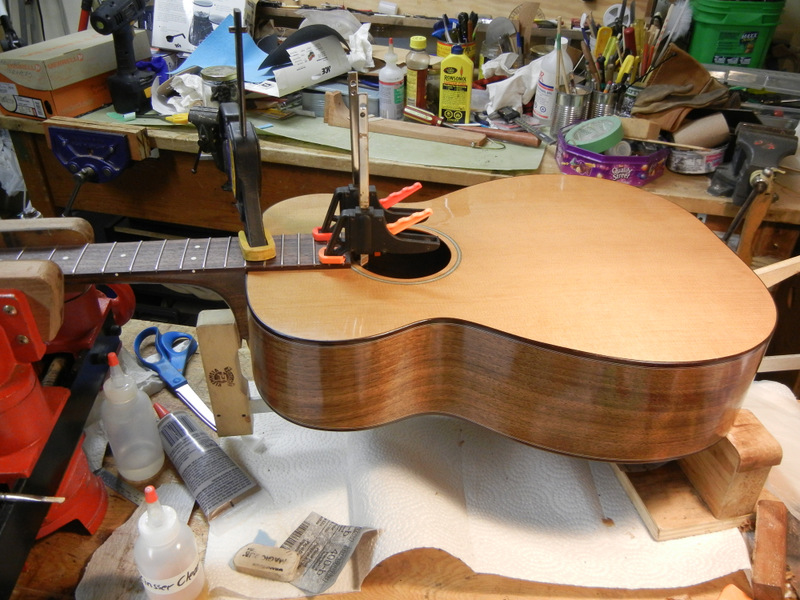
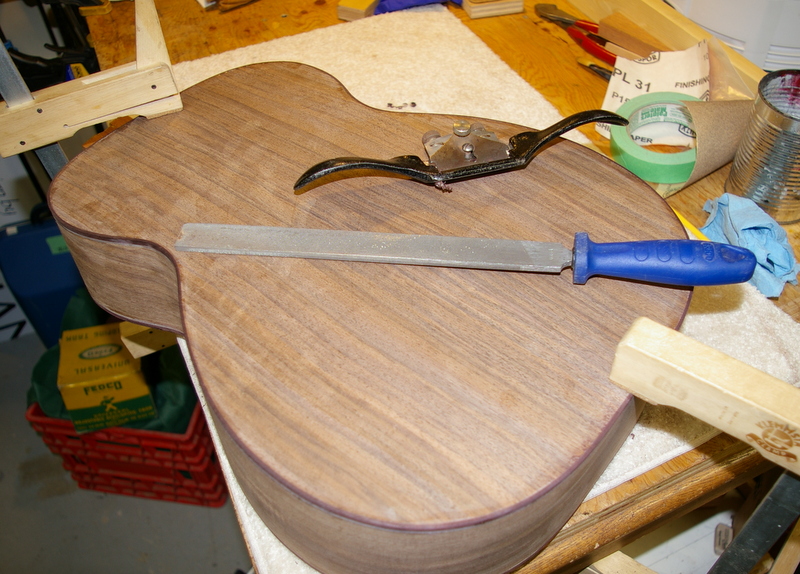
After the bindings were dry I removed the tape and began rough sanding the body. Because I’ve had some real problems doing this with power tools I elected to do it this time by hand. That way there’s very little possibility of gouging or finding that you’ve suddenly removed a lot more wood than you should have. I clamped the body using a foam camping mat in the workmate, and spent an hour or two sanding away with 100 grit and various sanding blocks. One very useful tool for this is a 2×4 about a foot long with a piece of heavy sandpaper on one side and a big handle on the back, like a large trowel. I also use some dowels to get into the waist area. I sanded the back too, and the top lightly. It’s surprising how smooth you can get hardwood using only 100 grit sandpaper.
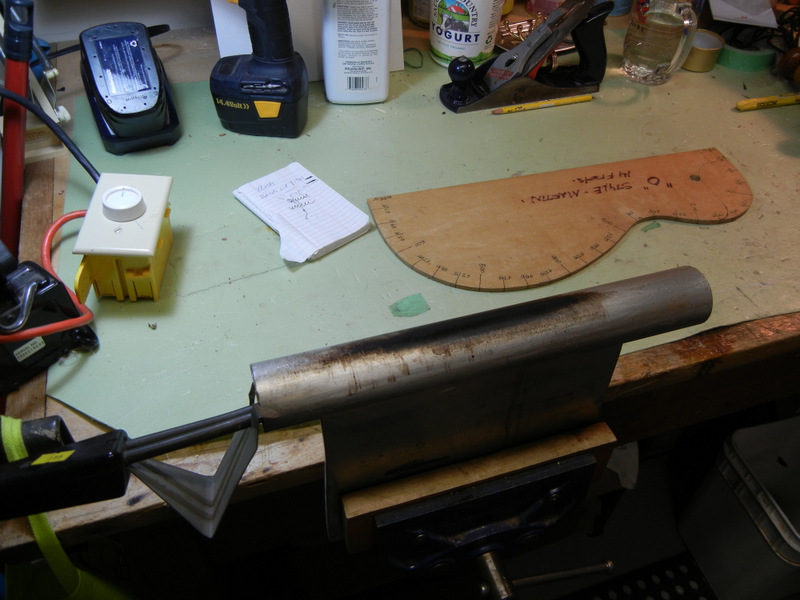
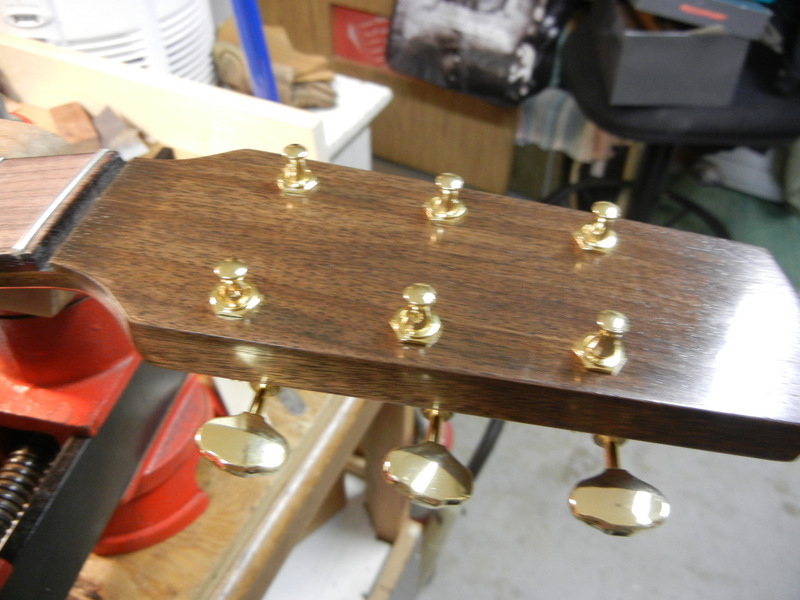
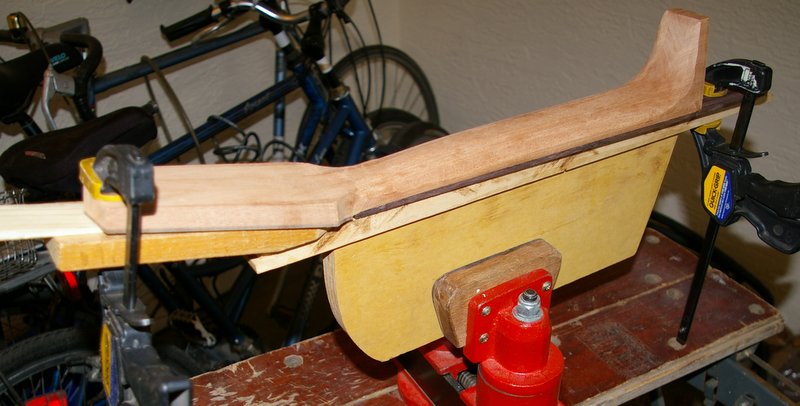
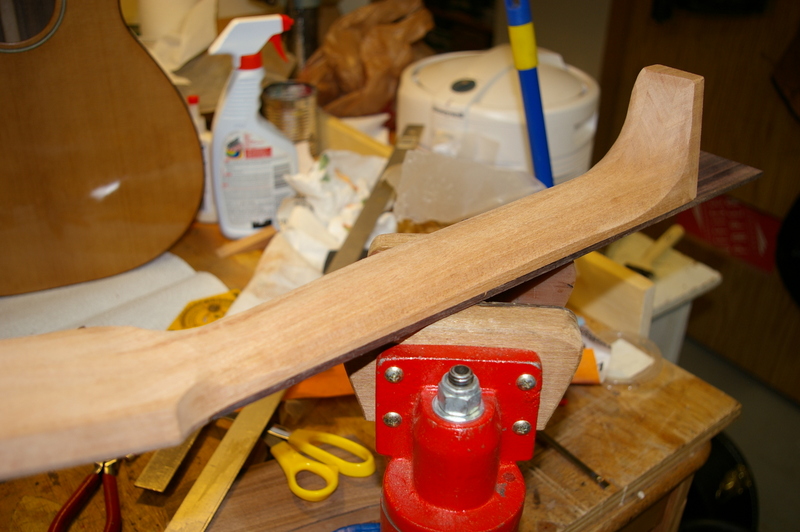
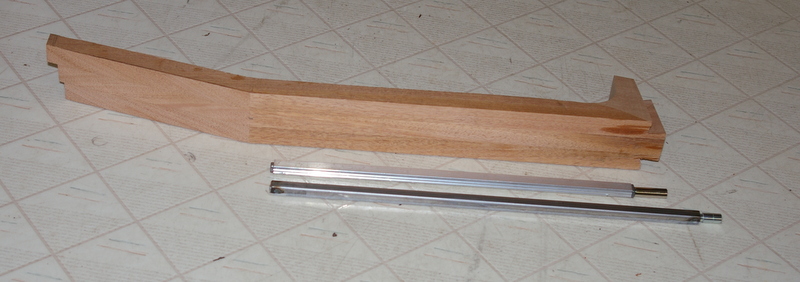
After that I turned back my attention to the neck blank. It’s made up of 3 – 19mm wide pieces, and finished at about 57 mm wide. The headstock has to be wider than that, so I had to add two “ears” to it. Then later I cut it to shape, using a template I made long ago. I’m using the Selmer shape, and the headstock will have slots. I like the look of this, and I prefer the orientation of the tuners this way. They are a lot easier to manipulate on a slotted headstock than on a flat one, because all the shafts and buttons are horizontal. Very ergonomic.
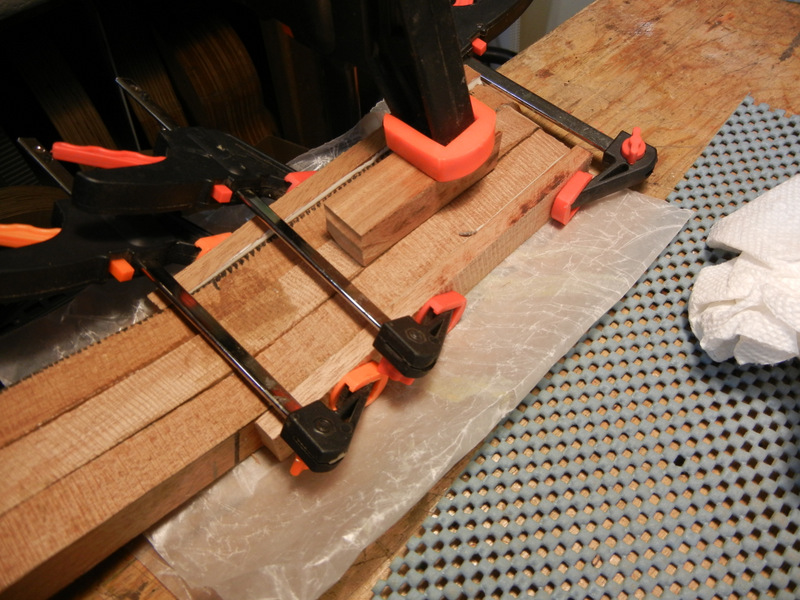
gluing ears on the headstock
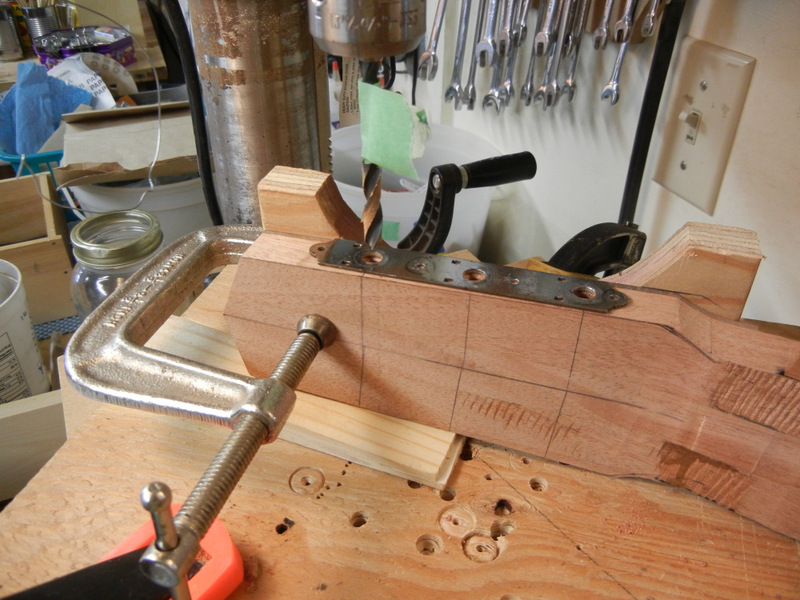
drilling tuner holes in headstock
As I mentioned above, I glued the ears to the headstock, then sanded it to thickness and cut out the shape. Next came drilling the various holes and slots. First I drilled holes for the tuners. The best and most reliable method I’ve found is to tack a steel plate from an old 3 on a plate tuner assembly to the side of the head. Then I clamp the headstock and neck to a vertical piece of plywood that is attached to another plywood piece that can be moved around on the drill press table. After drilling the tuner holes I then bored out four 1/2″ holes on the face, and cut out the slots roughly with a power jig saw. Lots of filing and sanding later the headstock is done.
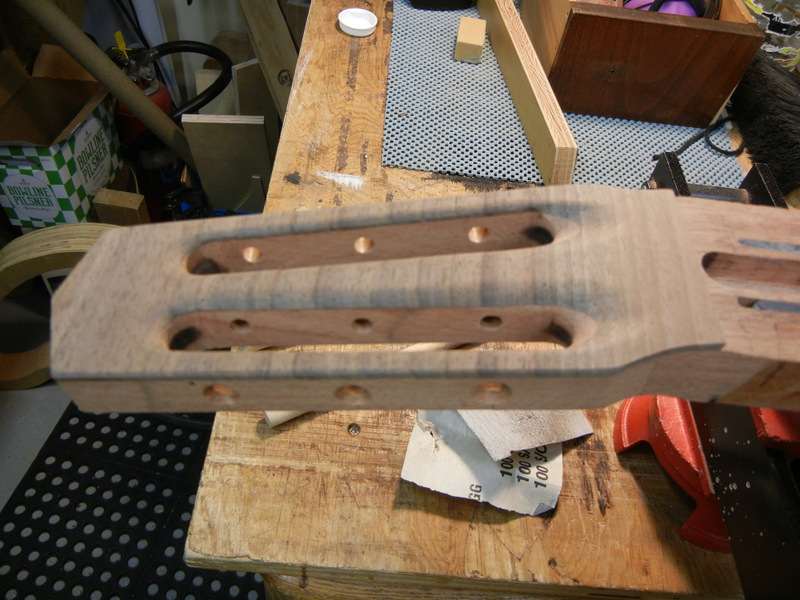
headstock with tuner holes and slots – cut and sanded
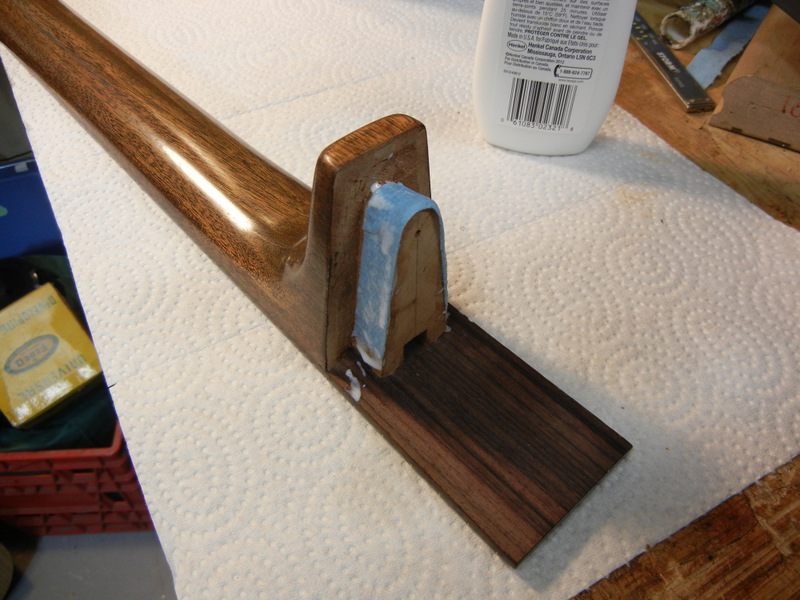
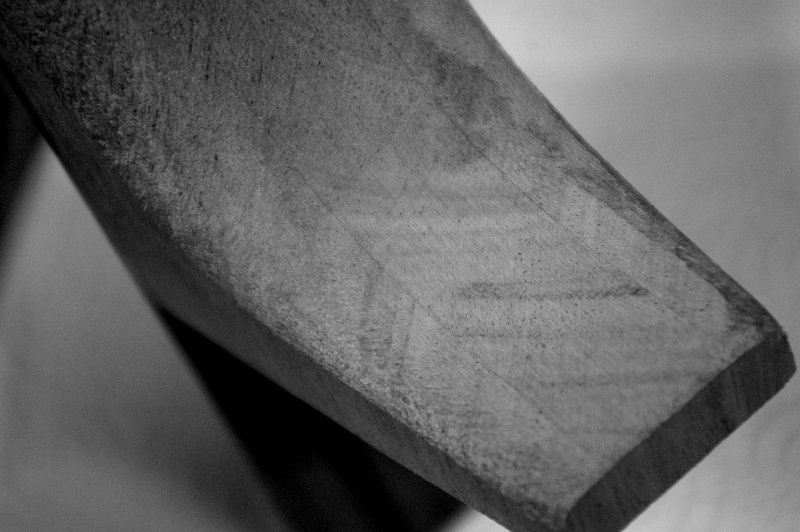
Next up – the neck angle. Once the body has been all made and sanded the neck angle can be determined. Where the fingerboard sits on the top the surface is usually humped. So it has to be sanded flat. Then the angle is taken with an adjustable square. At this point it doesn’t matter what that angle is, because it’s too late to change it. With luck it should work and allow the correct projection for a bridge height around 15mm. A bit higher or lower is not a serious problem. So I take the angle and then transfer the complementary angle to the neck. If the body angle is 92 degrees, then the neck angle is 88, or 180 minus 92. The adjustable square does the thinking however, no need to do any calculating here. The angle is drawn on the side of the neck at the heel, at the 14th fret – where the neck meets the body, and 15mm beyond – the depth of the dovetail that will be cut.

taking the neck angle off the body

complementary neck angle transferred to the neck
The above photo shows the neck with the pencil lines, after I have cut and sanded the end face. Now it’s ready for the dovetail joint to be cut.