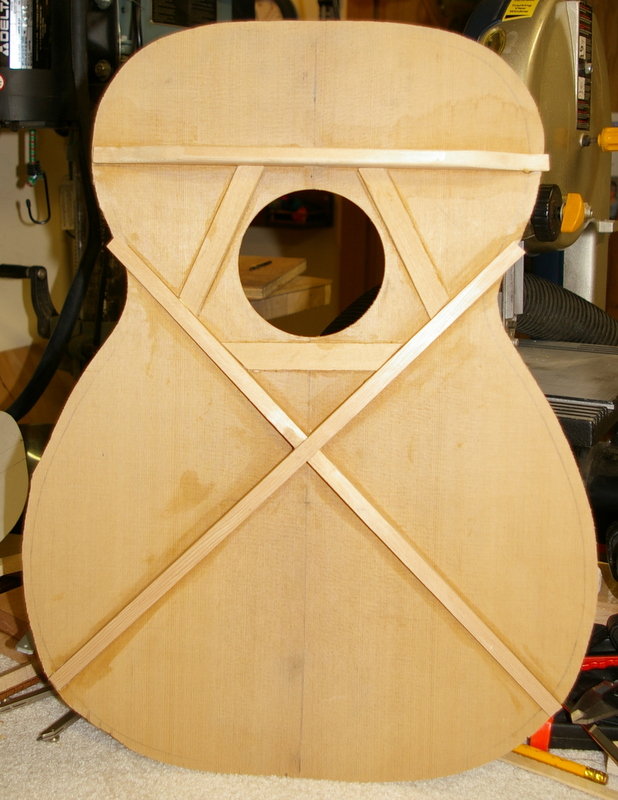
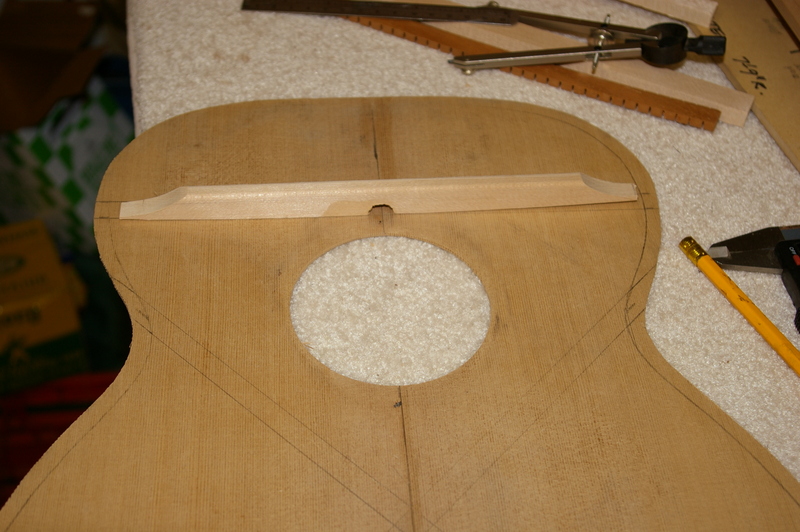
top with bracing complete
My top bracing for this guitar is arched. There are only 3 major braces. The transverse one at the top is for strength mainly, so it is 19mm high. It has a hole in it for accessing the truss rod adjustment. The main X-brace is smaller, and tapered down to zero at the ends. This is where the sound is produced, so it has to be a balance between strength and flexibility. The three pieces around the sound hole are off cuts from the top, thin pieces to strengthen the area of the hole against possible breaks.
I also did some spectrum analysis of the plates, using the computer. I hold up a plate to a microphone and give it a dozen taps with a felt covered hammer, similar to a piano hammer. I use a free program called Audacity for this. It has a function to analyze the spectrum of a recording. This shows me a graph (logarithmic) which gives an idea of the peaks and relative strengths of various frequencies. There’s a lot of unsubstantiated hokum around tap tuning, but I do this more out of curiousity than anything. Then I export the results to a text file, import this to Excel, and then generate a graph. This will show me the dynamic range. I then plot a trendline which gives a better overview of the response. But after all is said and done I shave the braces until it sounds good, and is still stiff enough. Better to stop before it’s too late. The top has to support the strings or it’s all over, structurally speaking.

spectrum analysis of the top

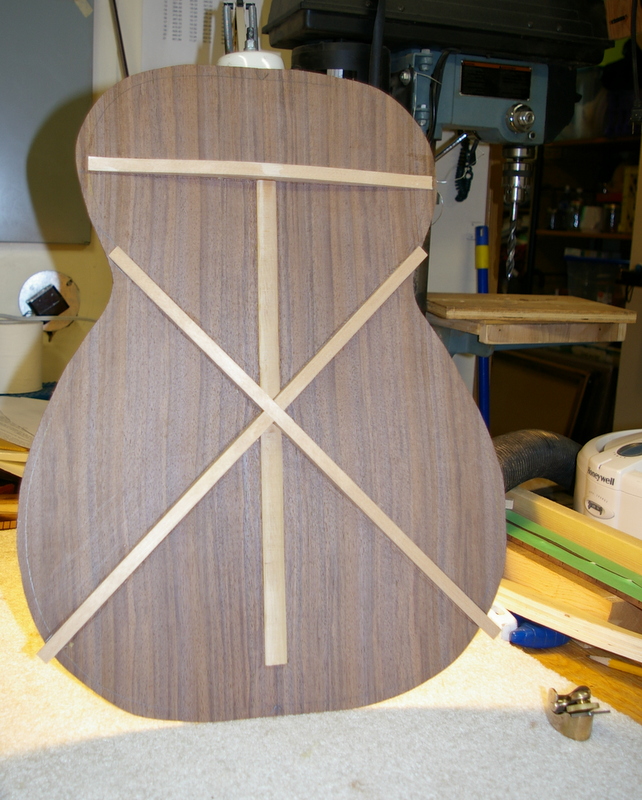
back bracing complete
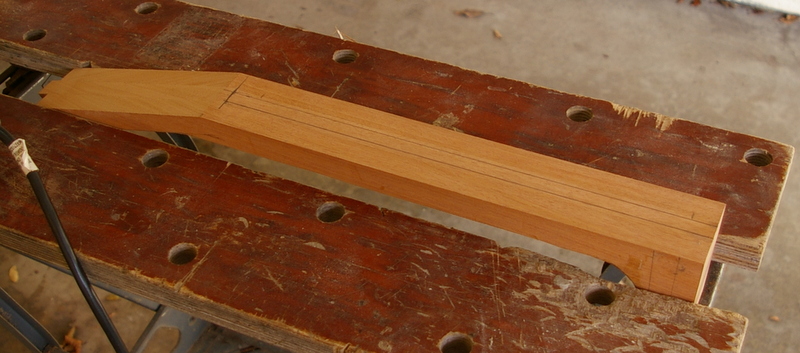
I’ve also done the back. I shaved the braces to drop the fundamental frequency as low as I dared. The back however, unlike the top, doesn’t carry any downward pressure, so the braces can be lighter. Hardwoods are always lower in tone than softwoods, simply due to their density. This back plate is several whole tones lower than the top plate. The bracing design is identical to the top, same arching, same locations. The back braces do not taper to zero however. They are let into the linings at the perimeter. The centre strip is merely a precaution to reinforce the centre joint. Many guitars do not have this, but it doesn’t affect the sound so I put it in.

side bending setup – aluminum pipe with bbq lighter inside
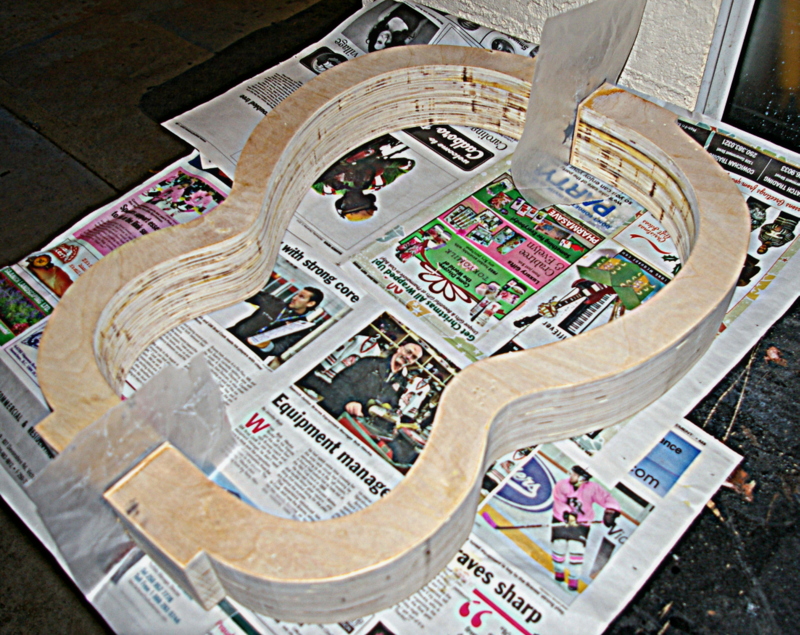
Once the plates were done I bent the sides (ribs). I made a template from thin MDF, and marked off 25mm hash marks on it. Then I marked the sides with a yellow pencil at 25mm spacings, and labelled them. This helps immensely with bending. I have the bending pipe clamped in the vise and an old BBQ lighter which has been squeezed when hot, shoved inside the pipe. This is controlled by a light dimmer. Full power would be much too hot. I run it around 50-60%. The bending is not hard once you get a feel for the wood. It takes patience, however. This guitar is made of Black Walnut, which bends very well. Some wood is horrible to bend, like Paduak. Once each side is bent to the profile of the template within 2-3mm tolerance, it gets clamped into one half of the mold. The mold splits in two for this purpose. The sides are bent wet, and the steam generated by contact with the pipe softens the wood so it bends. I use a spray bottle to keep the wood wet. It dries out very fast once in contact with the pipe.

side piece clamped in mold until it dries