Tag Archives: guitar bracing

A Classic Conversion

I have often failed to convert anyone to my opinion, but I can convert a guitar from steel strings to nylon! And it’s all perfectly legal, too. Some years past I picked up a busted Suzuki 9 guitar that had a failed bridge.
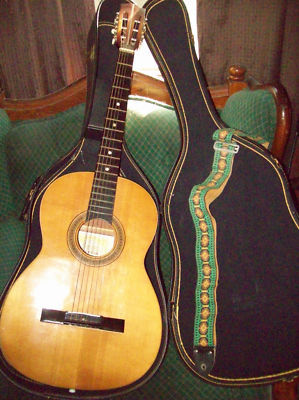
A Suzuki 9 like mine (not mine however)

I only bought it because it was cheap and I enjoy fixing things. I removed the bridge and reglued it, and then put it away for years. Recently I took it out from storage and the bridge had failed once and for all.
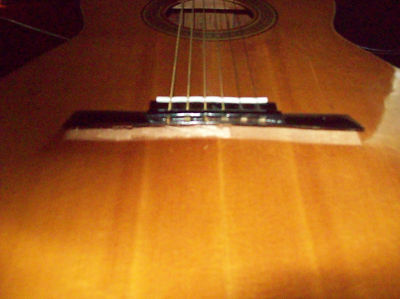
They all fail like this due to the weakness in the glue bond of the veneered top.

Because the top was made of thin laminated veneer, there was no way to repair it again, so I decided to see what I could do with it. I heard that Suzuki guitars were made with dovetail jointed necks, and hide glue. On that assumption I got out my neck removal jig, and attempted to drill a hole at the 15th fret. I hit a steel rod that reinforced the neck, so I had to drill in from the back to inject steam. I steamed and steamed for a long time with no results, and despite putting enormous pressure on the heel nothing moved. I was losing hope, when all of a sudden the neck just popped right out of the pocket.

Next up was to remove the broken soundboard. This I did with a sharp blade, and the whole thing came off quick easily. Hide glue is brittle and will often fracture with a little help from a sharp blade. That is what allows violins to be taken apart without breaking them. Then came some thinking about the repairs.
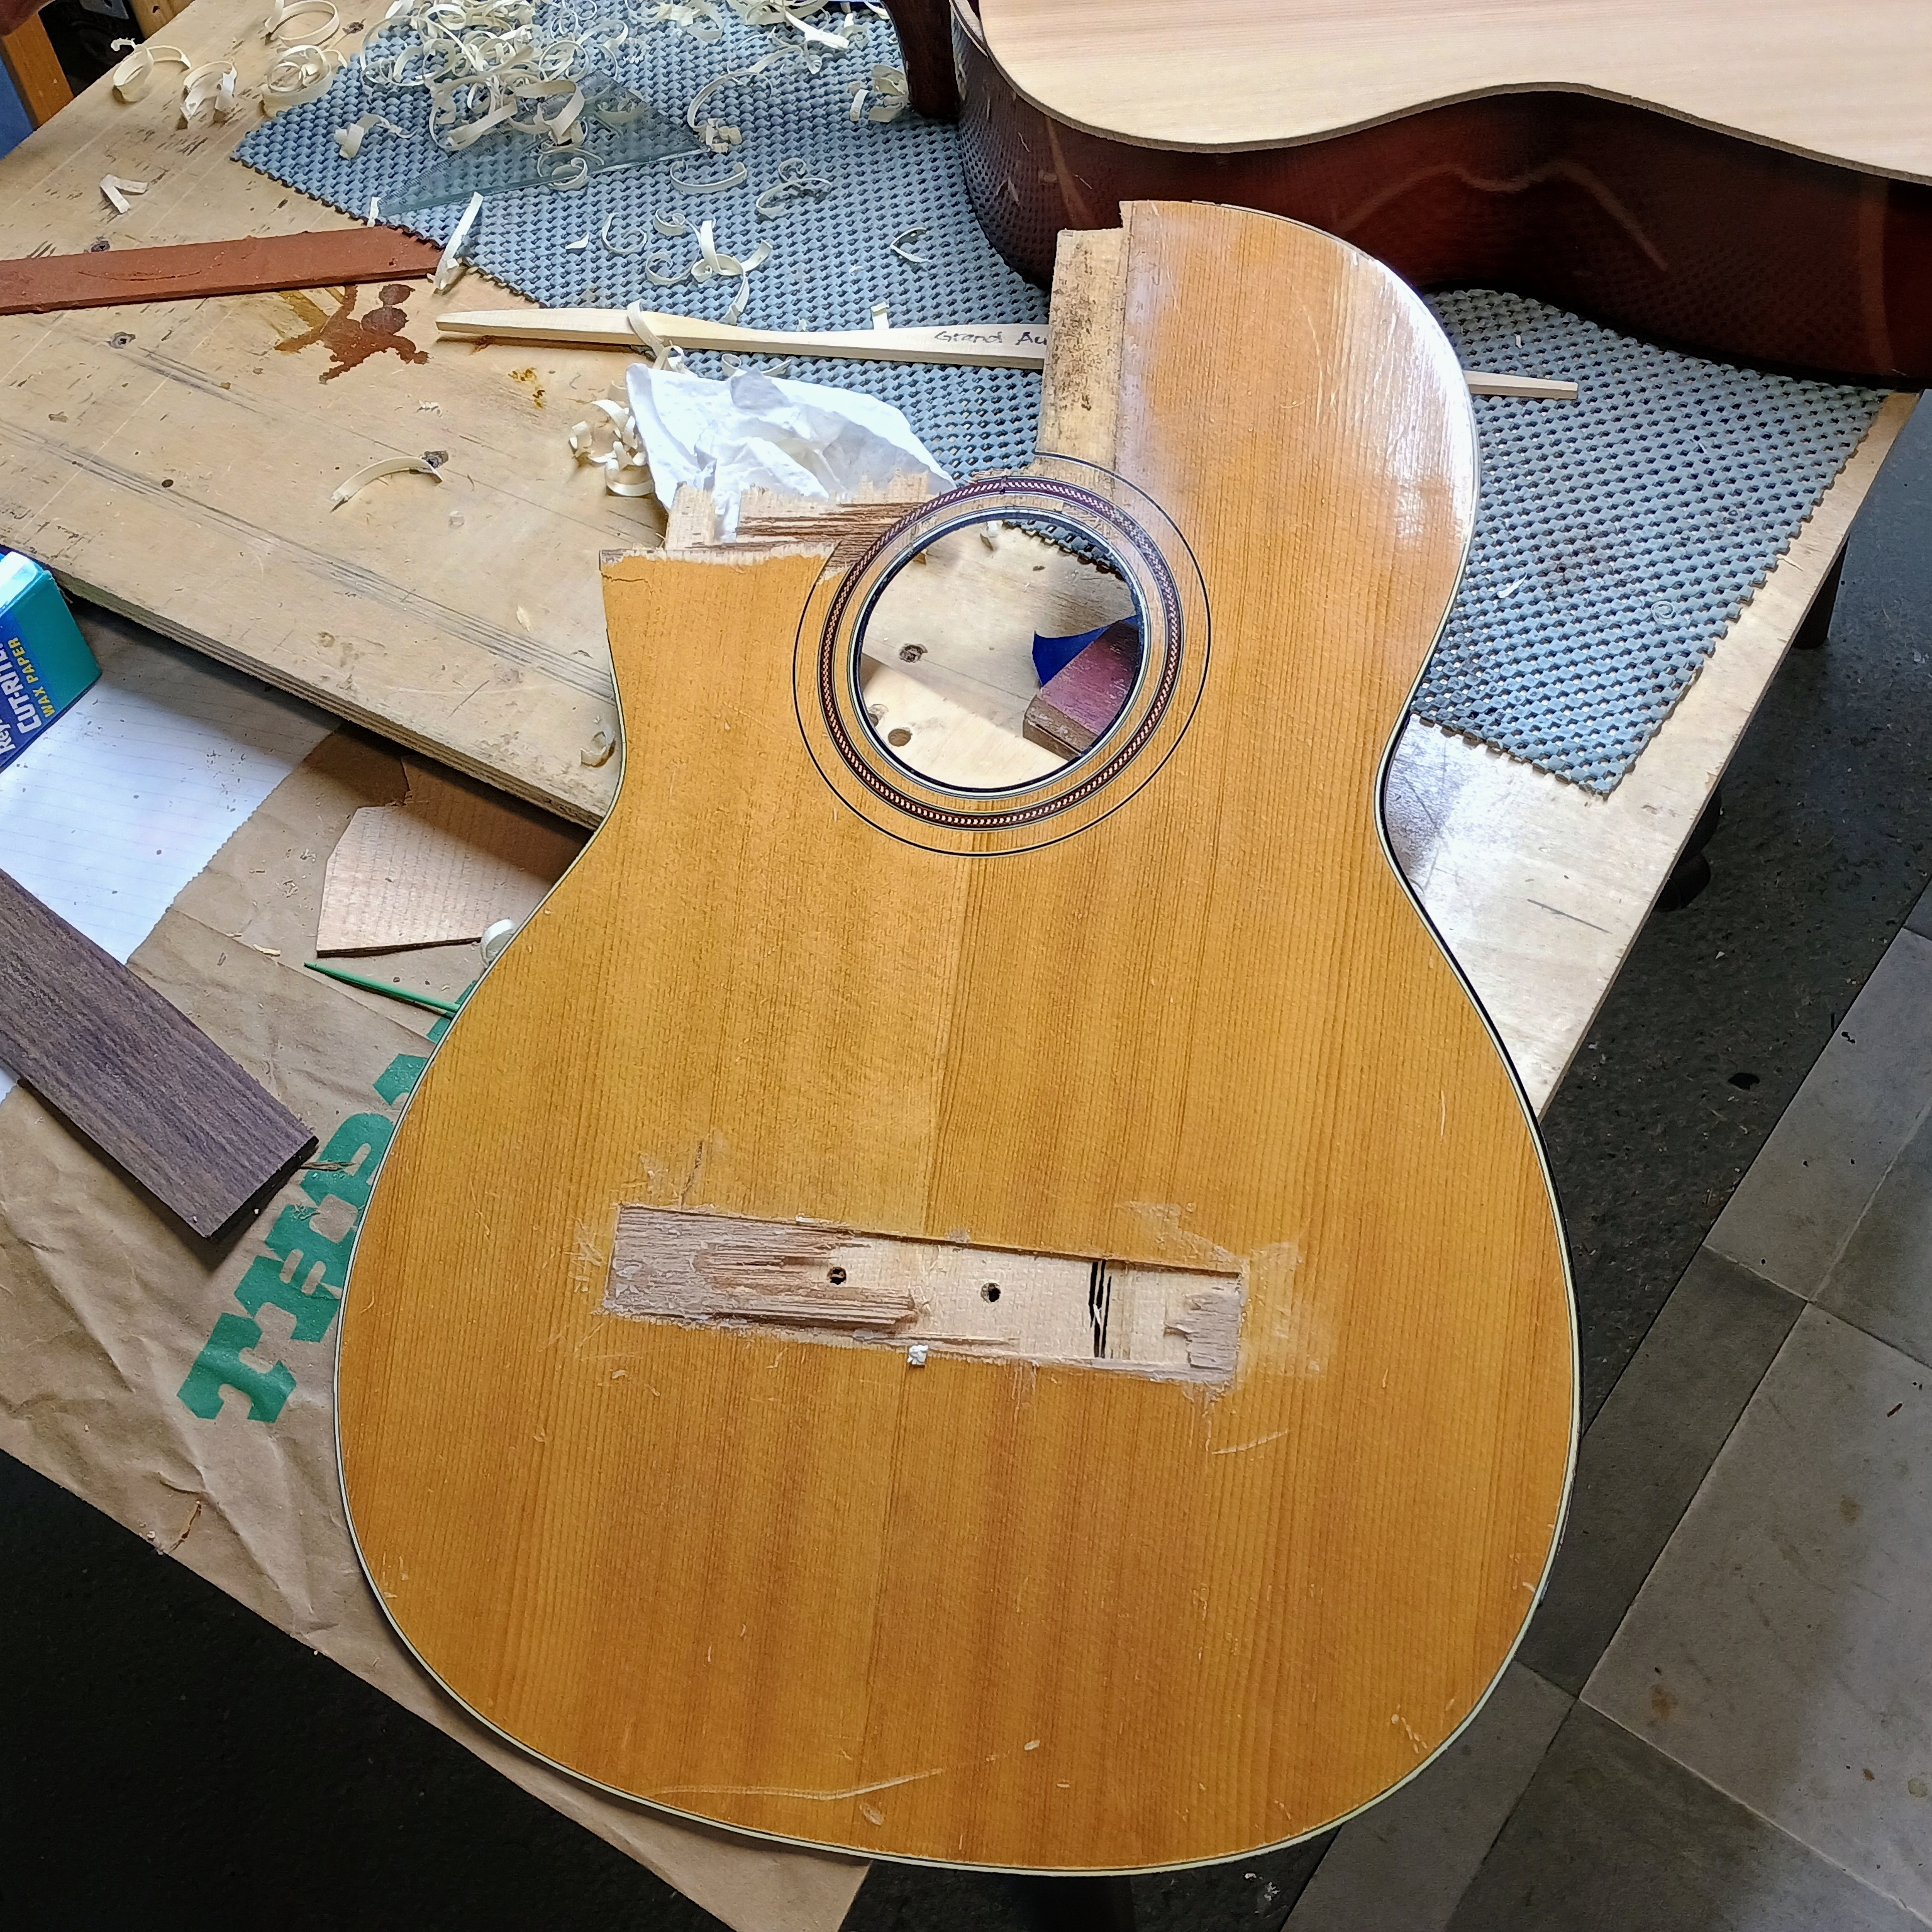
Busted soundboard with delaminated veneers under the bridge.

What to do? I had long been considering building a classical guitar along the lines of a modern hybrid model with a narrower neck of similar shape and size as a steel string guitar, so I decided to convert this Suzuki into one of those. The body is the size of a classical guitar already. The neck is narrow, the fingerboard is flat, and the head-stock has slot head tuners, albeit for steel strings. But no problem, because it is possible to wind nylon strings on 1/4″ steel string shafts. My Mexican classical guitar is like that and it works fine.
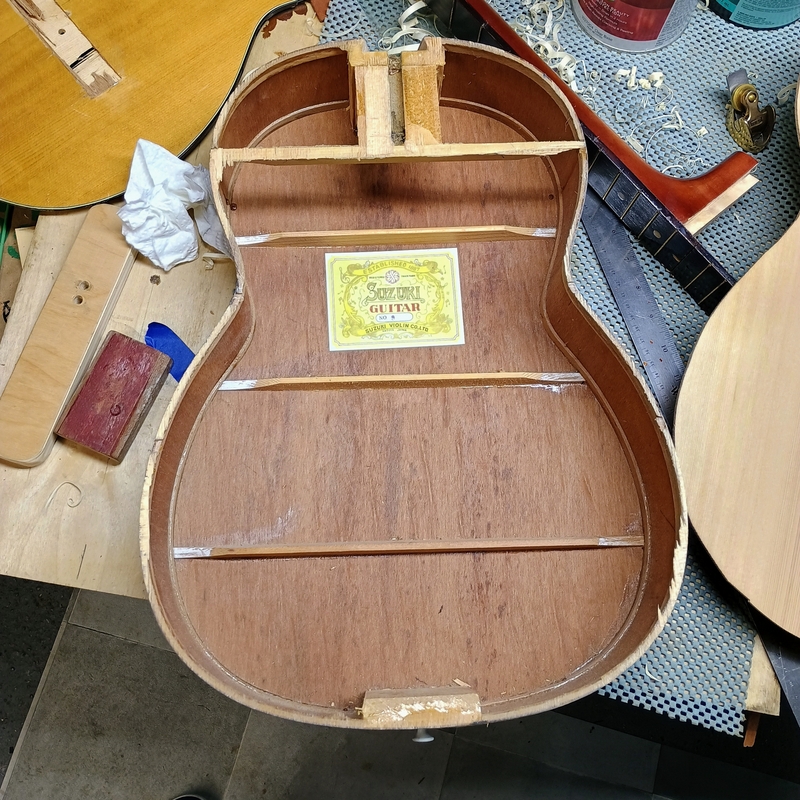
Suzuki 9 with no top and no neck.

I had already joined some cedar plates for the future classical guitar, so I added the sound hole in the right location and size, then cut and installed my preferred bracing, keeping it light as befits nylon strings.
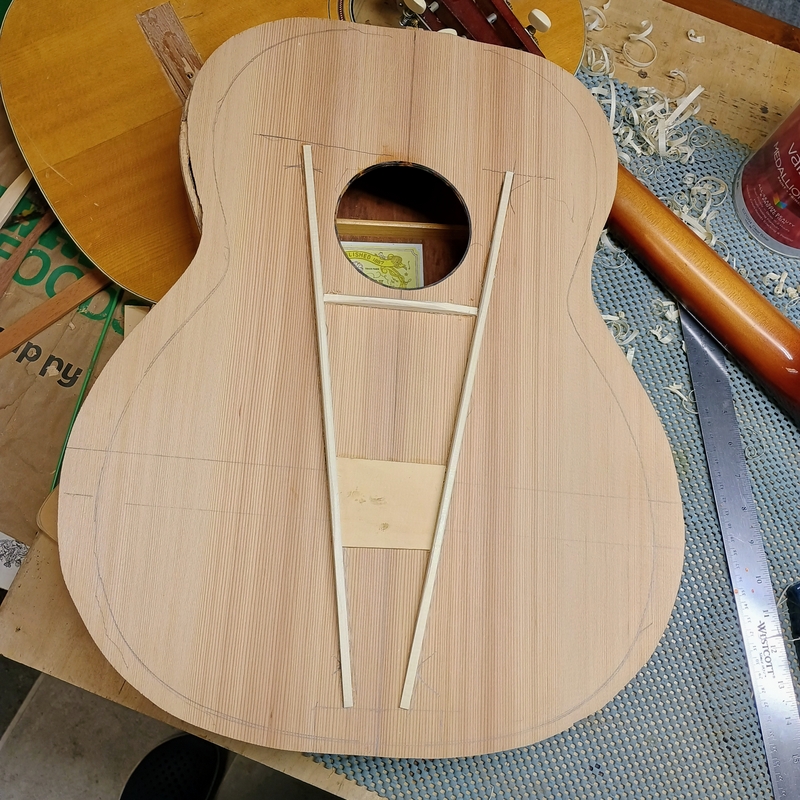
Simple V braces and a small bridge plate.

I cut the main braces from larger stock, 5mm wide x 10mm tall. The bridge plate is 2mm thick yellow cedar. The cedar top is about 3.2 mm thick. The braced top has a good tap tone and I don’t get overly concerned with making it as thin as possible once it sounds good.
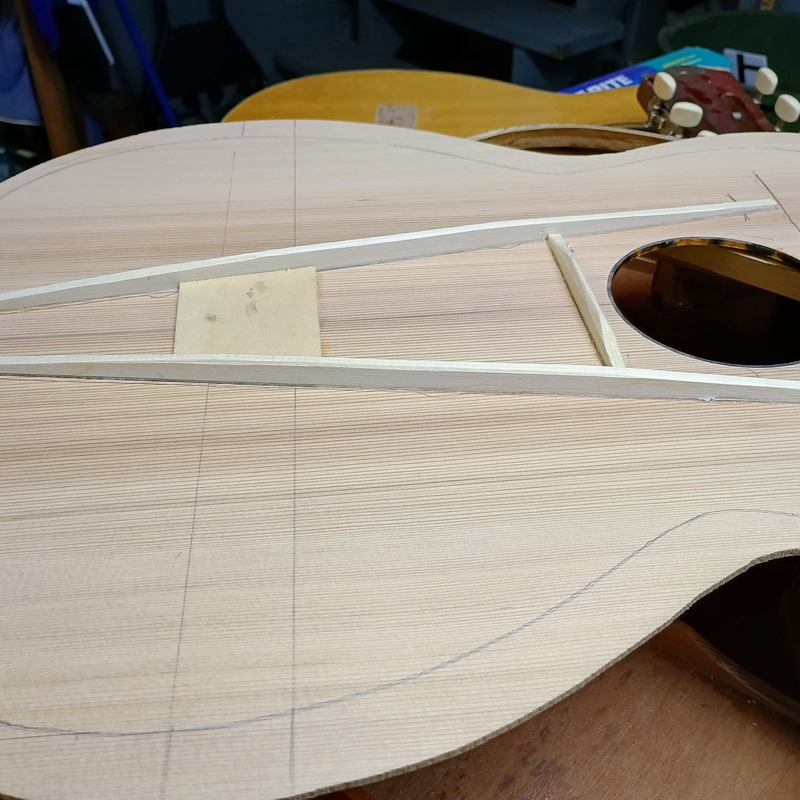
After gluing on the braces I shaved down the ends and tapered them slightly in cross section.
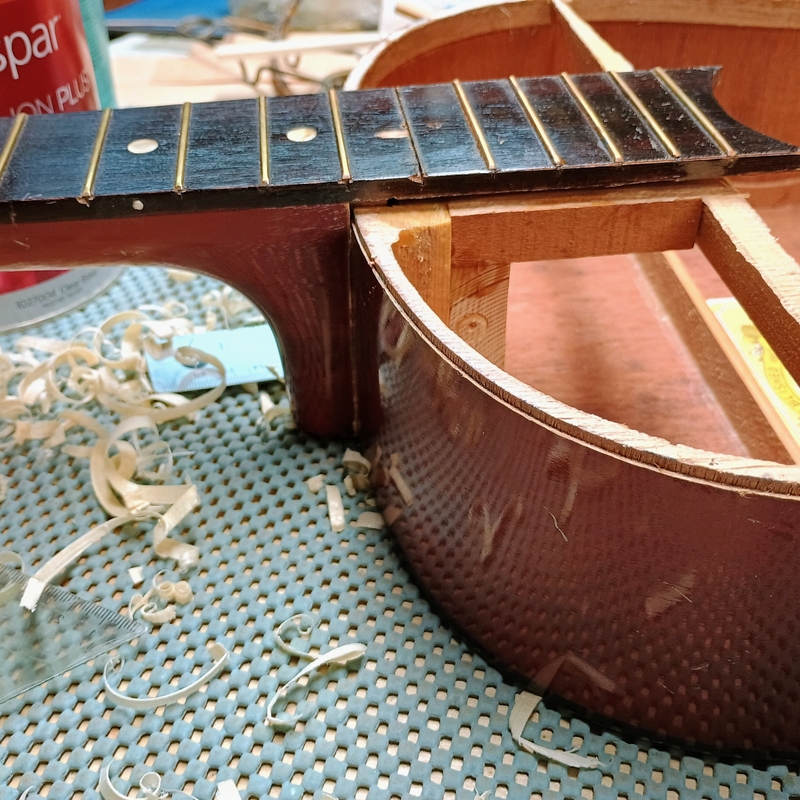
Flat fingerboard and maple neck with tapered dovetail joint.
The neck has a hollow steel bar in it and is dead straight.
I replaced the fingerboard extension block and the upper face brace that both came out when the top was removed.

The next step will be to glue the new top back onto the rim. Then the bridge will be attached and the top will be trimmed and finished. I will post again after more work.
Leave a comment

Filed under Guitars, Uncategorized

Guitar #29/5

plate joining jig

plate joining jig

The post office delivered the wood on Sunday. Only at Christmas time. So I got to work and joined the top and back plates. For this I use a jig known as a shooting board. I find it hit and miss, but eventually with enough planing and sanding with a long straight edge the two pieces matched. To test if they do in fact match, you only have to hold them up to a bright light, edges together. Any defects will shine through.

After I joined the plates I tackled some other sundry tasks. One was to put the neck dots in the fingerboard. This is done by drilling holes and stuffing in round plastic rod. The plastic is immersed in acetone for 30 seconds, during which time it begins to dissolve on the outside. Then you push it into the holed and snip it off. Later when it hardens up again it will be sanded down flush. After this I marked and trimmed the fingerboard to a rough taper, with an extra millimeter on each edge.

Back to the sound board: next step is cutting the channel for the rosette. This rosette is simple, just four 3ply black and white laminated strips sandwiched together. I have a jig for this, comprised of my Dremel tool, a special base plate and a plywood base with a steel post in it. The channel diameter is set and then cut with a down-cutting spiral bit. I had to make two cuts to get the correct width for the laminated purfling. Then I tapped the 4 plies into the channel which was pre-filled with thick super glue. The purfling was pre-fit and cut dry beforehand of course. A while later when this was all dry I put the top back on the plywood base and cut out the sound hole. First I cut halfway through on one side, then flipped the piece and cut through the other side.

I also sawed up some brace stock from a nice piece of kd hemlock trim I bought for this purpose. It was already 10mm thick, so I simply ran it through the band saw to get the height I needed. I rough sawed them to 17mm. Next step was to draft the curve of the top onto the braces. This design calls for only three braces; the upper face brace which is at the end of the fingerboard, and the main X-brace. I have a curved template for this. I then use the bench sander to grind off the bulk of the wood, then switch to the disc for finishing. With a little practice you can get a perfectly smooth curve this way. All three braces use the same curve, which provides the dome in the top. This dome in turn provides the strength to carry the force of the strings  on the bridge.

gluing the top plates, with weights

gluing the top plates, with weights

top plate with circle cutting jig set to go

top plate with circle cutting jig set to go

the rosette channel

the rosette channel

purfling strips glued into the channel

purfling strips glued into the channel

rosette after sanding

rosette after sanding

underside of the sound board, marked for braces

underside of the sound board, marked for braces

Leave a comment

Filed under Guitars