

Today’s efforts: neck & fingerboard
To make a guitar you need a few essential tools. The band saw is one. Another is a combination bench sander; the kind with a belt and a disc. This is the quickest and most reliable way to make flat surfaces. To prep the neck today I first band sawed the angle of the heel. On this guitar it is 2.5 degrees, because the top has an arch. Now that the band saw works reasonably well I made the cut fairly precisely and then finished it up by dressing it dead flat on the stationary disc sander. Next I flattened the upper face, to which the fingerboard is glued. Although the three pieces of the neck had flat surfaces to begin with, after gluing they’re never perfect, so the face has to be made dead flat. For this I used the stationery belt sander. After the face was done I marked the break where the fingerboard ends and the headstock begins. More sanding to get right to this line and the neck was ready for the truss rod.
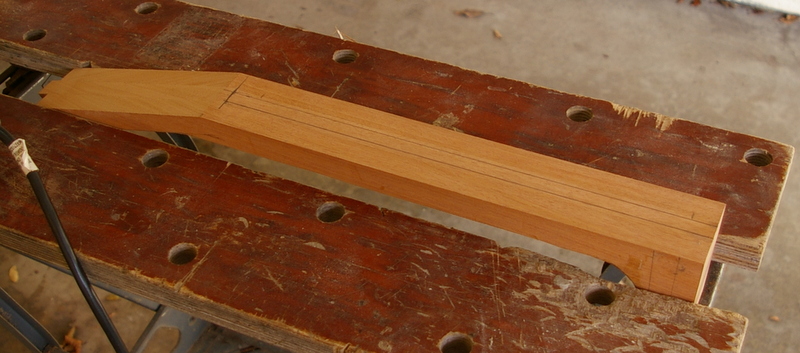
neck clamped in the workmate table
I decided to go with a hidden truss rod. It will have to be accessed from inside the box, but it looks cleaner. To cut the channel for the truss rod I use my 1 HP router. This is very powerful, but it works perfectly if you set it up right and push in the right direction. Once I set up the jig and secured the neck in my Workmate (another essential) I was ready to cut. This took about 30 seconds. Then it was time to do the worst of all jobs: cut the dovetail. I decided to tackle this right away while I had the router out. For this I have a jig with templates for cutting the male and female dovetails. Although the body is not yet made I can still do the neck joint. I use a special tapered bit and a guide collar that fits the router base. The dovetail is 70mm long and 15mm deep.

Dovetail jig

Router and cut slot – the guide is on the far side. Router cuts from right to left, not the other way!

The neck, the hardest parts are done!
Next step, glue the truss rod into the slot with 5 minute epoxy. I like fast epoxy for this, because it only takes two or three minutes to apply the 1/4 ounce of glue required, and it sets up fast. Sometimes regular epoxy needs 24 hours to get super hard, and by that time I’m ready to glue the fingerboard. I mixed up a small amount of epoxy, about one table spoon, and with a tiny art spatula I applied epoxy to the sides of the groove and the sides of the truss rod. It dropped right into place, but the epoxy takes up all the extra space, so it then has to be clamped to fit. Waxed paper (essential), popsicle sticks and several screw clamps do the trick here.

Truss rod with epoxy, wax paper and popsicle stick used as a caul for the clamps
While this was setting I got out my little table saw (essential) and cut the neck and tail blocks from the left over end of the neck blank. Then I switched to the fret saw blade, a special blade that cuts a very narrow slot. I made a sled jig that runs on the saw table for fret cutting. I use a fret scale, which is invaluable for this job. The edge of the fingerboard was planed flat first, then I taped the appropriate scale to the blank fingerboard. A few test cuts set the slot depth at 3.5mm. Then I carefully cut the 20 frets and the zero fret. Once they were done I marked the ends and raised the blade to make the end cuts.

Fret cutting jig, with engraved fret scale