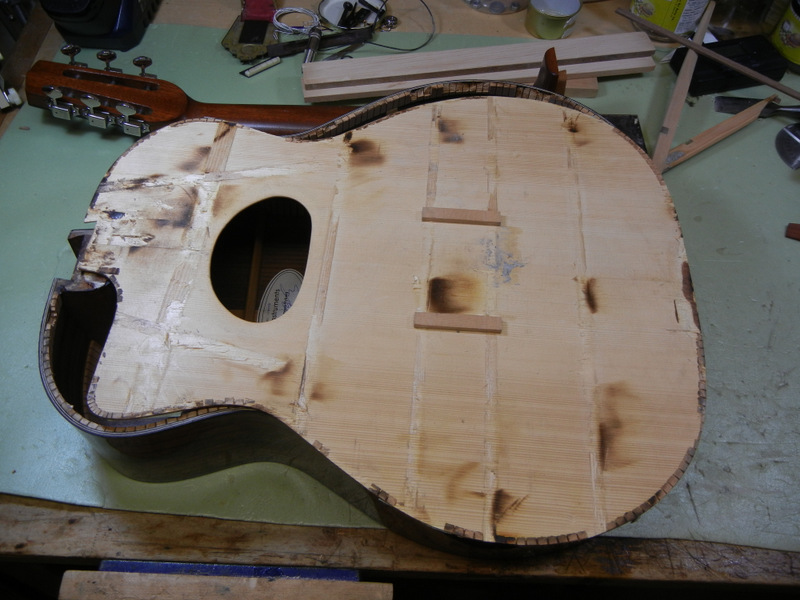
soundboard with braces removed
I’ve been rebuilding a guitar this past week. It sounded very dull and the owner wanted me to fix it. I removed the neck, then the top, and discovered the problem: the top had little or no arching. Since this is a Selmer style guitar, it is supposed to be arched to the tune of around 10mm across the lower bout. This one was dead flat with the strings on. When I removed the braces it was clear they had only a tiny arch in them.

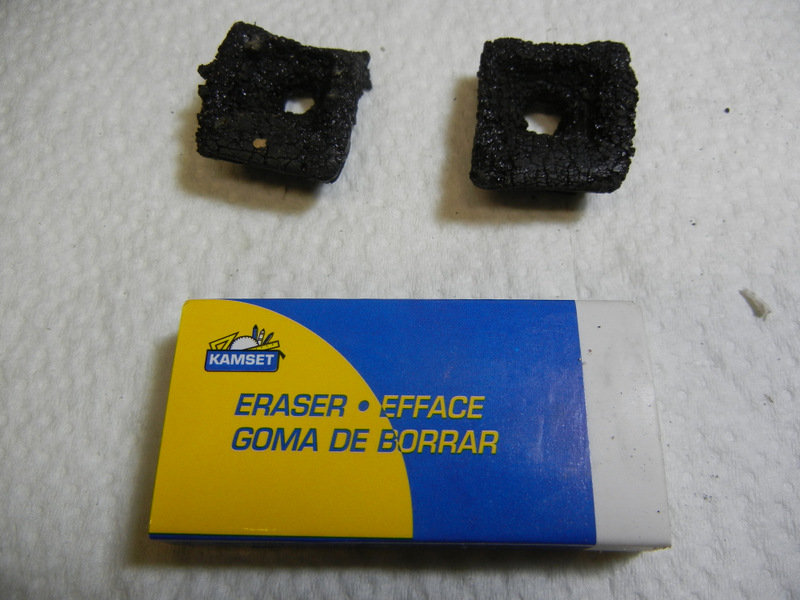
original brace after removal
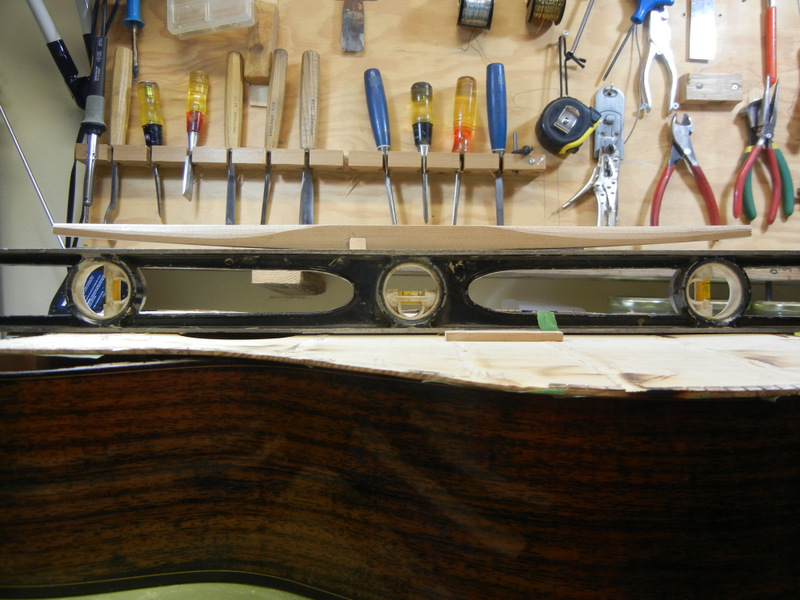
Below, for comparison, an arched piece of wood with the correct amount of curvature.

Selmer style main brace is curved like this
I made all new braces and reduced some in height to make the top lighter and more flexible.

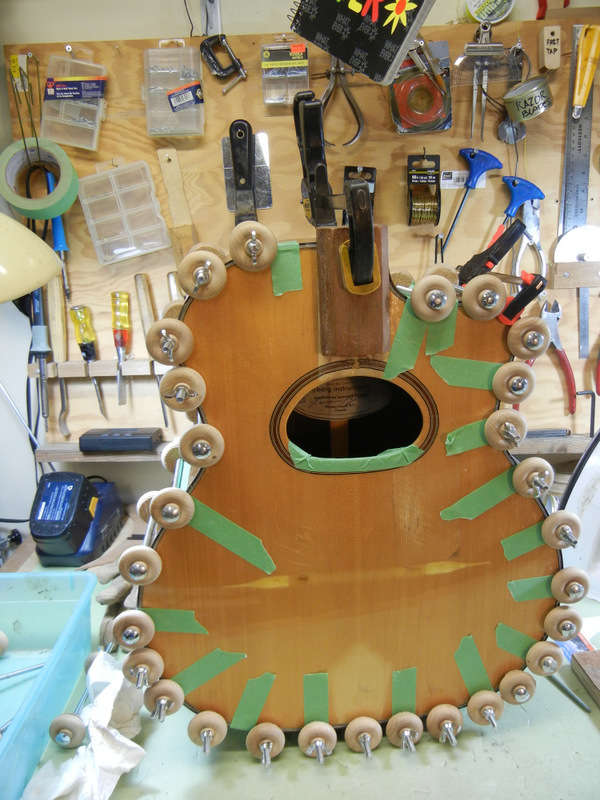
top with new bracing and binding around the edges
Then I added 4 ply purfling and an outer binding of ebony. This way I could glue the complete top back onto the body without having to worry about all the bindings and how to make them fit. All that was required was to get the ribs to line up with the outside edge of the new top. Easier said than done, since the geometry had changed. However, it worked well enough.

gluing the newly repaired top back on
While I had the neck off I reshaped it and changed the frets. I also had to adjust the neck angle and the neck joint itself, since it now has a tilt it didn’t have before.

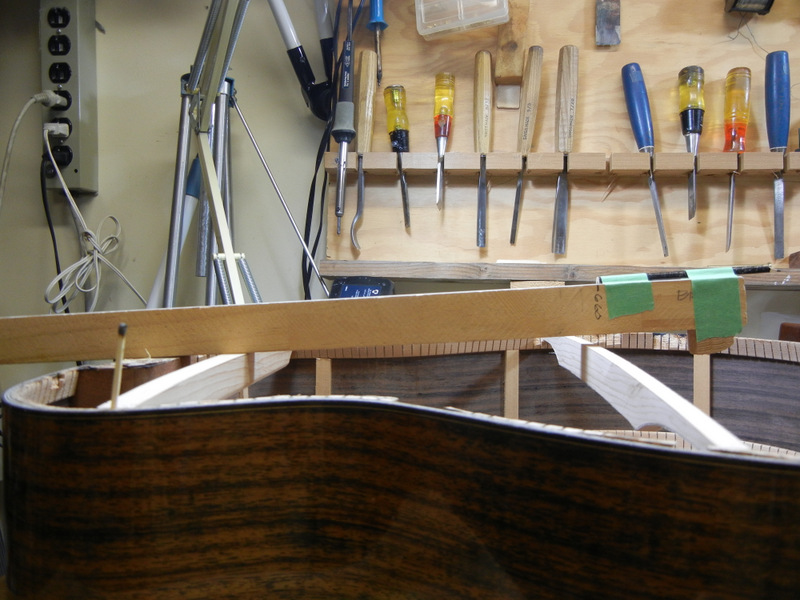
testing the angle of the upper face brace
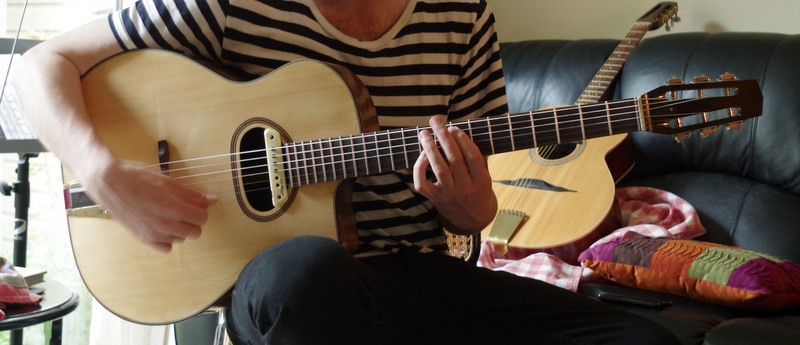
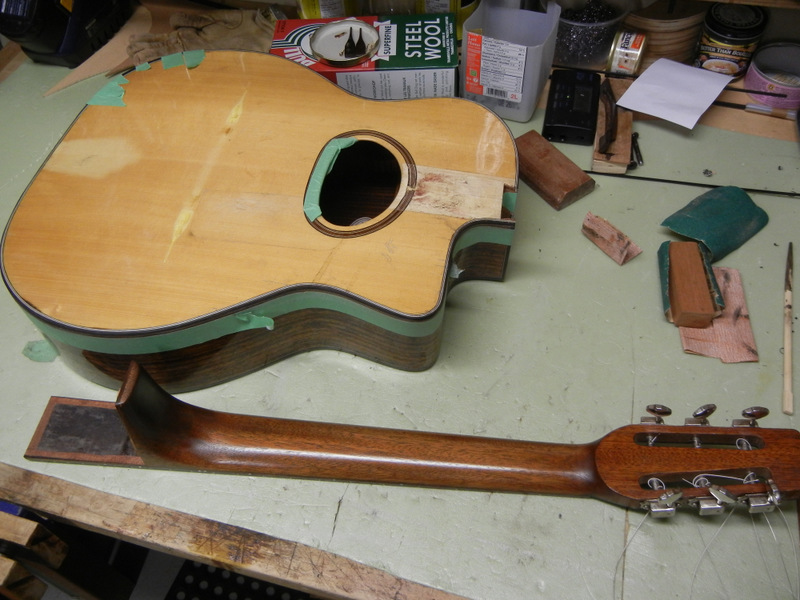
Now the top is on and the neck has been refretted, refitted, recarved and refinished. The next step is to refinish the top and then on to final assembly. However, I did assemble and play it already. Happy to report it now sounds more like a Selmer .

neck done, body in process for a refinished top
I shellacked the inside of the box while it was open, as well as the underside of the top, since Selmers were made that way. It may add a little something to the reverberation. Any additional sound that can be squeezed out of this guitar will be welcomed.

shellacked box