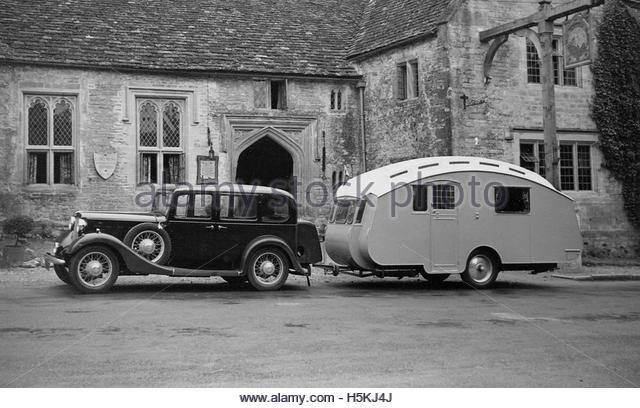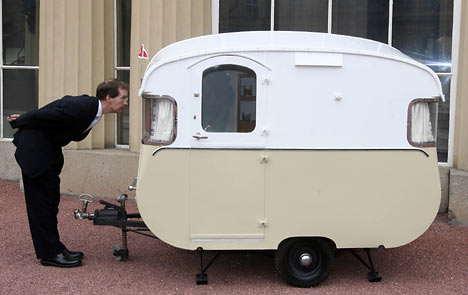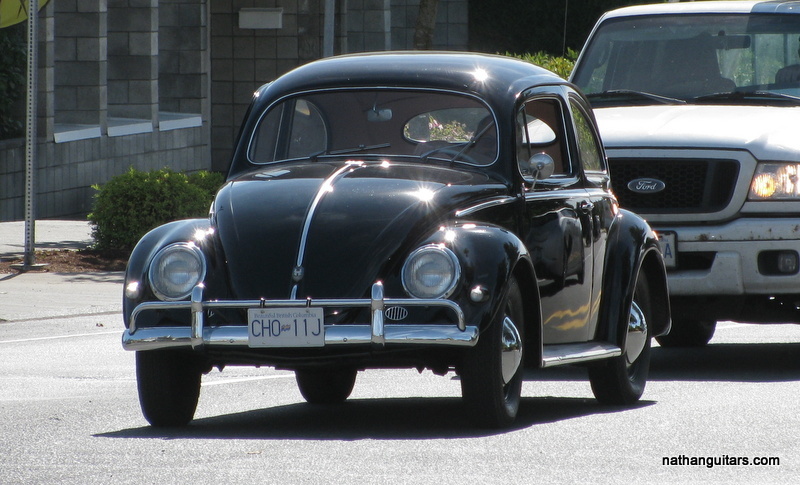
The show on YouTube was up for a day then removed for edits! Here it is again.
Category Archives: Uncategorized
Vintage Car Show 2
Filed under Uncategorized
Vintage Cars of Victoria, episode II
I am the assistant producer of a TV show! The show is about vintage cars here in Victoria BC, and is the brainchild of my friend Joey. I first got involved last year when I designed his book on vintage cars, and we’ve moved on since to doing local TV.
Blasted Weather

FAREWELL SUMMER
Windstorms rip the sky
Tearing at clouds
Which, torn
Release the deluge
Once living leaves drift silently
When naked branches quiver
A rotting carpet soon to join
Above them bare trees shiver
Fields of flowers
With nectar sweet
Are now asleep
Their peace they keep
The bee retreats
Within the hive
The shivering mass
Will keep alive
Before the blast
The birds are few
In the bush
They hide from view
But on the tree tops
Can be seen
The golden buds
A future green
Filed under Photography, Poetry, Uncategorized
In Memoriam
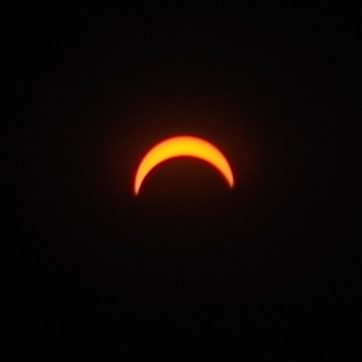
Overhead this morning – a reminder of the dark days of a previous generation. Salute to you who fell, and those who lived and suffered. Yet the fighting never ceases. Why is the world so full of insanity?
Filed under Uncategorized
Memories of Katahdin
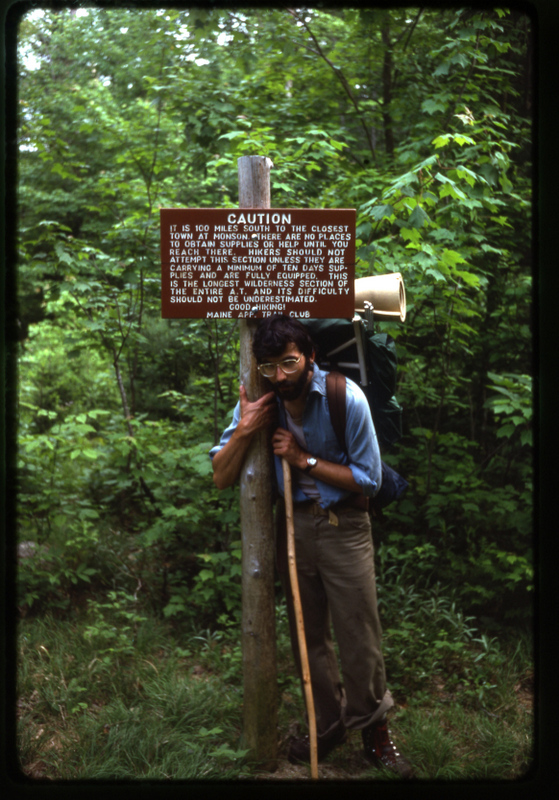
Before the Appalachian Trail became too darned famous for its own good, in June 1978 my buddy Bob and I hatched a plan to take the overnight train from Montreal to Portland and get off in Greenville, Maine. From there we could get to Monson on the Appalachian Trail and hike north about 100 miles to Mt. Katahdin, where it was possible to return on the homeward bound train. A nice simple plan to go for a long hike in the woods, and with no need for a car or a ride to get there.
The only real difficulty here was hiking the 100 miles through the woods, carrying 10 days supplies. The food bag was so big it was astounding to see, and I think we even had extra food; however we ate it all and still lost a fair bit of weight during the trip. Later on I heard from various “authorities” that the Monson to Katahdin section is the absolute toughest part of the entire AT. When we arrived, worn out, at Baxter State Park, it was raining to beat hell, and freezing cold. This after a week of sweltering heat and horse flies as big as horses. At least there were no flies on Katahdin.
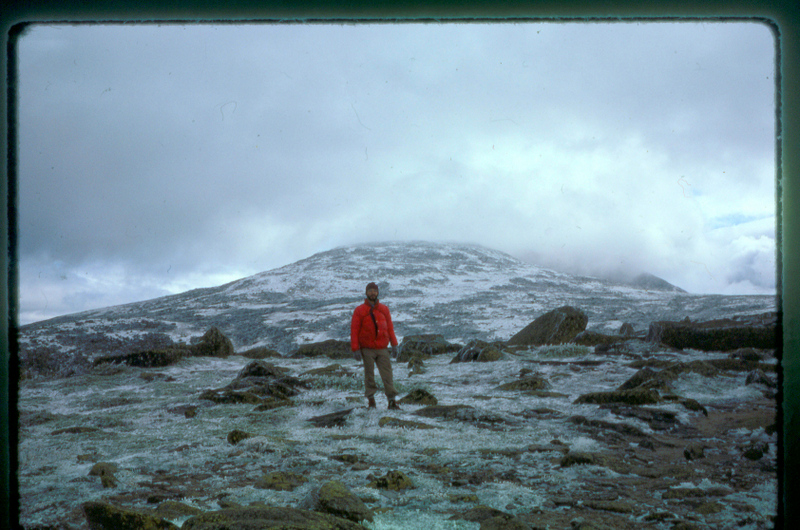
We existed on the remains of the food for two days, and when we finally got a break in the weather we had nothing left to eat but the crumbs of trail mix down at the bottom of the baggie. But off we went to bag the peak. We’d heard it was a tough climb, but it was ridiculous in the wintry conditions. We got to the upper bits, half frozen and weak from hunger, only to have a swirling fog blow in and obscure everything. Plus it was snowing lightly. Considering our weakened state, and the prospect of having to negotiate an infamous knife edge ridge to reach the peak, we regretfully called it a day. We saw no one that I can remember. It was beautiful.
Recently Katahdin has been in the news due to a minor uproar over the fact that some self righteous AT speed running “hero” got a $200 fine for creating a disturbance and drinking champagne with a party of friends to celebrate his conquest of the entire AT by the act of running it in record time. All I can say is, I’m glad I didn’t see him when we were there. Lucky for him too, or he would have got a Royal Canadian ass kicking before being tossed down a cliff.
Filed under Great Hikes, Photography, Travel, Uncategorized
Resurrecting a Dead Guitar
I’ve been rebuilding a guitar this past week. It sounded very dull and the owner wanted me to fix it. I removed the neck, then the top, and discovered the problem: the top had little or no arching. Since this is a Selmer style guitar, it is supposed to be arched to the tune of around 10mm across the lower bout. This one was dead flat with the strings on. When I removed the braces it was clear they had only a tiny arch in them.
Below, for comparison, an arched piece of wood with the correct amount of curvature.
I made all new braces and reduced some in height to make the top lighter and more flexible.
Then I added 4 ply purfling and an outer binding of ebony. This way I could glue the complete top back onto the body without having to worry about all the bindings and how to make them fit. All that was required was to get the ribs to line up with the outside edge of the new top. Easier said than done, since the geometry had changed. However, it worked well enough.
While I had the neck off I reshaped it and changed the frets. I also had to adjust the neck angle and the neck joint itself, since it now has a tilt it didn’t have before.
Now the top is on and the neck has been refretted, refitted, recarved and refinished. The next step is to refinish the top and then on to final assembly. However, I did assemble and play it already. Happy to report it now sounds more like a Selmer .
I shellacked the inside of the box while it was open, as well as the underside of the top, since Selmers were made that way. It may add a little something to the reverberation. Any additional sound that can be squeezed out of this guitar will be welcomed.
Filed under Guitars, Uncategorized
Plein Air Countdown T-10
Yesterday’s outing produce this sketch of Fountain Lake in Beacon Hill Park. The lake was built in 1888 before the park was designed by Scottish landscape architect Blair. I find the abundance of green tones a huge challenge, obviously!
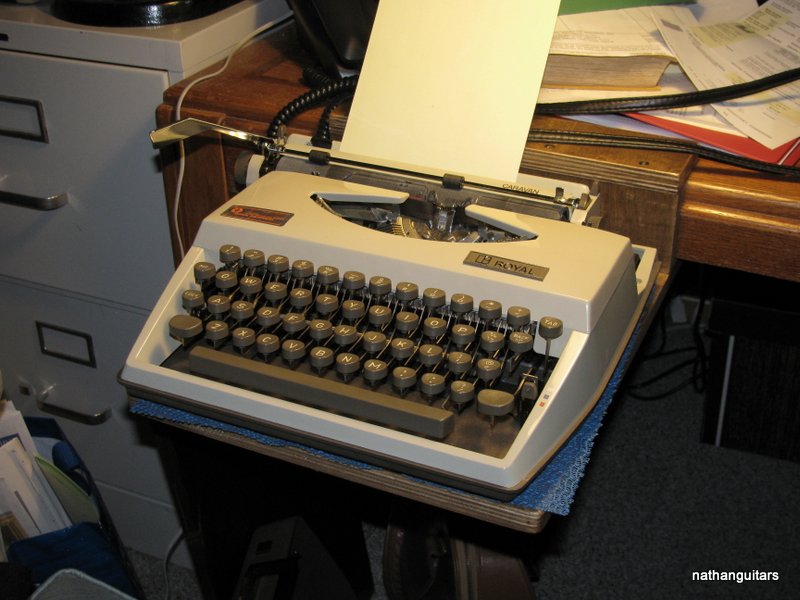
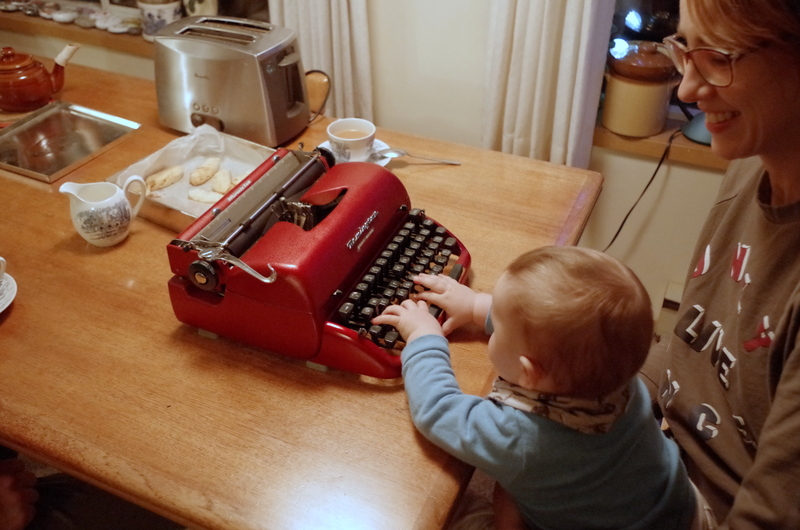
I was also prompted to pull out my Brother 750TR after reading about poet Les Murray and his very similar machine on oz.typewriter. But oz also had a post about typewriters used in the Fuhrer bunker, notably Adlers. I pulled out the Brother and gave it a short workout on the bench to see if there was ink left in the ribbon. Good enough. I carried it up stairs. Then I went to the living room and saw my Adler Tippa behind the couch. Which one to use? I set up the Adler on the table, fed in a piece of 9×12 sketch paper, the closest thing at hand, and just blurted out the first thing that came to mind. Maybe the Brother tomorrow.
Filed under Painting, Poetry, Typewriters, Uncategorized
Guitar #30/3
Assembling the box
After days spent reorganizing the shop, which had become next to impossible to move in, I am back at it. Yesterday I bent the sides ( also called ribs) and assembled them to the end blocks. The end blocks had been made some time ago. These determine the rib depths and the correct angles at the four intersections where the ribs join the top and back (neck and tail). The first step was to trim the blanks to just a bit wider than the maximum finished width (depth of the body). I trimmed these to 104mm – the maximum depth being 100mm. That left me room to trim after assembling the ribs and blocks before attaching the plates. The next step was to mark each rib with yellow pencil at 25mm intervals. This is a great aid in checking progress against the pattern, which is also marked at 25mm along the outline. While I did this I had the bending iron heating up.
Bending walnut is not very difficult. You keep it wet and hold in one place for a few seconds, pressing gently, then move a centimeter and press some more. The hot metal pipe dries the wood in seconds and it sizzles when it contacts wet wood. No sizzle means the wood is dry and has to be wet again. I start at the waist, then do the upper bout, then the lower. It takes constant small adjustments but with patience it can be made to follow the pattern shape quite closely. Once it is close enough it gets clamped into the mold, where it then dries and takes the shape in which it is clamped.
Once both ribs were bent and dried in their final shape I trimmed the ends and assembled the pair of ribs into the mold, checking that the joints met tightly and along the centre line of the guitar. Then I glued in the end blocks. The easiest way to do this is without the mold, just one end at a time, clamping the ribs onto the block. Once both blocks are done then the assembly goes back into the mold and is clamped with spreaders.
The spreaders ensure that the ribs are in the right position for attaching the plates. Just a bit of pressure is enough to keep the ribs pressed to the sides and ends. I assembled the back plate first this time. I wanted to try a different method of gluing in the linings. First I glued the back to the blocks, neck and tail. Then I put the whole thing on its back and clamped the back plate here and there to the ribs, so it was tight. I then glued in the kerfed lining strips, rubbing them to increase the initial tack, and holding them pressed into place for a short time. In a few places I resorted to putting pressure with a re-purposed chopstick and a clamp. This saved me doing two steps, where the linings are first glued to the rib, after which the plate is then glued down onto the linings. This way I was also able to avoid having to cut pockets in the linings for the ends of the braces. Instead I simply glued several teeth from the kerfed strip at each brace. This will be sufficient to hold the brace end tight. Note here that I first trimmed and fitted the back plate to the ribs before this procedure.
After the back plate was done and the glue set, I then fit the top plate to the ribs. Then I glued the linings for the top in place. Since my main top x-braces are tapered to zero they require no pockets in the linings, except for two which hold the upper face brace. These will be cut before the top is glued on.
Filed under Guitars, Uncategorized