
Suzuki AD312S
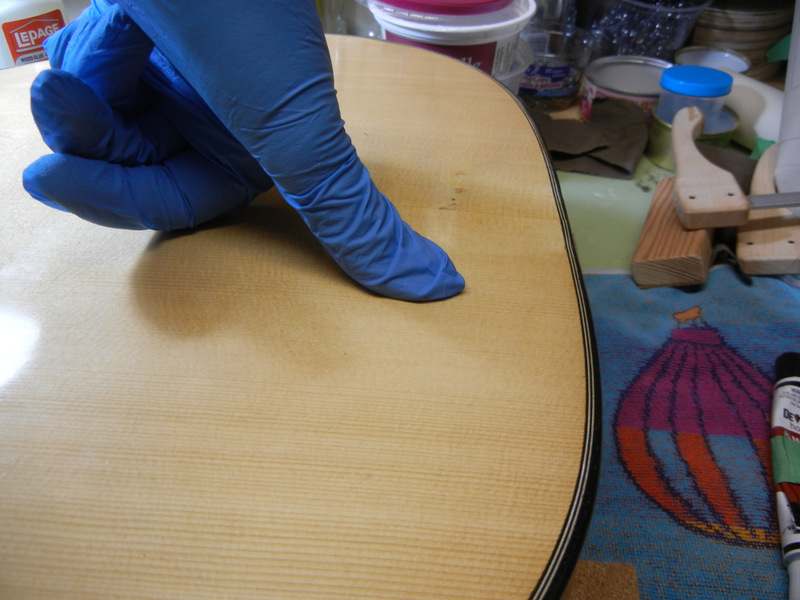
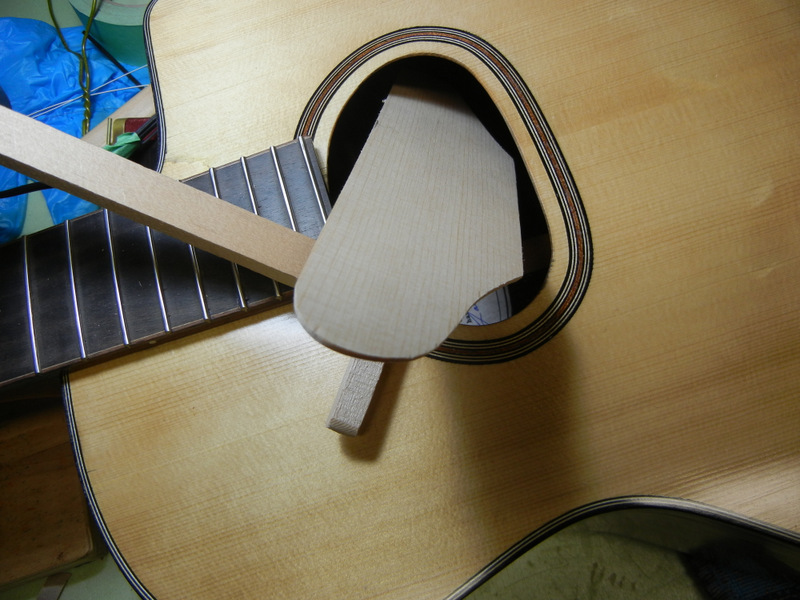
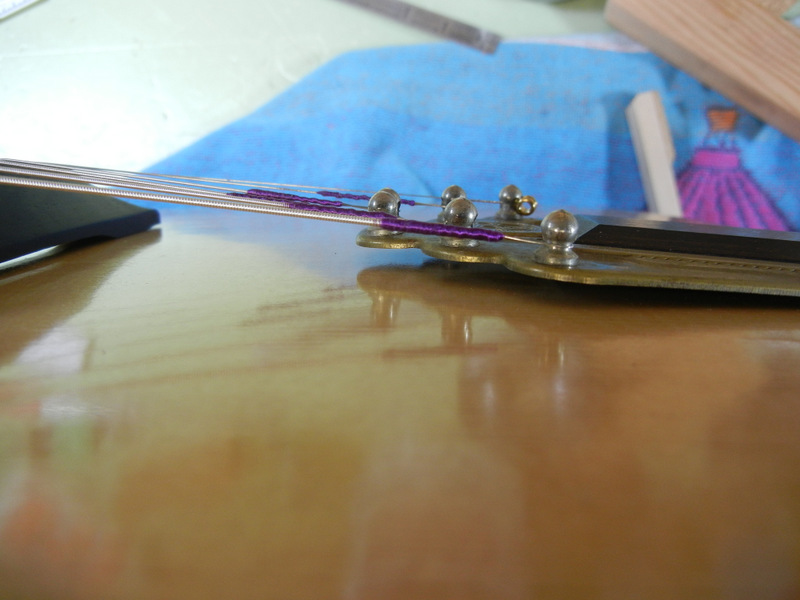
Found at a thrift store for $40, with bridge almost detached. It also had cracks at the tailpiece, but nothing serious. Everything else about this guitar looked OK, so I brought it home to repair and maybe sell. Little did I know how great it would sound and play. First I patched up the cracks at the tail end. I didn’t bother to worry about how it looked, as I consider wear and tear on an old guitar part of its charm. I then pried off the bridge with a hot knife. It was obviously way too thin, for reasons that escape me, so I sanded it flat and glued on a 3mm thick scrap of walnut. The bridge is rosewood but I didn’t have any rosewood scraps about. I sanded the perimeter and stained the new wood black to match the stained rosewood. After prepping the top by a little sanding to smooth it out, I reattached the bridge with clamps and cauls. That brought the bone saddle a bit too high, so I had to bring it down a millimeter or so. Looking inside I found that the bridge plate was a piece of softwood, which was getting chewed up by the string nuts, so I glued in another small walnut plate to strengthen that. Some guitarists have removed heavy bridge plates, but what I added was not even an ounce of wood, so I had no qualms about potentially muffling the tone here. Six new 25c bridge pins and a set of extra light Gibson phosphor bronze strings completed the repairs. I prefer using light gauge strings, if only because I’m quite used to how they feel. This guitar most certainly didn’t need heavy strings for it to deliver the goods.

label – Suzuki Nagoya
I didn’t know anything about these guitars before but I’m wise now. This one is quite excellent. It has a fine top of solid spruce, and the bracing is pretty much standard post-war Martin Dreadnought. The body is all laminates but that is not a problem here – this thing has killer vibes! The post-war Martins had their braces moved back an inch to make the tops less prone to warping, as well as having straight braces, as opposed to the earlier scalloped design. There are heated arguments on both sides as to which design is best. Taking advantage of this, Martin now makes some models with “forward shifted scalloped bracing”. This is basically their old design made new again. But every design change to a musical instrument has consequences. The new old design being lighter braced, and forward-shifted means the sound is bigger and has even more overtones. Some players like this sound, and are convinced it’s better. Others say it tends to muddiness. All those overtones cannot be had without a concurrent change in the whole dynamic, which means you lose clarity of the fundamental note. I love the clarity of this guitar, which I would attribute somewhat to the “tighter” bracing of the old=new post-war backward-shifted non-scalloped design. Whew! One difference I observed in the bracing vis-a-vis the Martin standard, is that the main x-braces appear thicker but lower. So Suzuki copied Martin, but not quite exactly.

new old bridge
I was contemplating selling this guitar at first, but after playing it I decided to keep it – it’s just too good an instrument to part with, and for what the market would value this at, not enough money to turn around and buy anything nearly as good. Considering it dates from 1977 as far as I can gather, it hasn’t much wear on the frets – they’re almost unworn. This guitar has the power and bass of a good dreadnought, but quite a distinct clarity when picked. Now I will be on the lookout for more old Suzuki guitars. Suzuki Nagoya no longer make guitars but they still exist and make violins, as they have done since 1887 according to their label.

headstock logo with Suzuki Three S label